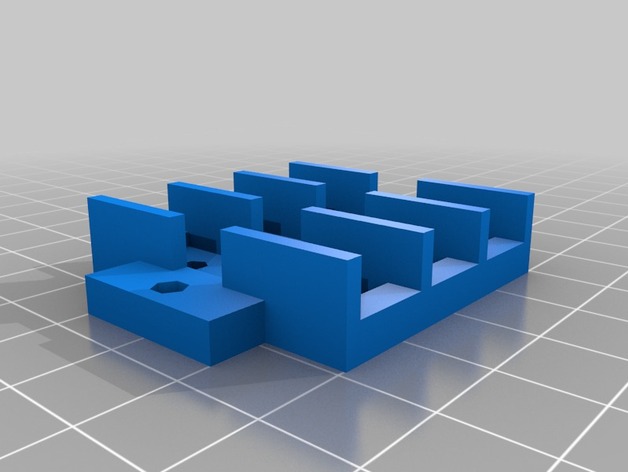
Screw Terminal Block
thingiverse
I wanted a screw terminal block for distributing power to my fans. Figured I could just design and print one. Required hardware: 6x M3 8mm bolts 12x M3 metal washers 3x 20cm lengths of 18-gauge wire Smaller gauges of wire work, but will limit the amount of current you can pass through this terminal block. If you are placing this directly on plastic, you don't really need plate 1; it's mainly there as an electrical insulator on metal surfaces. Post-Printing Instructions: Step 1 - Take plate 2 and insert six M3 nuts into the captive holes. Step 2 - Place plate 3 over plate 2 so that the captive nuts are sandwiched between them. Step 3 - Slide two metal washers onto each of the six M3 bolts. Step 4 - Screw the M3 bolts through the holes in plate 3 until they just start to thread into the captive nuts. Step 5 - Fold each of the 20cm wire lengths in half and form a loop at the fold, leaving about 5cm on either end of the wire straight. Step 6 - Drop the two 5cm ends of each wire loop through the three holes in the center of plates 2 and 3. Step 7 - Take the wire loops and form a figure eight around the bolts, making sure that the wire ends up underneath both washers. Step 8 - Using pliers, grab the 5cm ends of each loop and pull until the wire tightens around the bolts. Step 9 - Tighten the bolts until they are holding the wire loops in place. Step 10 - Cut off the excess wire so it is flush with the bottom of plate 2. Step 11 - Place plate 4 on top of plate 3, covering the holes and locking the wires in place. Step 12 - Place plate 1 under plate 2. Step 13 - Screw the whole assembly down to whatever surface you are attaching it to through the two through holes on the sides.
With this file you will be able to print Screw Terminal Block with your 3D printer. Click on the button and save the file on your computer to work, edit or customize your design. You can also find more 3D designs for printers on Screw Terminal Block.
