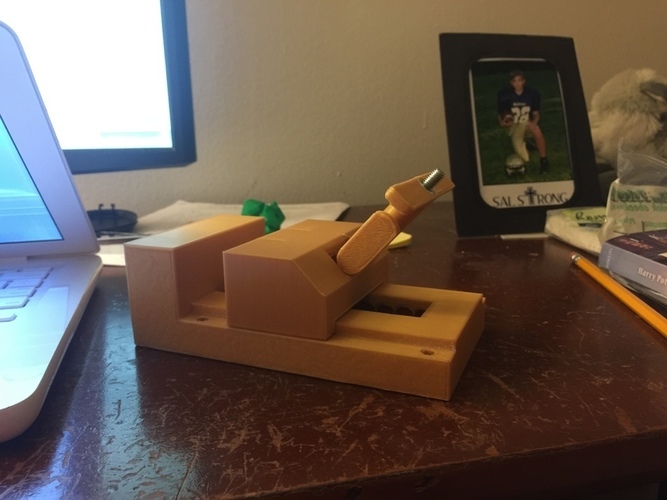
Screw less vise with M6 screw
pinshape
I loved the design of the Original Screwless vise from RhinoAus, but after searching high and low, I couldn't find a 95 millimeter M5 bolt anywhere. So, I modified the parts using TinkerCad instead. Without taking the time to test the parts for correct sizing, it took about 15 hours to print this entire vise. To print just these replacement parts, it only took around six and a half hours. Printer Settings: Printer Brand: Robo 3D Printer Model: R1 ABS + PLA Rafts: Yes Supports: Yes Resolution: .2 Infill: 10% Notes: I used support for the base overhangs. Your printer should be able to handle the supports within the model. AVOID MY MISTAKE: Using only two perimeters in the main base of the vise led to softness in the stationary side of the clamp, as seen in the last photo at the top of this page. Try using four or more perimeters if you need to. Post-Printing: Sanding and Fitting: The top base and the bottom base needed serious sanding to run smoothly enough. I used some tube-lube just to make sure it runs smoothly enough for comfortable and quick use. The pin shouldn't have a tight fit; it doesn't really need it. I purposefully resized the handle to be an extremely tight fit so that the nut wouldn't come loose. Don't be afraid to be violent to get it into its spot, or you can just lightly push it in, and let the actual forces of clamping your first object push it into place like I did. How I Designed This: I used TinkerCad to subtract larger hex and round holes in the parts that required refitting.
With this file you will be able to print Screw less vise with M6 screw with your 3D printer. Click on the button and save the file on your computer to work, edit or customize your design. You can also find more 3D designs for printers on Screw less vise with M6 screw.
