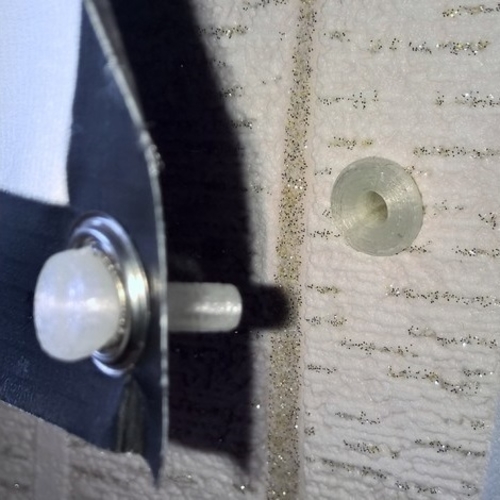
Screen fastening (Крепление натяжного экрана)
pinshape
Securing the Display Screen of a Projector The process of fastening the display screen of a projector involves a series of steps that ensure optimal performance and durability. First, it is essential to select the correct type of screen for your projector model. This will depend on the projector's specifications and the intended use. Next, you need to remove any existing screen or cover from the projector. This will give you access to the attachment mechanism. Now, take the new display screen and align it with the projector's mounting bracket. Make sure it is securely seated before proceeding. Using a screwdriver or Allen wrench, tighten the screws that hold the screen in place. Be careful not to overtighten, as this can damage the projector or the screen. Once you have tightened the screws, reassemble any components that were removed earlier. Plug in your projector and test it to ensure that the display screen is securely attached and functioning properly. In some cases, you may need to adjust the tension of the screen. This can be done by loosening the screws slightly and then tightening them again. Be careful not to over-tighten, as this can cause damage to the projector or the screen.
With this file you will be able to print Screen fastening (Крепление натяжного экрана) with your 3D printer. Click on the button and save the file on your computer to work, edit or customize your design. You can also find more 3D designs for printers on Screen fastening (Крепление натяжного экрана).