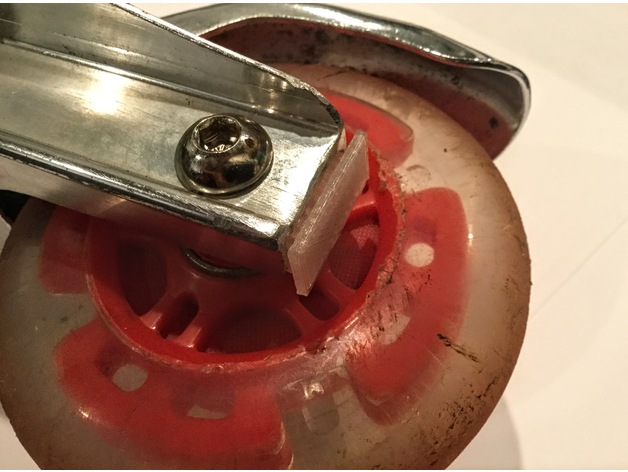
Scooter Back Wheel Mount
thingiverse
Replacing a worn-out back wheel mount on your Razor scooter is an easy DIY job that can be completed in just a few minutes. The process requires basic tools and knowledge of how to disassemble and reassemble the scooter's components. First, gather the necessary tools and parts, including a new back wheel mount and any other replacement parts needed for the repair. Then, locate the back wheel mount on your Razor scooter, which is usually held in place by screws or bolts. Use a screwdriver or wrench to loosen these fasteners and remove the old mount. Once the old mount is removed, take a close look at the area where it was attached. Clean out any debris or dirt that may have accumulated over time, making sure the surface is smooth and free of obstructions. This will ensure a proper fit for the new back wheel mount. Next, align the new back wheel mount with the scooter's frame and attach it using the screws or bolts provided. Make sure they are tightened securely to prevent any movement or vibration during use. Finally, test your scooter by riding it slowly over flat ground to ensure everything is working properly. Replacing a worn-out back wheel mount on your Razor scooter can help extend its lifespan and keep you riding safely for years to come.
With this file you will be able to print Scooter Back Wheel Mount with your 3D printer. Click on the button and save the file on your computer to work, edit or customize your design. You can also find more 3D designs for printers on Scooter Back Wheel Mount.
