School Project DIY Quadcopter
thingiverse
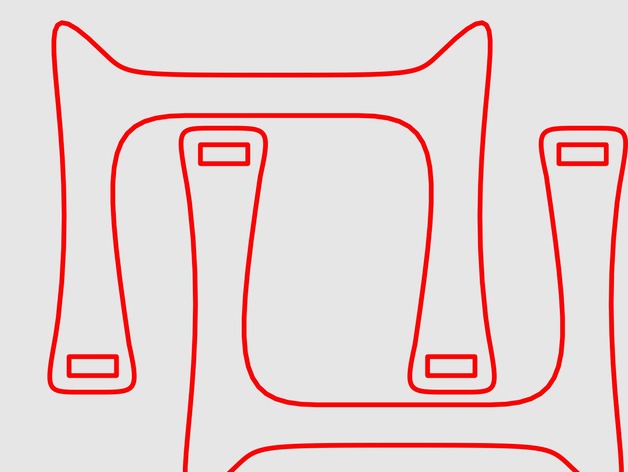
We designed a simple Quadcopter frame as part of a school project, with plans to 3D print every component but forced to switch to laser cutting due to lack of time for most parts. Objects were printed in 3D while svg's cut from 4mm plywood with laser precision. The arm heads are designed specifically for the NTM Prop Drive 28-30S 800KV / 300W Brushless Motor along with the accompanying accessory pack, utilizing a set of ten inch rotors. We went a bit overboard on motors and rotors but were optimistic about the total weight, now contemplating our chances at winning the Hobbyking Beerlift contest. Now that we have your full attention let's get to the step-by-step instructions: Print only the inner top plate initially followed by printing each of the armhead 4 times. Then use a laser cutter on all available svg's from the set to make four-millimeter thick plywood components - do this for each part except that the two Legs.svg templates will have their parts printed twice but the bottom plate requires both, even though just using one pair is also suitable. Collect 8 of the bolts measuring four millimeters fifty units long and pair them with 4 matching nuts. Additionally get yourself two other bolts with similar measurements except at a sixteenths fraction shorter or longer which is completely okay for your purposes as there is a total need for twenty-four mm wide bolts, which in turn need forty-eight individual nut fittings to complement each set-up (that is forty-six nuts will make sure you're all prepared).
With this file you will be able to print School Project DIY Quadcopter with your 3D printer. Click on the button and save the file on your computer to work, edit or customize your design. You can also find more 3D designs for printers on School Project DIY Quadcopter.
