SCALE
thingiverse
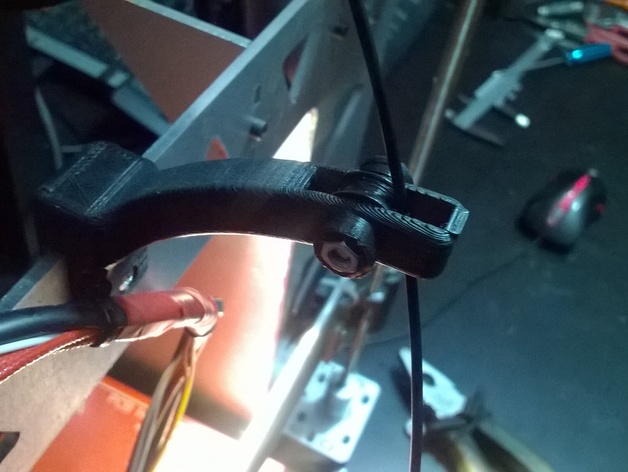
Guide wire filament for Prusa i3 Steel. Note to self: this is a step-by-step guide for setting up and using guide wires with the Prusa i3 Steel 3D printer, an open-source FDM 3D printer kit. Step one: purchase necessary materials. Acquire a 10-foot piece of high-quality monofilament wire. For this project, we recommend nylon or steel. The thicker diameter of steel filament is recommended for use with guide wires. Also required are two M2 screws, two springs, and the printed parts provided in the Prusa i3 Steel kit. Step two: assemble guide wire assembly. Attach the printed part to the printer frame using the included screws. Then attach the wire guide to this printed part. Step three: tighten spring to hold the filament. Next, insert the guide wire through a slot at the back of the hotend and thread it down into the extruder's build platform. The spring will prevent the filament from escaping or getting loose during the print process. Step four: tighten screws on the guide wire assembly. Finally, tighten the screws to secure the guide wire in place. That's it! Your Prusa i3 Steel 3D printer is now set up with a reliable and easy-to-use guide wire system.
With this file you will be able to print SCALE with your 3D printer. Click on the button and save the file on your computer to work, edit or customize your design. You can also find more 3D designs for printers on SCALE.
