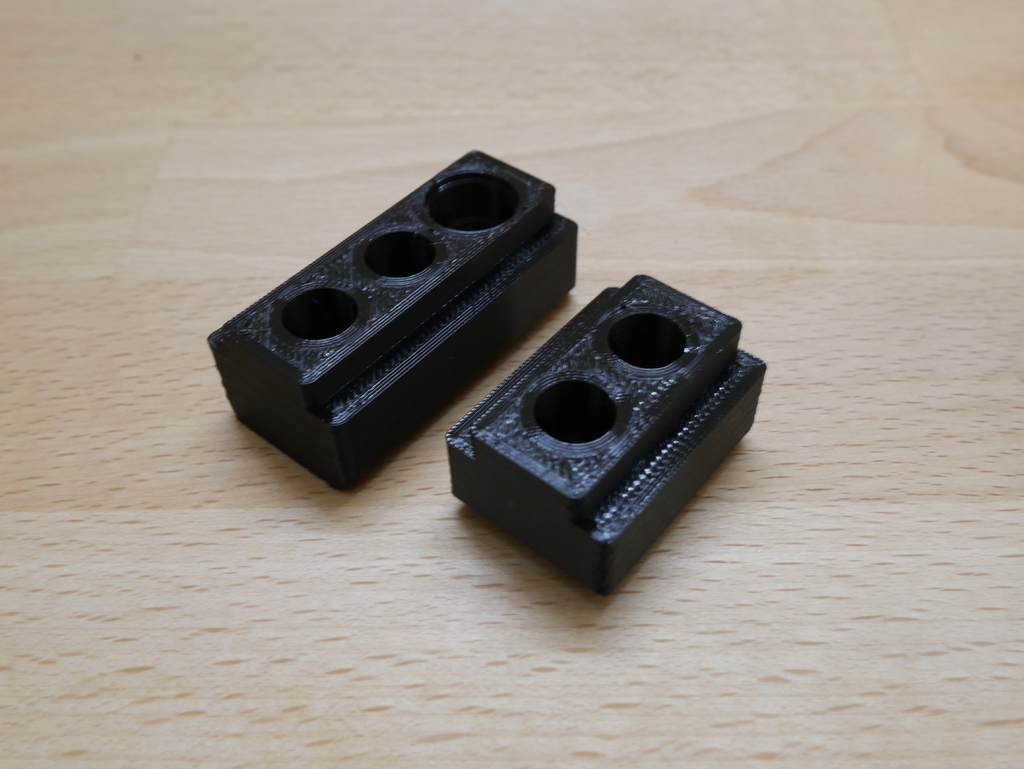
SawStop Crosscut Sliding Table Positioner
thingiverse
I'm a positioner for the Saw Stop Sliding Crosscut Table, designed to help you achieve accurate 90-degree cuts so parts align perfectly in final assembly. My goal is to assist you in getting closer to that goal with your sliding table. To start, align your fence perfectly once using a method like the 5 Cut Method or a known square reference. Next, install me so I touch the back edge of the fence. From then on, every time you use the fence, you can easily repeat this position in just three steps: 1. Install the fence pivot up against the stop block and tighten its two screws. 2. Insert the screw into me. 3. Swing the fence back so it touches the screw and tighten it down with the silver knob. ### Background Traditional crosscut sleds use a permanently mounted fence that is anchored at both ends, adjusted using the 5 Cut Method. Most sleds have a long fence around 30 inches or more, allowing for less than 0.005-inch error at that distance. On the sliding table, however, the adjustment distance is much shorter - just 13 inches - making precise setup crucial to avoid larger errors. I strongly recommend using an indicator for accurate measurements. This part could be made from a variety of materials like hardwood, aluminum, or steel, and would likely perform better than my current 3D printed design. Feel free to remix me and create your own versions!
With this file you will be able to print SawStop Crosscut Sliding Table Positioner with your 3D printer. Click on the button and save the file on your computer to work, edit or customize your design. You can also find more 3D designs for printers on SawStop Crosscut Sliding Table Positioner.
