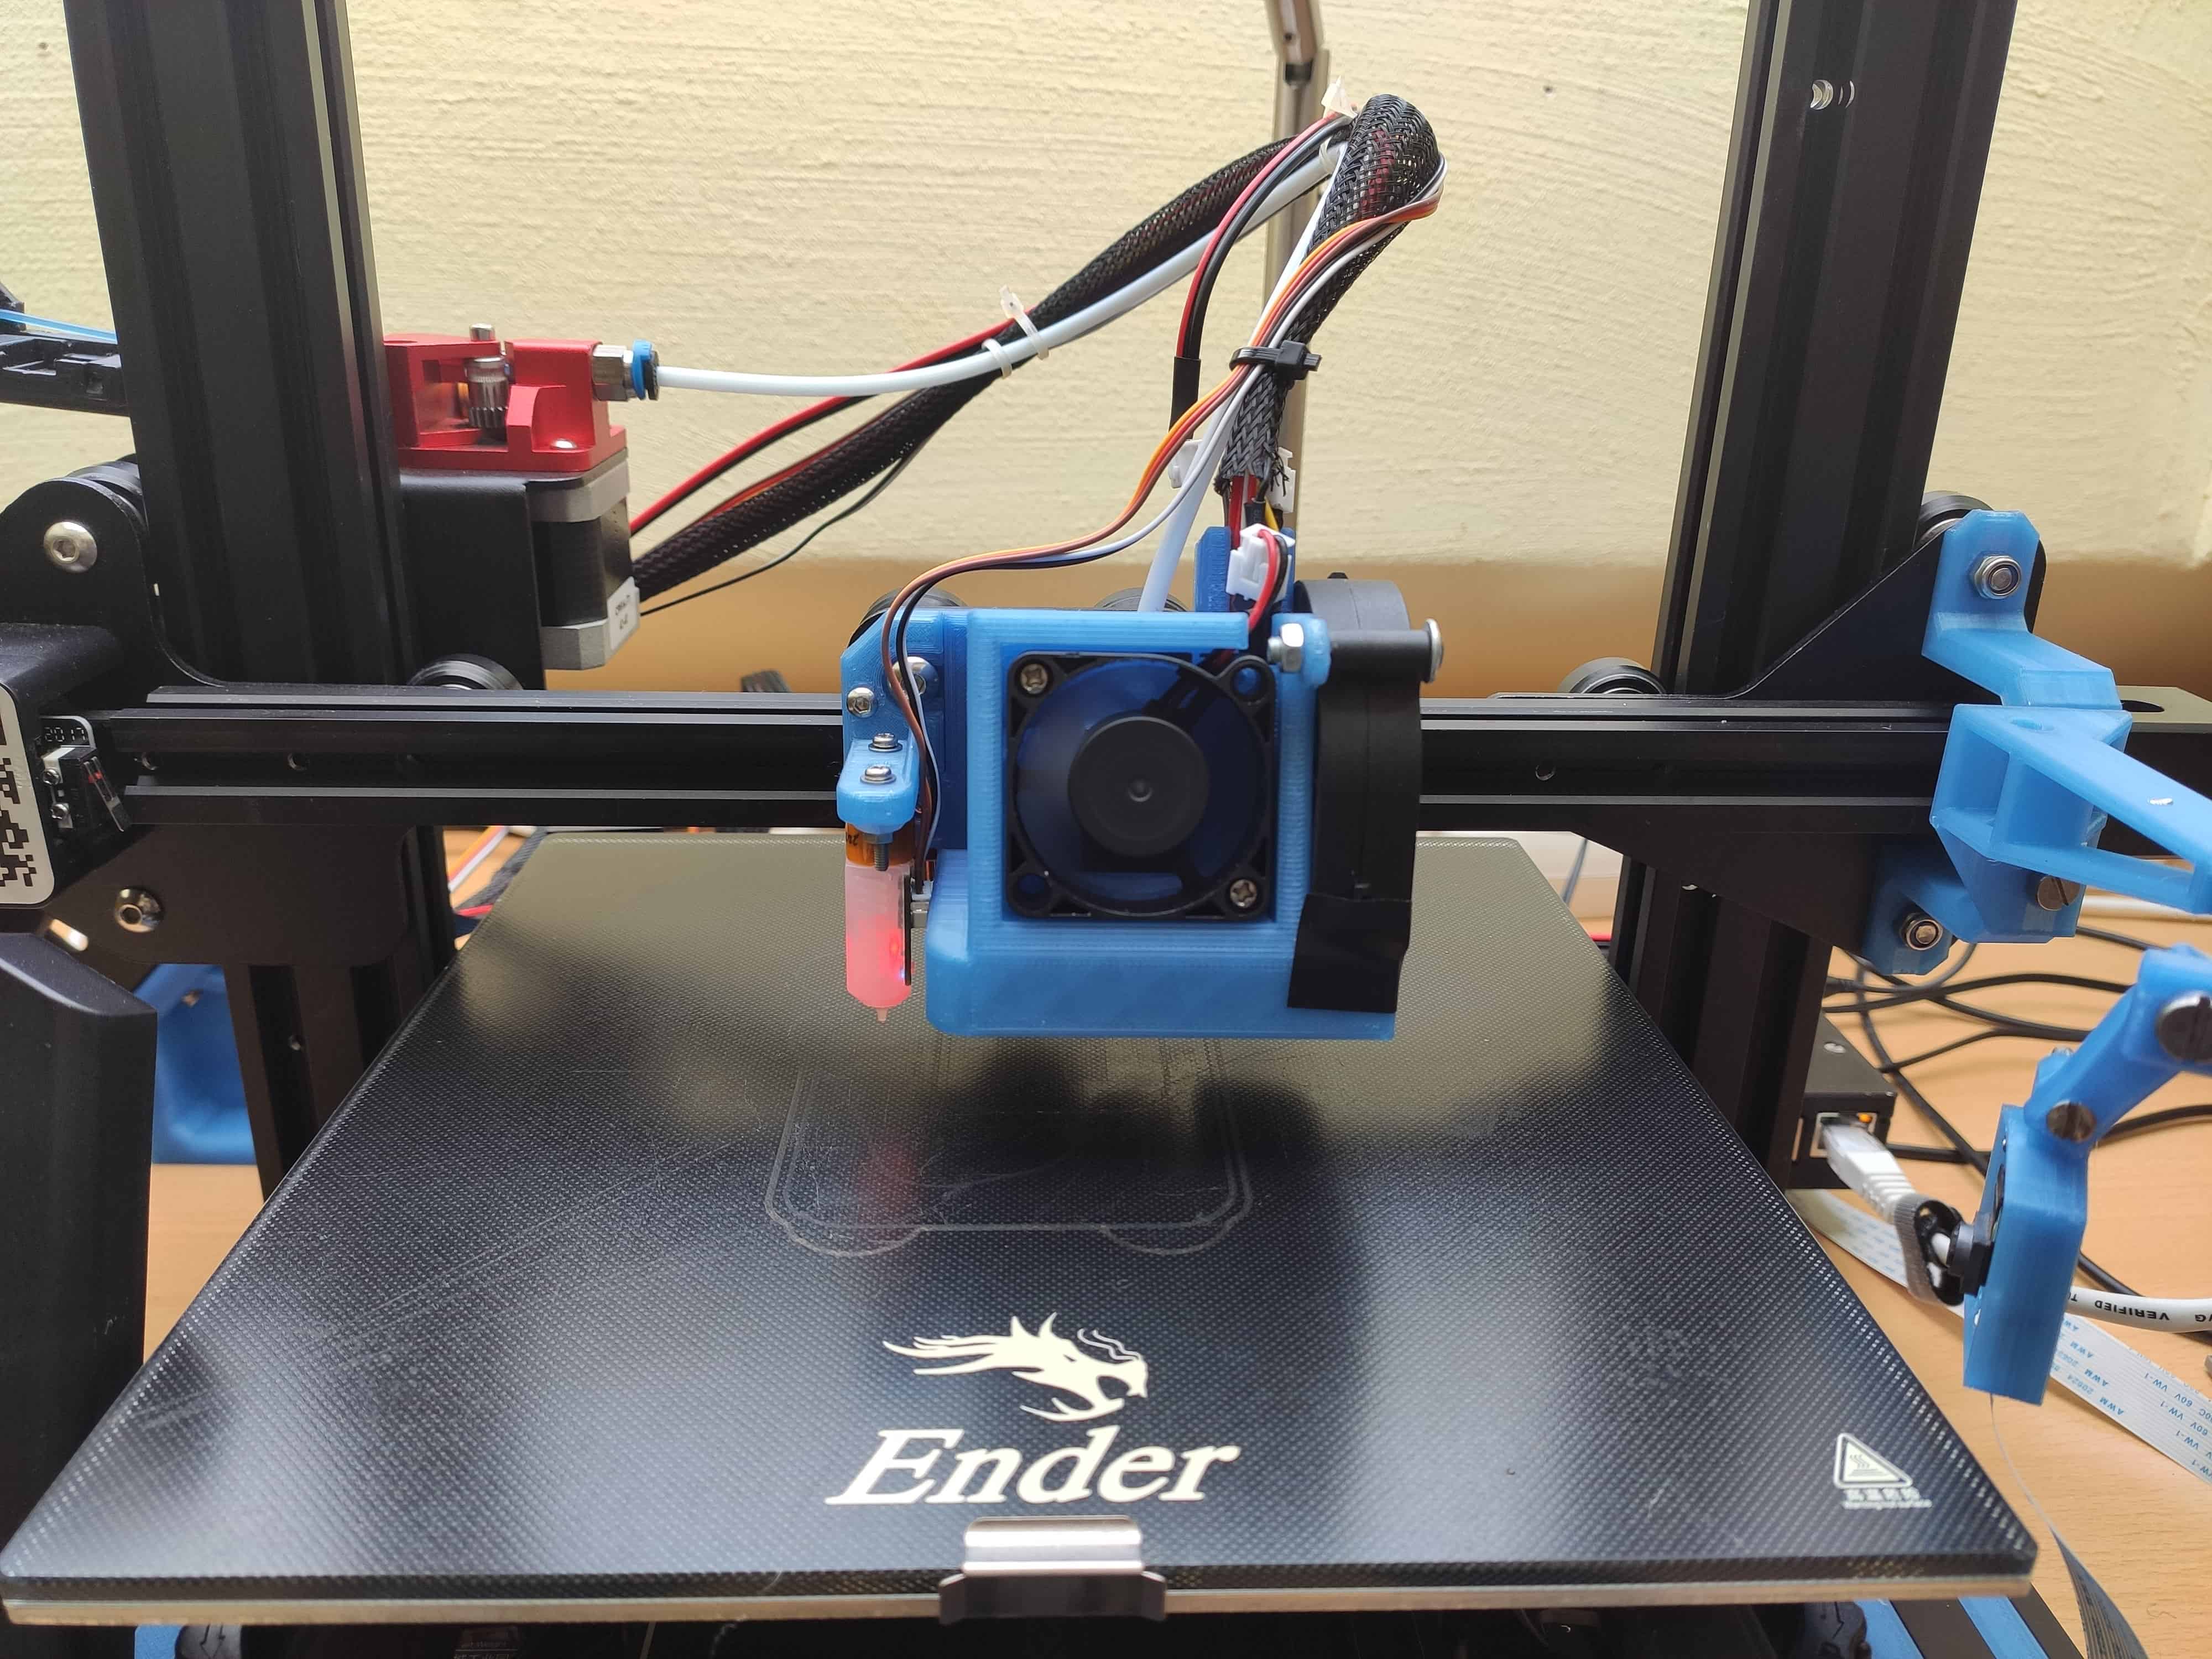
Satsana Remix for Ender 3V2 and Ender 3 with BLTouch / 4010 and 5015 Fan versions
prusaprinters
<p><strong>This model was originally posted on thingiverse by me and is still available </strong><a href="https://www.thingiverse.com/thing:4647053"><strong>there</strong></a><strong> if you want to read through the many comments and questions.</strong></p><p>This is a remix of the Satsana fanduct by eric-anastas for the purpose of mounting it on the Ender 3 V2 and adding a BLTouch mount. Additionally I made a version that fits a 5015 fan for better cooling.</p><p>As this was made on the basis of the normal Ender 3 version it will fit both on the ender 3 v2 and the original ender 3/ender 3 pro. Thanks to markymarc for confirming the compatibility on his ender 3 pro.</p><p>The 4010 version does not require any additional screws besides those found on the Ender 3 V2 fanduct.</p><p>For the 5015 version you will need 2 M4 nuts and 2 M4x17 bolts. A milimeter more or less is also fine.</p><p>For modeling the BLTouch mount I used this <a href="https://www.thingiverse.com/thing:4462870">https://www.thingiverse.com/thing:4462870</a> as a reference. Unfortunately thingiverse is bugged so I can't add this to the list of items I remixed from. As I based my BLTouch mount on this one, the probe offset is the same (probe offset: X-42.00 Y-10.00).</p><p>Due to some people experiencing clearance issues with the first version of the bltouch bracket there is now a V2 version which has more clearance by moving the bltouch a little bit more to the side. The offset for the V2 bracket is X-43.65 Y-10.</p><p>If you want to remix this feel free to do so. I have included the .stp files. Keep in mind though that the model of the X-carriage in those files is that of the old ender 3 and not the V2. If you want an accurate model of the V2 carriage for modeling I recommend this one: <a href="https://www.thingiverse.com/thing:4573240/files">https://www.thingiverse.com/thing:4573240/files</a></p><p>For the 5015 fan model I used this: <a href="https://www.cuidevices.com/product/resource/3dmodel/cbm-5015v-130">https://www.cuidevices.com/product/resource/3dmodel/cbm-5015v-130</a></p><h3><strong>Info regarding the BLTouch bracket V2:</strong></h3><p>People are having issues with the original bltouch bracket having too little clearance for the btlouch cable connector. This version moves the bltouch arm more to the side (1.657mm more clearance to be exact). The offset therefore has to be adjusted a little (the new offset is X-43.65 Y-10). If you plan to modify this bracket you will need to download the .step file for the BLTouch Bracket V2 as the bracket in the fanduct step files is still the original design</p><h3><strong>Optional support bracket</strong></h3><p>There is also an optional support bracket which I modeled as a request but did not test. It uses the same bolts as those that came with the creality fanshroud. It is not necessary to use this. It's supposed to hook over the metal plate and support the right side of the fanduct but the fanduct is light enough that it doesn't matter.</p><h3>Print Settings</h3><p><strong>Printer Brand:</strong></p><p>Creality</p><p><strong>Printer:</strong></p><p>Ender 3 Pro</p><p><strong>Rafts:</strong></p><p>No</p><p><strong>Supports:</strong></p><p>No</p><p><strong>Resolution:</strong></p><p>0.2</p><p><strong>Infill:</strong></p><p>15%</p><p><strong>Filament:</strong> DasFilament PLA (PETG or ABS is recommended)</p><p>Transluzent Blau</p><p><strong>Notes:</strong></p><p>This was printed on an Ender 3 V2 (The option is not yet available for selection in the printer list). If you trust in your printers ability to make some bridges then you won't need supports. I used normal supports anyway.</p><p>If you print this in PLA make sure your printer has a silicon sock otherwise the fanduct will most likely melt.</p><h3>Mounting the 4010 version</h3><p>You will have 3 bolts (2 short and 1 long) as well as 2 pairs of fan screws from your original fan duct. The short bolts are used in the bottom and left screwhole (See picture). The long one will need to be inserted through the BLTouch bracket. You will need to remove the V-Roller to fit its bolt through the hole.</p><p>The fans are mounted using their respective screws from the original fanduct.</p><h3>Mounting the 5015 Version</h3><p>The process is almost completely the same as for the 4010 version except for the fan. I recommend moungting the fan on the duct before mounting it on the carriage. Leave the bottom screw of the fan a bit loose so that it barely sticks out of the nut otherwise you won't be able to fit the cables into the cable channel. When you have the fanduct mounted you can tighten the screw by pulling on it while screwing it in so that the nut catches on the honeycomb pattern on the inside.</p><p>I also recommend using tape or something else to seal the gap between the 5015 fan and the fanduct.</p><p>Category: 3D Printer Parts</p>
With this file you will be able to print Satsana Remix for Ender 3V2 and Ender 3 with BLTouch / 4010 and 5015 Fan versions with your 3D printer. Click on the button and save the file on your computer to work, edit or customize your design. You can also find more 3D designs for printers on Satsana Remix for Ender 3V2 and Ender 3 with BLTouch / 4010 and 5015 Fan versions.
