Sanding Guide
thingiverse
Sanding Guide - Get Ready to Shine! Welcome to our comprehensive sanding guide! Whether you're a seasoned pro or a DIY newbie, this article will walk you through the process of sanding like a pro. **Step 1: Choose Your Sandpaper** The right sandpaper is crucial for achieving professional-looking results. With so many options available, it's essential to choose the right one for your project. Here are some factors to consider: * **Grit size**: The grit size determines how coarse or fine the sandpaper will be. Coarser grits (80-100) are perfect for removing old finishes and smoothing out rough surfaces, while finer grits (220-240) are ideal for polishing and finishing. * **Type of sandpaper**: There are several types of sandpaper available, including open-coat, closed-coat, and water-resistant. Open-coat sandpaper is great for removing old paint and varnish, while closed-coat sandpaper is better suited for fine-tuning and polishing. **Step 2: Prepare Your Surface** Before you start sanding, make sure your surface is free from dust, dirt, and other debris. Use a vacuum cleaner or a damp cloth to remove any loose particles. **Step 3: Sand with the Grain** Always sand with the grain of the wood to avoid creating scratches and swirl marks. This will also help you achieve a smooth finish. **Step 4: Work in Small Sections** Divide your surface into small sections and work on one area at a time. This will help you maintain even pressure and prevent any mistakes from spreading. **Step 5: Use the Right Sanding Technique** There are several sanding techniques to choose from, including: * **Circulating motion**: Move the sandpaper in a circular motion to remove old finishes and smooth out rough surfaces. * **Linear motion**: Apply gentle pressure and move the sandpaper in a linear motion to fine-tune and polish. **Step 6: Inspect Your Work** Regularly inspect your work as you sand to ensure that you're achieving the desired results. Use a dust mask or a vacuum cleaner to remove any debris and dust. **Step 7: Finish with a Fine Grit Sandpaper** Once you've completed the above steps, use a fine grit sandpaper (220-240) to polish and finish your surface. **Tips and Tricks** * Always use a dust mask or a vacuum cleaner when sanding to prevent inhaling dust and debris. * Use a sanding block to help maintain even pressure and prevent scratches. * Work in a well-lit area to ensure that you can see any imperfections or mistakes. * Keep your sandpaper clean and free from debris by regularly cleaning it with a damp cloth. By following these steps and tips, you'll be able to achieve professional-looking results and enjoy the satisfaction of working with wood. Happy sanding!
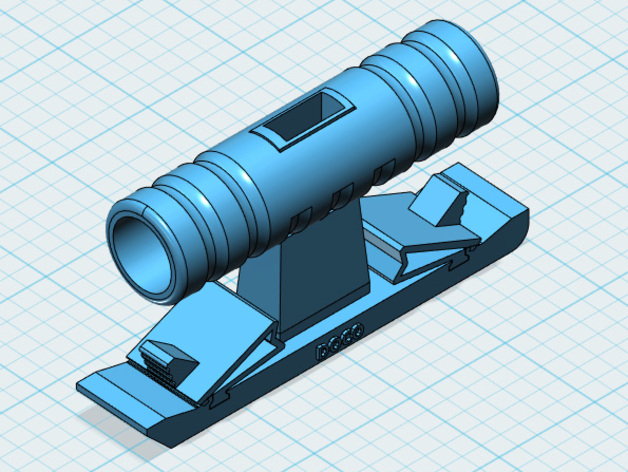
With this file you will be able to print Sanding Guide with your 3D printer. Click on the button and save the file on your computer to work, edit or customize your design. You can also find more 3D designs for printers on Sanding Guide.