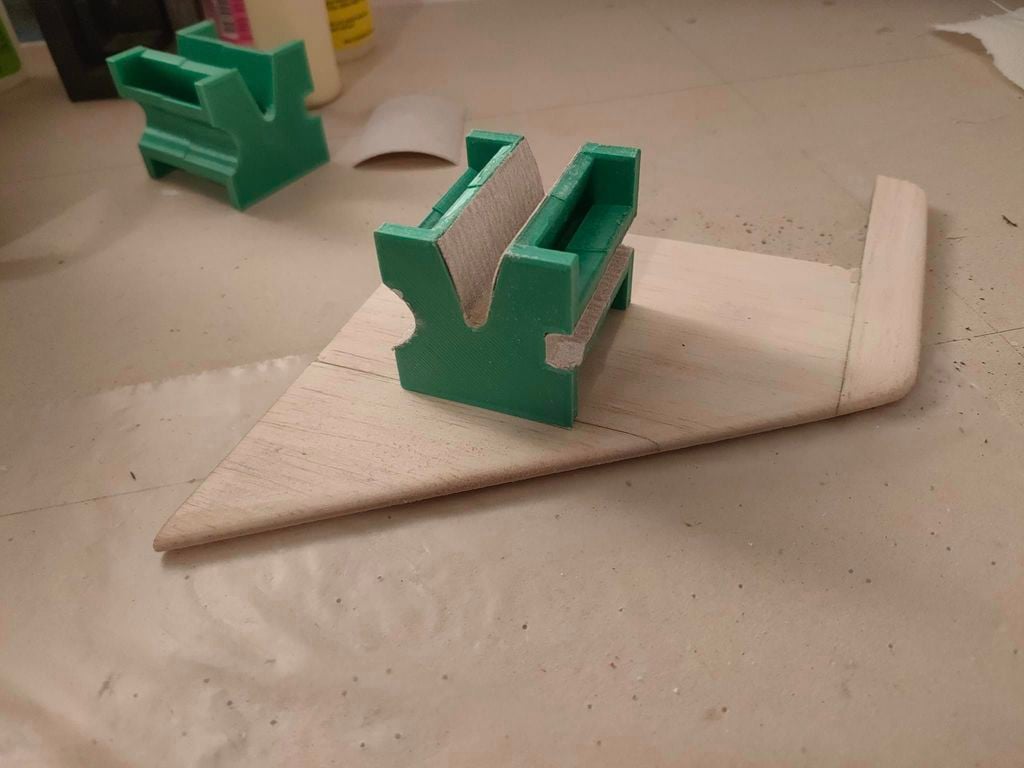
Sanding Block for Radio Controlled Plane Balsa surfaces
thingiverse
Recently I came across an old instruction manual to a Carl Goldberg model (Chipmunk in particular) which came with a sanding block created from a ply assembly (see photos). I thought this was a brilliant idea for my impending build of a Suprafly. So rather than making it in ply, i tried it as a 3D print and it worked beautifully! Since then I've adapted the design to include the three profiles that I need, specific to the Suprafly...you can of course use these, or scale the block to meet your needs. Currently, the V shape is designed to create a bullnose for something like the vertical fin or leading edge of the horizontal tail. It's current size is for 5mm thick balsa. The semi circular profile is what was required for the leading edge of the main wing which is made from 6mm thick stock and is 15.2ish mm overall (see pic for dimensions) The trapezoid shape is for the wing trailing edge (not the aileron) with a taper from 8.3 to 7.2. Also just added a V shaped section too, for Rudder and Elevator leading edges. In all the profiles I've made allowance for a 120grit sandpaper to be used, where mine is 0.45mm thick. I would suggest printing these in two parts; end side down on the bed...that way no support material is required, and dimensional tolerance of important sanding interfaces is maintained. Just glue the two halves together with CA glue when the print is complete. Once they're glued together, glue pieces of the appropriate sandpaper in position. Hope this works for others as well as it has for me!
With this file you will be able to print Sanding Block for Radio Controlled Plane Balsa surfaces with your 3D printer. Click on the button and save the file on your computer to work, edit or customize your design. You can also find more 3D designs for printers on Sanding Block for Radio Controlled Plane Balsa surfaces.
