Sand-Uhr-Kühlschrank-Magnet
prusaprinters
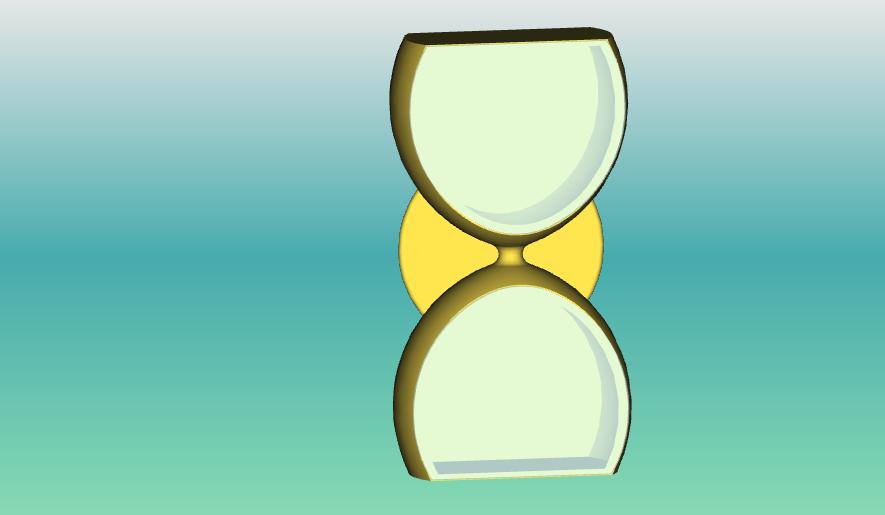
<p>Diese Sanduhr besteht aus drei teilen und wird mit 4 Neodym (<i>Powermagneten</i>) Durchmesser 6 mm Höhe 3 mm bestückt.</p><p>Erst das Gehäuse drucken <strong>vorzugsweise mit ABS</strong>, dann die 4 Magneten einkleben (<i>z.B. mit Epoxyd</i>).</p><p>Dann zwei “Fenster” z.B. aus dem Deckel einer alten CD-Hülle sägen/schneiden/schleifen.</p><p>Jetzt ca. zwei Teelöffel Vogelsand (<i><strong>trocken!</strong></i>) o.ä. in eines der beiden Fächer füllen.</p><p>Als letzten Schritt die beiden “<i>Fenster</i>” zum schlissen der Sanduhr sauber aufkleben.</p><p>Klebstoff aushärten lassen, Fertig,</p><p>ABS empfehle ich zum drucken des Gehäuses weil sich das gut mit PVC-Klebstoff kleben lässt <i>(ich benutze den aus dem Baumarkt in der Pinkfarbenen Tube).</i></p><p>----------------------------------------------------------------</p><p>Google translates:</p><p>This hourglass consists of three parts and is fitted with 4 neodymium (power magnets) with a diameter of 6 mm and a height of 3 mm.</p><p>First print the housing, preferably with <strong>ABS</strong>, then glue the 4 magnets in place (e.g. with epoxy).</p><p>Then saw/cut/grind two “windows”, e.g. from the cover of an old CD case.</p><p>Now about two teaspoons of bird sand (dry!) or similar.<br>fill in one of the two compartments.</p><p>As a last step, glue the two “windows” to close the hourglass neatly.</p><p>Let the glue harden, Done!</p><p>I recommend ABS for printing the housing because it can be glued well with PVC glue (I use the one in the pink tube from the hardware store).</p>
With this file you will be able to print Sand-Uhr-Kühlschrank-Magnet with your 3D printer. Click on the button and save the file on your computer to work, edit or customize your design. You can also find more 3D designs for printers on Sand-Uhr-Kühlschrank-Magnet.