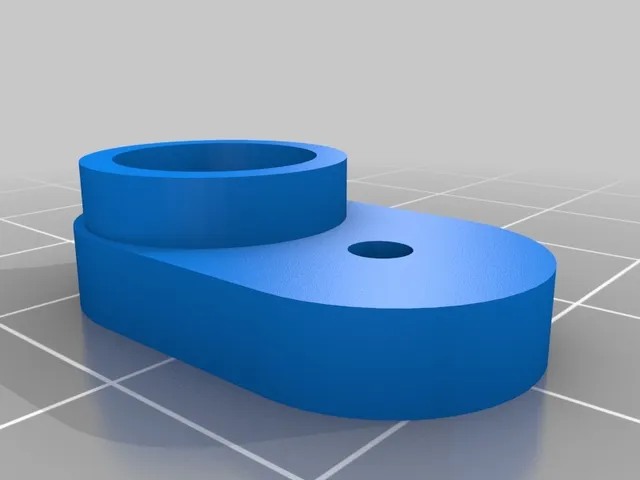
Saitek X52 Magnet Mod
prusaprinters
This part makes the magnet relocation mod for the Saitek X52 Pro (and regular) easy - simply print two of them, remove the base from your stick, remove the stock parts, install the stock magnets into the parts and reassemble. Print Settings Printer Brand: Prusa Printer: Prusa Clone Rafts: No Supports: No Resolution: 0.15mm Infill: 15% Filament: Generic PLA Post-Printing ============= Remove original magnet holders You can remove the whole assembly simply by removing the two silver screws either side of the sensor. The magnet carrier slides out, then the gear part can be carefully unscrewed with a small screwdriver. Install magnets into new part Put both magnets from the original carrier into the new part - they should go "backwards" compared with how they came out of the original carrier. Mine were marked on the back with a line. If after assembly your axis is inverted, just flip the magnets over. Install new parts and reassemble stick The new parts attach as shown below. There should be a gap between the magnets and the sensors. Category: Video Games
With this file you will be able to print Saitek X52 Magnet Mod with your 3D printer. Click on the button and save the file on your computer to work, edit or customize your design. You can also find more 3D designs for printers on Saitek X52 Magnet Mod.
