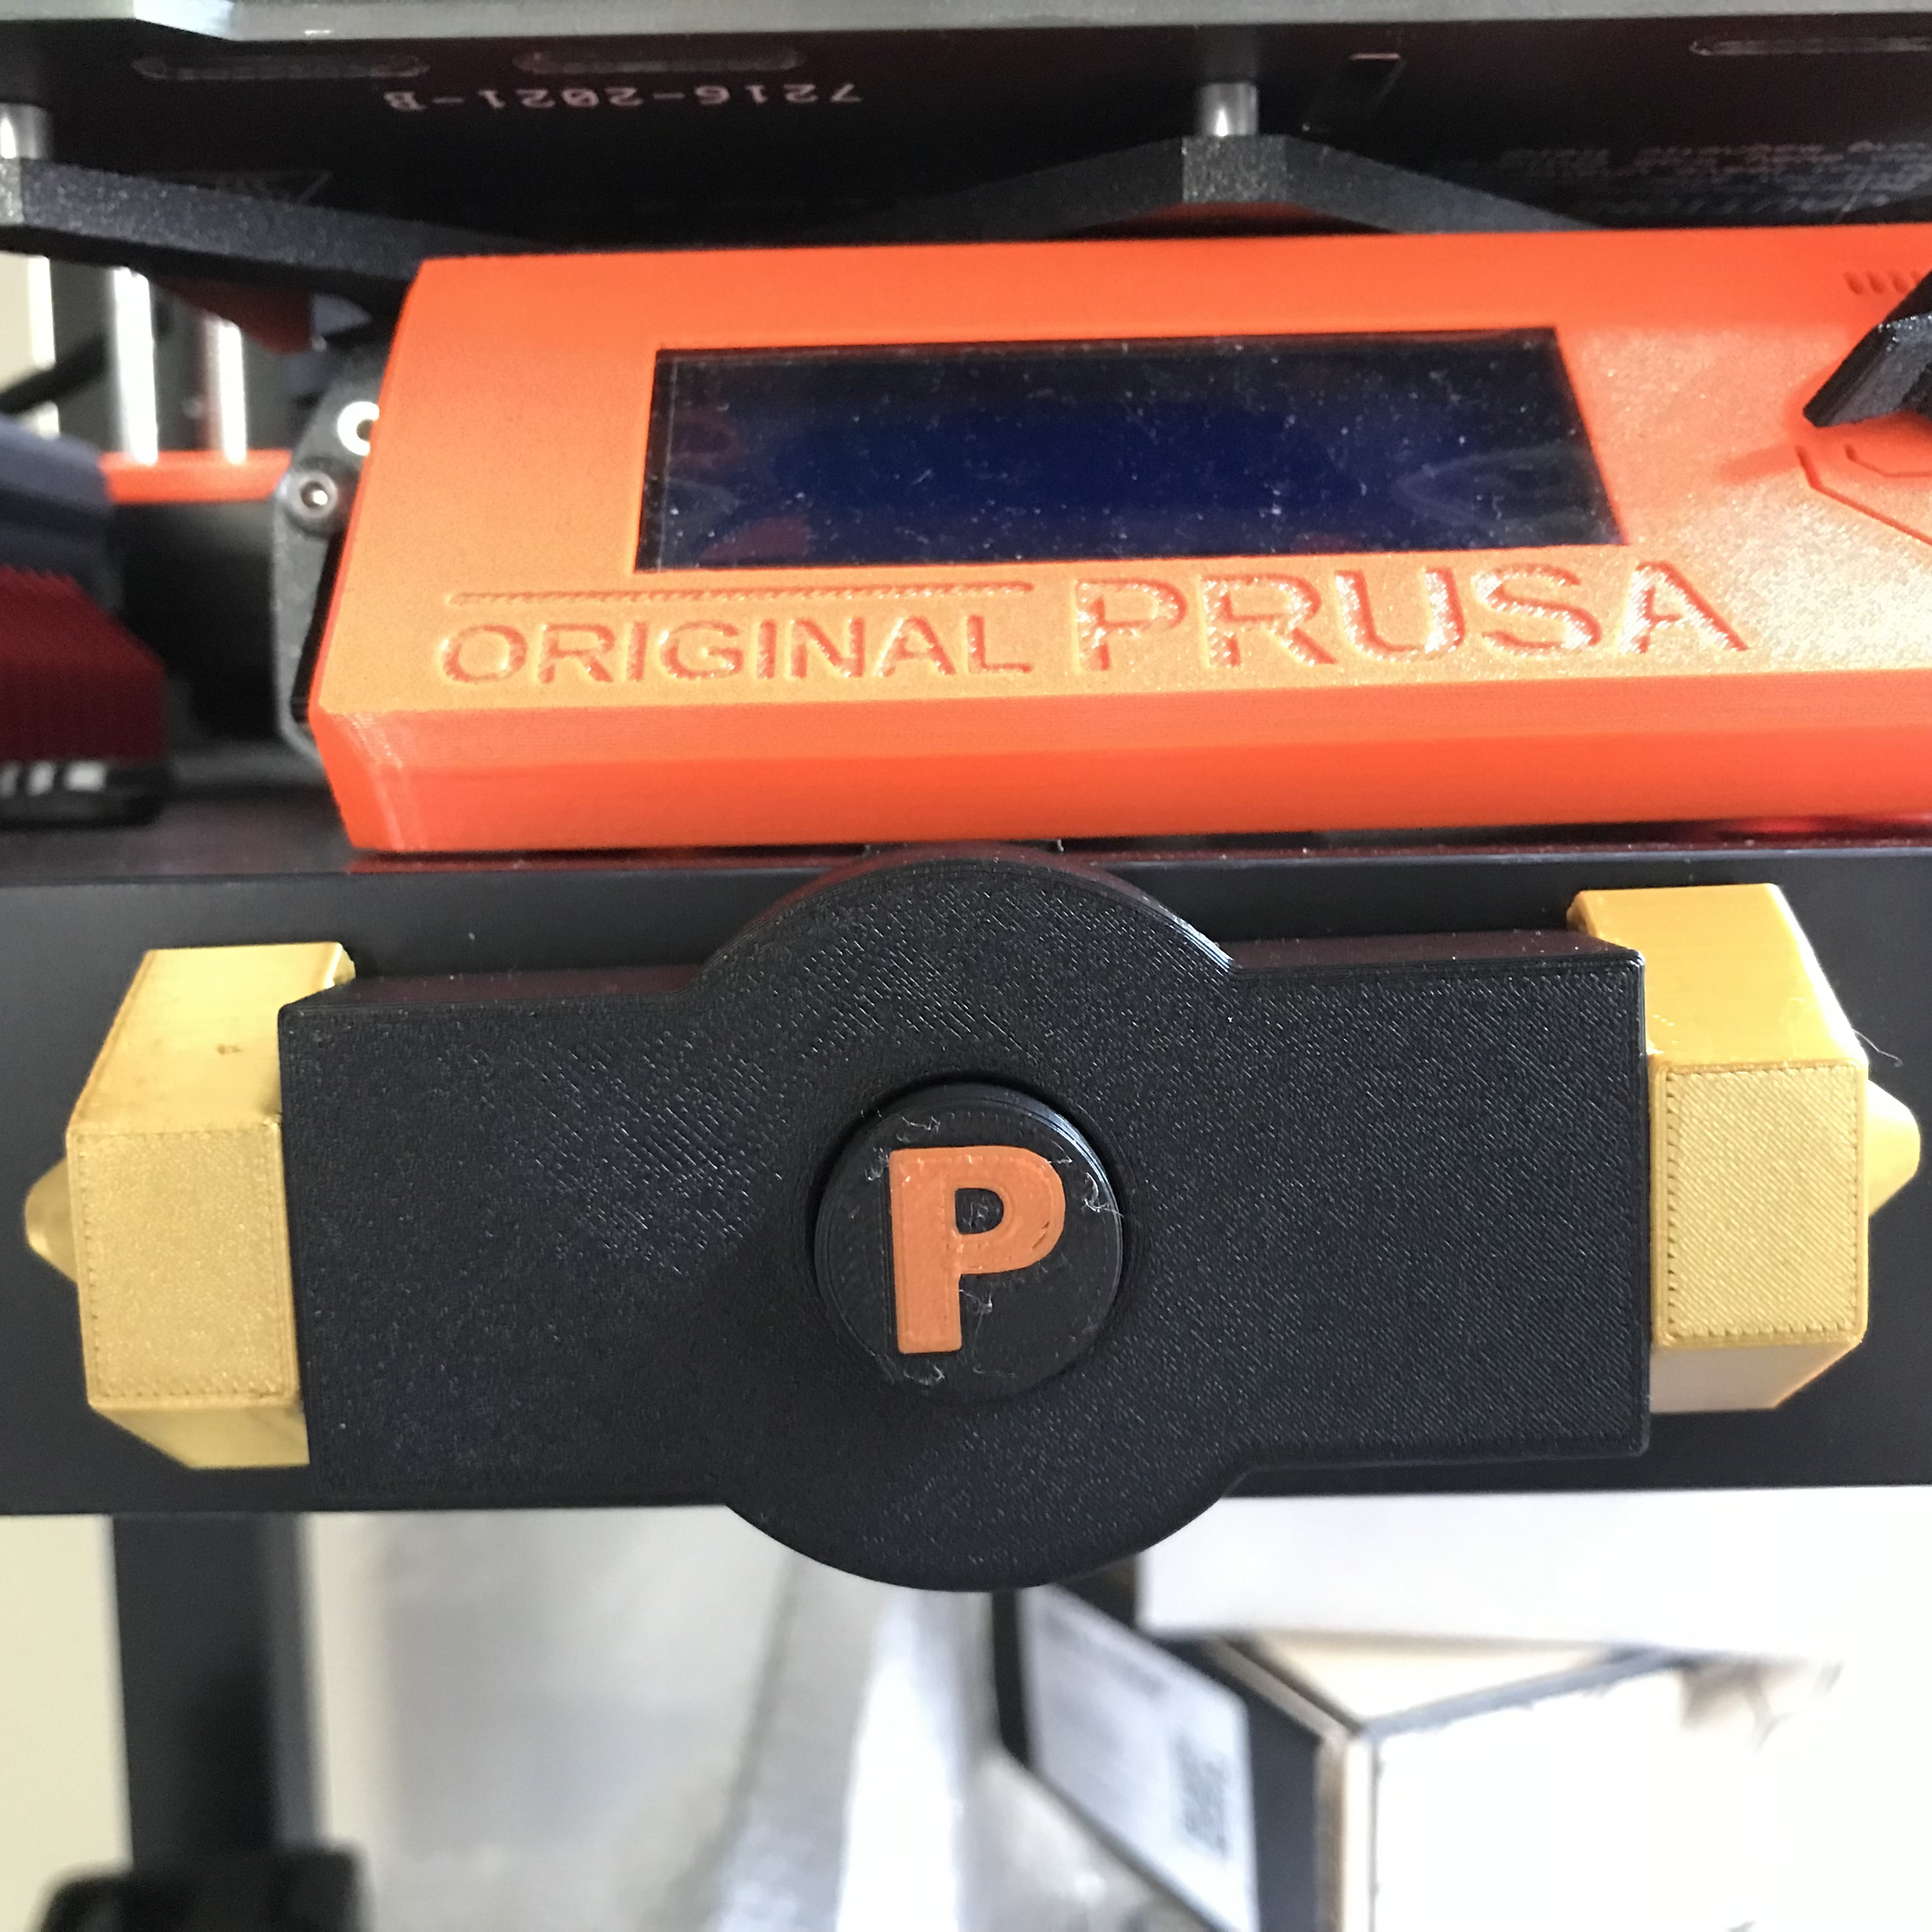
Safety locks for IKEA Lack enclosure - also for MMU
prusaprinters
<p>These press-and-turn safety locks are intended for IKEA Lack enclosures. There is a single latch version for the basic enclosure and a double latch version for stacked cabinets, like <a href="https://www.printables.com/model/128045-bottom-cabinet-for-prusa-enclosure-v2-mmu2s">this remix</a> of the V2 Prusa enclosure. Single-color and MMU multi-color versions are included.</p><h4>Required materials</h4><p>Each lock uses eight 8mm X 3mm (D x H) round magnets and can be attached to the enclosure with two or four 3.5mm screws.</p><h4>Printing instructions </h4><p>The lock has been designed for a 0.4mm nozzle and a 0.2mm layer height. Gcodes for the i3 MK3S/S+ and i3 MK3S/S+ with MMU2S are provided.<br><br>If you slice the models yourself, add a pause just before the cavities for the magnets are closed. For the single-color version of the “Blocker”, add a color change at the second-to-last layer, for the Prusa “P”. The provided gcodes have these included.</p><p><strong>IMPORTANT</strong>: Make sure the magnets are inserted in the proper orientation. The ”Blocker” must be attracted to the “Latch” and repelled by the “Base”.</p><p>The following components are required:</p><ul><li>Single latch<ul><li>1x Base-magnetic (2 magnets)</li><li>1x Blocker-single-magnetic or Blocker-single-magnetic-MMU (2 magnets)</li><li>1x Latch-single-magnetic (4 magnets)<ul><li>Mirror the latch if you want it to rotate in the opposite direction.</li></ul></li></ul></li><li>Double latch<ul><li>1x Base-magnetic (2 magnets)</li><li>1x Blocker-magnetic or Blocker-magnetic-MMU (2 magnets)<ul><li>The ”single” version should also work.</li></ul></li><li>1x Latch-magnetic (4 magnets)</li></ul></li></ul><h4>Assembly and mounting instructions</h4><ol><li>Use the “alignment template” attachments to position and align the “Base” below or above the doors of the enclosure. These attachments can easily be removed afterwards. Make sure the “Blocker“ is oriented with the two embedded magnets horizontally next to each other, not above or below each other.</li><li>Attach the “Base” to the enclosure with four (or two) 3.5mm screws. (3.0mm would probably also work.) Make sure the heads of the screws don't protrude too much, to allow the latch to rotate.</li><li> Insert the “Blocker” in the “Latch”. The magnets should drive the two components to each other.</li><li>Slide the ”Latch”-“Blocker” assembly on the clips of the “Base”. Push the “Blocker” against the “Base” as you do this to allow the clips to engage the corresponding groove in the “Latch”. Without doing this, it will not be possible for the clips to enter the groove, and you might break them. Ensure proper alignment of the “Blocker”, with an upright “P”.</li><li>Done!</li></ol><p>Let me know if you like the model! :-)</p>
With this file you will be able to print Safety locks for IKEA Lack enclosure - also for MMU with your 3D printer. Click on the button and save the file on your computer to work, edit or customize your design. You can also find more 3D designs for printers on Safety locks for IKEA Lack enclosure - also for MMU.
