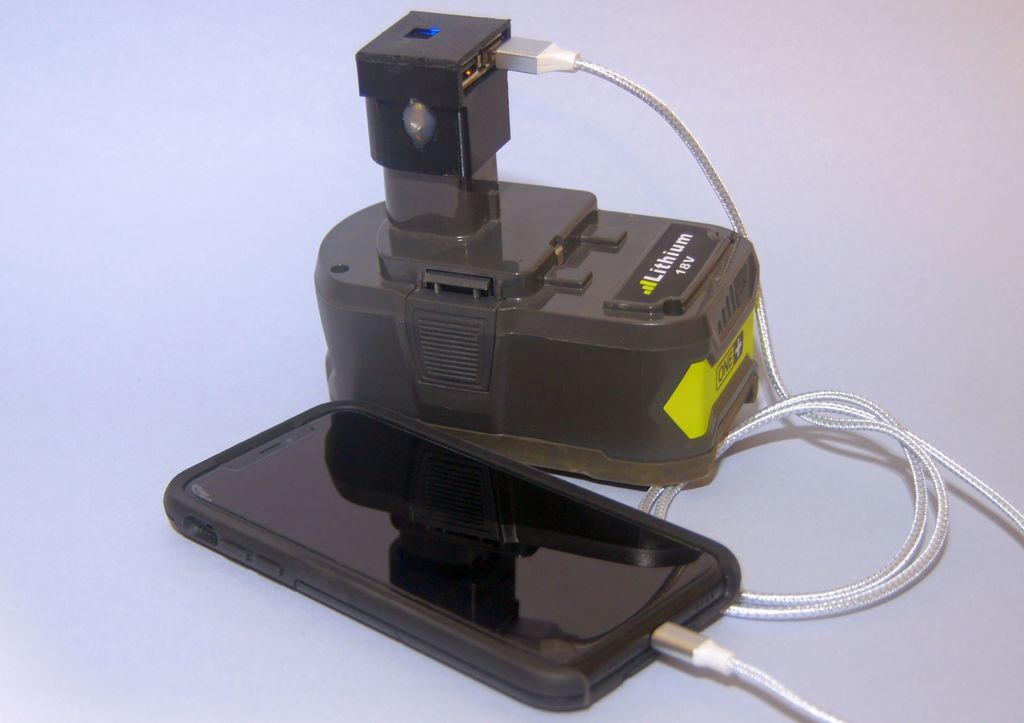
RYOBI USB Charger Battery Pack
thingiverse
Here is the latest rendition of my RYOBI battery hacks. My first one shows how to string the wires, [My Second One](https://www.thingiverse.com/thing:3272684) has an adjustable output voltage converter and now This One is just for USB devices. The circuit boards and heatsinks were inexpensive purchases from Amazon, held in place with a bead of hot-melt glue around the edges. Heatsinks stick on but don't stick well until they sit for a while so I made the lid secure them as well as have an opening to let some heat escape. I charged two dead phones simultaneously and although warm, did not soften the PLA used to print this one. Obviously allow 1.5 to 3% shrinkage if you use a product that shrinks. Note: When pressing the adapter on the battery for the first time, go slow, firm and wiggle slightly. Solid copper wire needs to compress a bit and once on, it's never failed me. If you jam it on, you may break the wire. Guess how I know that?
With this file you will be able to print RYOBI USB Charger Battery Pack with your 3D printer. Click on the button and save the file on your computer to work, edit or customize your design. You can also find more 3D designs for printers on RYOBI USB Charger Battery Pack.
