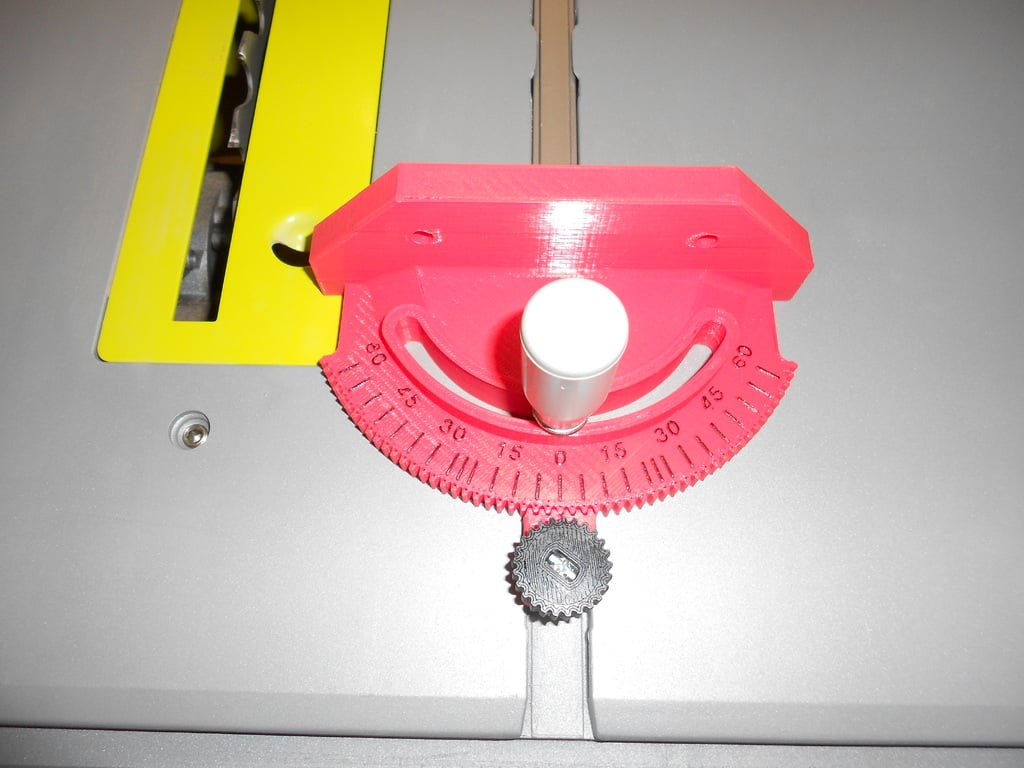
Ryobi Table Saw Miter Improvement
thingiverse
This saw is fantastic, but it has some problems with the attachments. Printing out these instructions will ensure that you never experience the miter slipping again. To adjust the graduations, I set them to 2.5 degrees and marked the crucial 22.5 degree spot. You'll need a 10-24 X 3/4" screw (I believe it's actually M5 x 1 pitch, but I couldn't find one). Grind or file the head flush with the thread on both sides and press it through the knob. To remove the old miter pin, push out the 5mm pin without turning it (it has knurls). Drill a 5mm hole in the new miter and press in the pin. Use the original large knob and washers. I used a Sharpie to restore the lettering. I printed this with PLA and everything fits perfectly together.
With this file you will be able to print Ryobi Table Saw Miter Improvement with your 3D printer. Click on the button and save the file on your computer to work, edit or customize your design. You can also find more 3D designs for printers on Ryobi Table Saw Miter Improvement.
