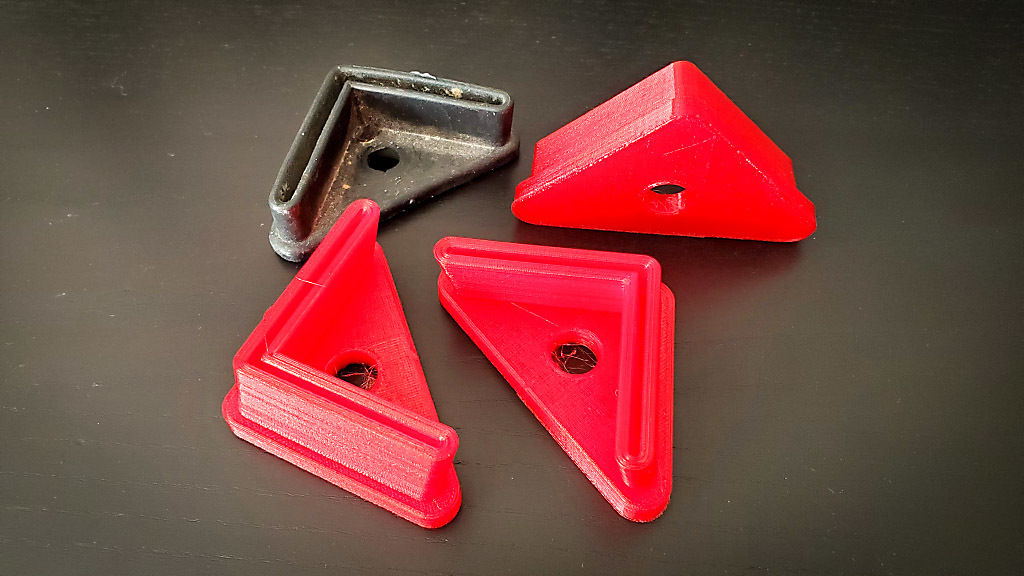
Ryobi Portable Table Saw Feet
prusaprinters
<p>Replacement feet for Ryobi Portable Table Saw.</p> <p>They fit snugly, but if you happen to still find they fall off, there is (on my saw anyway) two rectangular holes in the leg that the foot covers. Simply drill through both of these, and add a cable tie to make them stay on when lifting or moving it.</p> <h3>Print Settings</h3> <p><strong>Printer Brand:</strong></p> <p>Prusa</p> <p class="detail-setting printer"><strong>Printer: </strong> <div><p>i3 MK2.5</p></div> <p><strong>Rafts:</strong></p> <p>No</p> <p class="detail-setting supports"><strong>Supports: </strong> <div><p>No</p></div> <p><strong>Resolution:</strong></p> <p>0.32</p> <p class="detail-setting infill"><strong>Infill: </strong> <div><p>25% and 40% - See Image</p></div> <p><strong>Filament:</strong> Sainsmart TPU Red</p> <p><br/> <p class="detail-setting notes"><strong>Notes: </strong></p> </p><div><p>See guide images for different infill zones. Use your slicer (Prusa Slicer) to add zones as showin in the images for more infill under the 'L' shape of the foot, and less around the fixing hole. If you can't/won't then choose 40% Gyroid, and enough perimeters (3 at least) to have no infill (i.e. solid) in the 'L' shaped piece that holds the metal legs.</p></div> </p></p></p> Category: Parts
With this file you will be able to print Ryobi Portable Table Saw Feet with your 3D printer. Click on the button and save the file on your computer to work, edit or customize your design. You can also find more 3D designs for printers on Ryobi Portable Table Saw Feet.
