Ryobi Li-Ion Battery Pack
prusaprinters
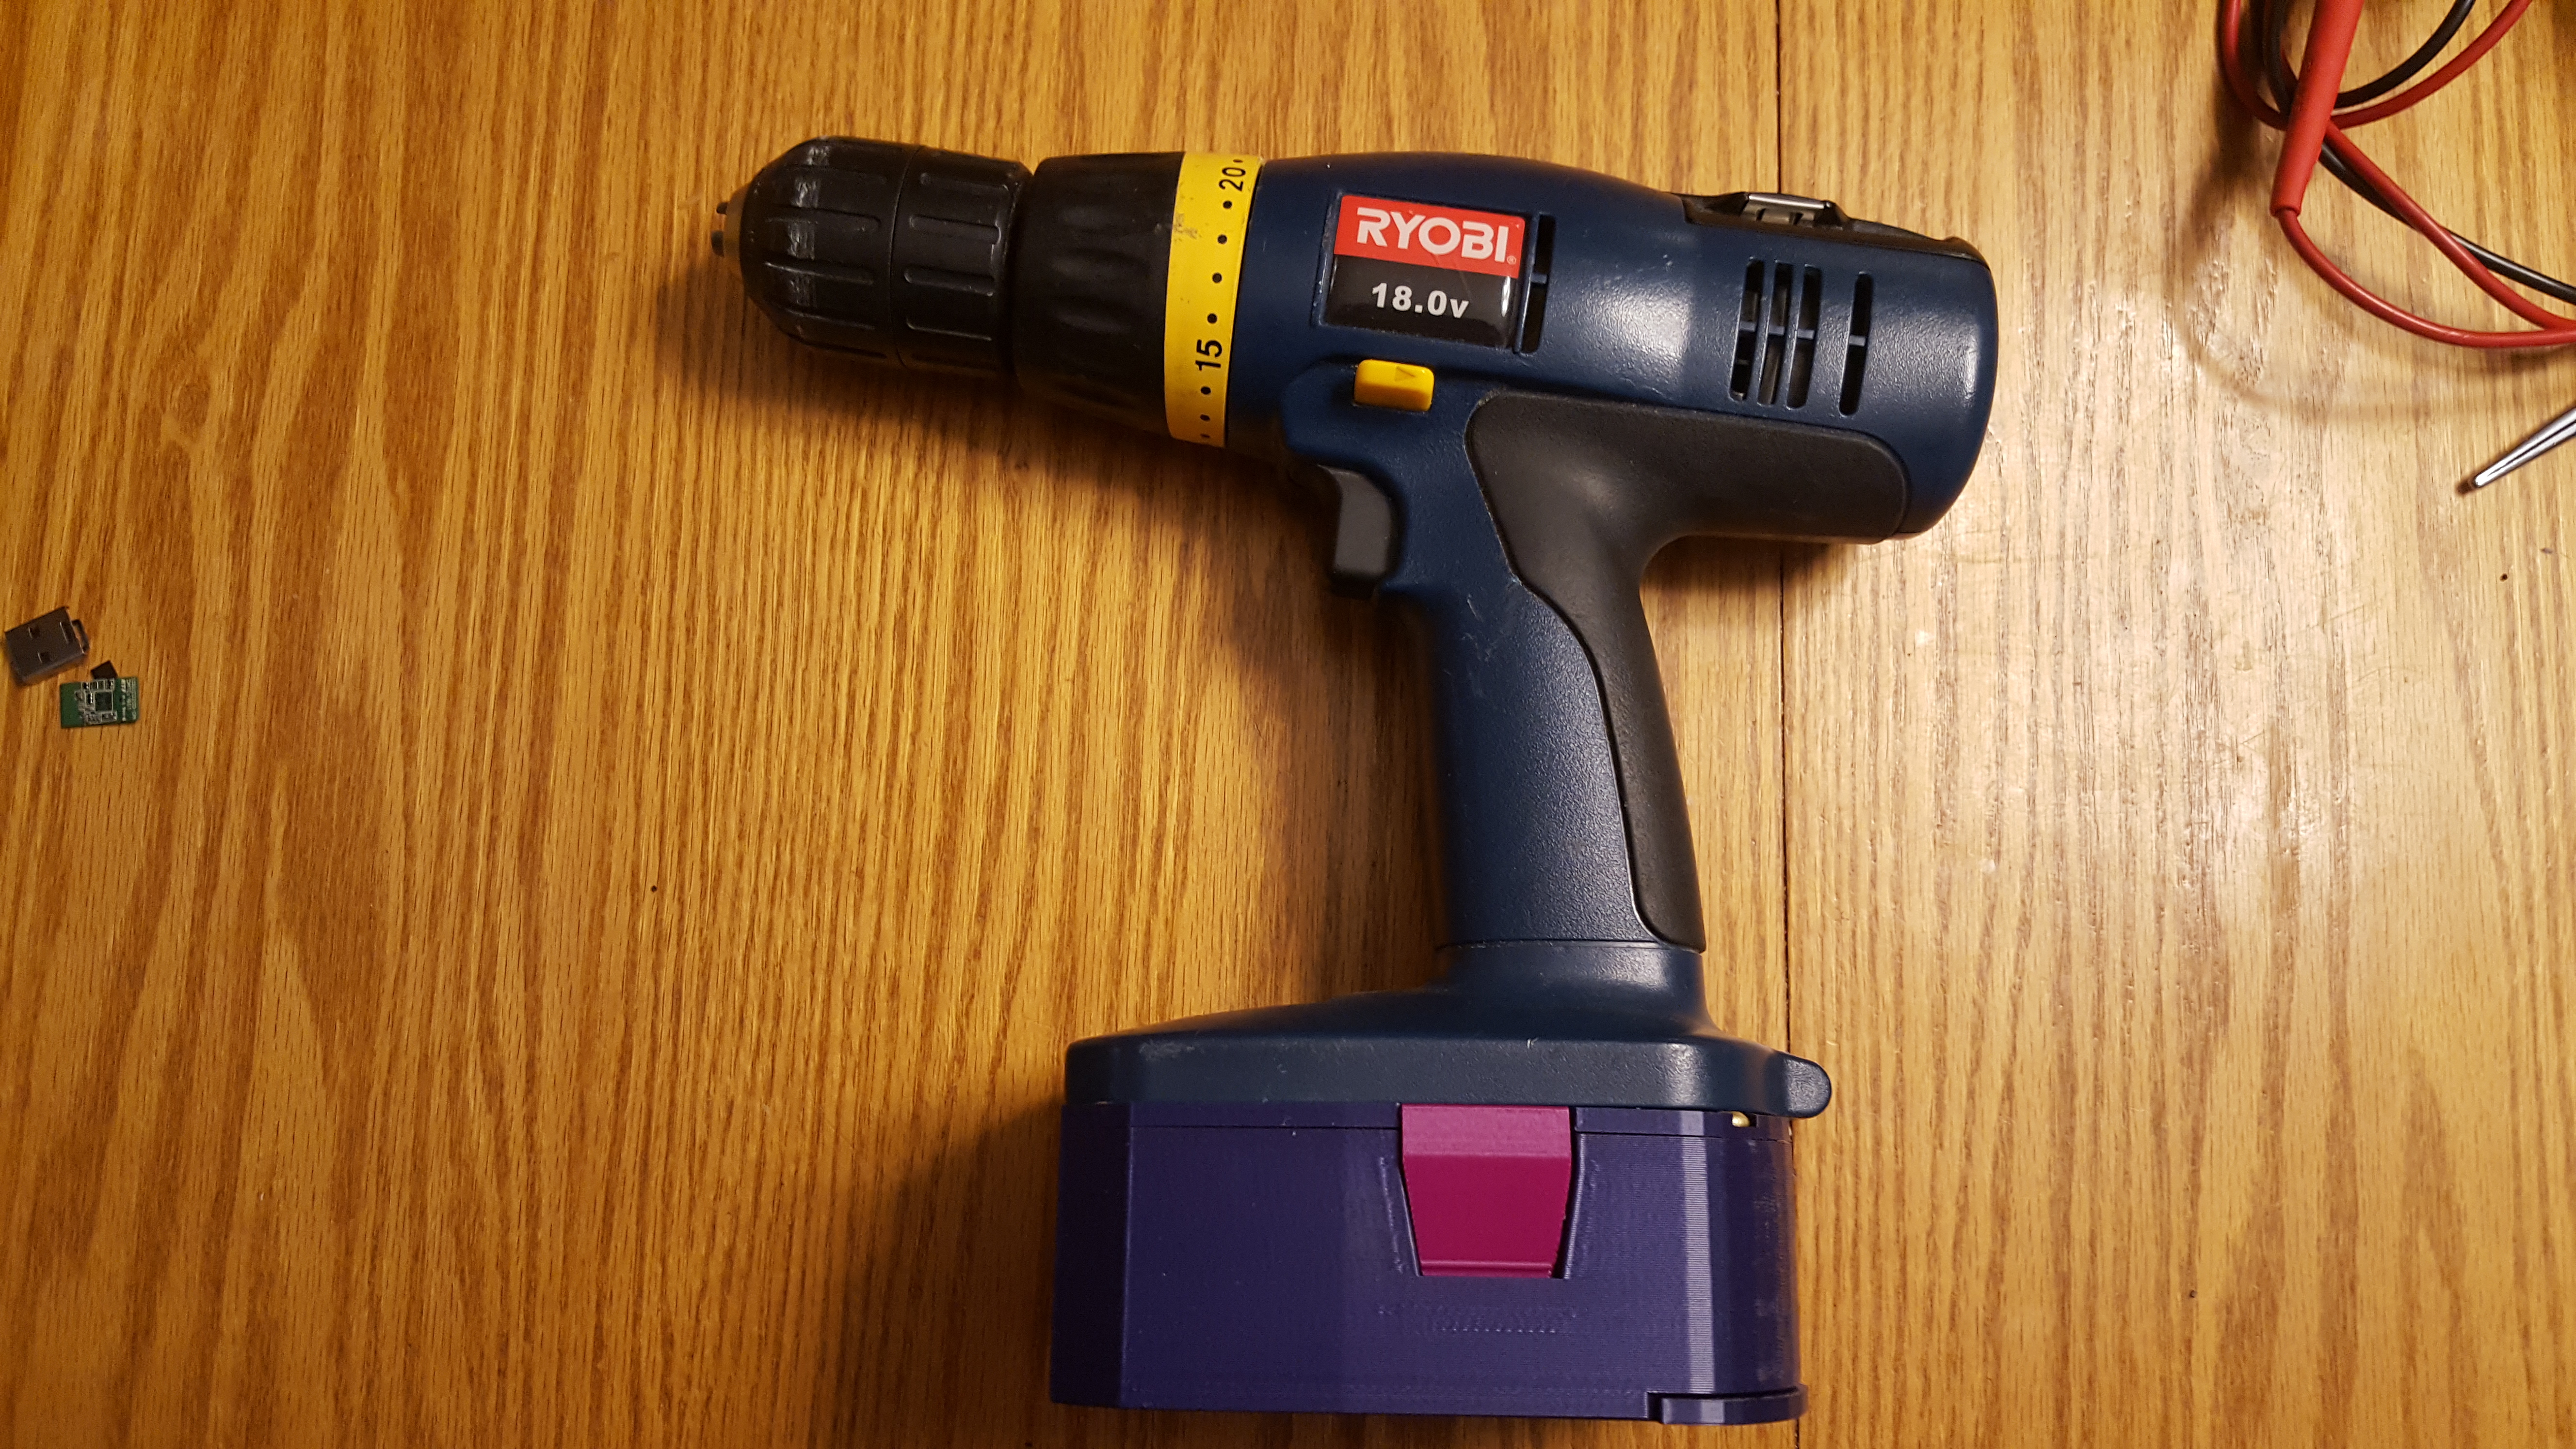
<p>While working on my Lack project my 10 year old Ryobi batteries which had been rebuilt a couple times just weren't cutting it anymore... So I went looking for a better option...</p> <p>3D printer - Check...<br/> ton of 18650 cells - Check...</p> <p>I found a couple reference models on thingyverse that I've used before (like enif's battery case design ideas, and leaning on Simhopp's modeling work on the case I redrew it, modified it and built a couple extra parts to suit my needs...</p> <p>In the end, this pack is ~50% the weight of a Ryobi NiCad case (600g vs 1kg) and has almost 4x the capacity (~1200mah NiCad vs ~5000mah (2x2500mah) LiIon). Images of the scale included, I didn't know it was going to be this light... (on the downside, my large drill now can tip it over lol, might have to add weight.</p> <p>Let me state this here first:</p> <ol> <li>LITHIUM ION BATTERIES CAN BE VERY DANGEROUS! Improper charging, accidental shorting of cables, etc... can cause them to catch fire and/or explode</li> <li>If your not confident you know what you're doing, I'd go but another battery pack, its much safer. I'm not going to go into too much detail on the wiring for that reason, if you understand it, it'll be straight forward.</li> <li>DO NOT charge ths pack on the factory charger. Why not? its designed for NiCad or NiMH packs, this pack also has no temperature sensing. Remove the cells and charge seperately in a proper charger OR, like I did, add balance leads and build a adapter to connect it to a proper LiIon charger. What happens if you do? See #1...<br/> Comments greatly appreciated, let me know what you think!</li> </ol> <h3>Print instructions</h3><h3>Category: Tools Print Settings</h3> <p><strong>Printer Brand:</strong> Prusa</p> <p><strong>Printer:</strong> <a href="http://amzn.to/2DxjZlB">i3 MK2S</a></p> <p><strong>Rafts:</strong> No</p> <p><strong>Supports:</strong> Yes</p> <p><strong>Resolution:</strong> .35mm</p> <p><strong>Infill:</strong> Varies</p> <p><strong>Notes:</strong></p> <p>All Parts printed in RepRapper PLA, 215 1st layer, 200 remaining, 60C hotbed.<br/> Support varied part to part:<br/> No Support:</p> <ul> <li>contact holder</li> <li>battery holder</li> <li>battery door.<br/> Support on build plate only: </li> <li><p>everything else.<br/> Infill Varied as well part to part:<br/> Release Clips - 100%<br/> everything else - 10%</p> <p>Watch the infill type & number of walls depending on the program you slice with, I believe the case bottom I added a extra wall to keep it from trying to infill the little section in the middle as it cut the print time greatly.</p> <h3>Post-Printing</h3> </li> </ul> <p><strong>Build & Assembly Notes:</strong></p> <p>This could be fun...<br/> I tried to document the process in pictures, they should be in order and I hope its fairly straight forward.<br/> let me know if you need much more information on a particular step.</p> <p>General:</p> <ul> <li>Print the parts</li> <li>wire the battery box</li> <li>build & wire the contacts ( I used brass sheet cut 12.5mm wide (~1/2") and ~50mm long, stick it in the top and roll it over, bend it around the keeper posts, solder on the wires)</li> <li>put battery box in the case bottom</li> <li>put contacts in the top and secure with a screw (pulled from a bag of screws from toys that have died)</li> <li>fit release clips in with springs (salvaged mine from 2 ball point pens)</li> <li>screw top on bottom (I used 4 3/4" #6 screws, was all out of plastic taping screws)</li> <li>insert batteries... (BIG WARNING! MAKE SURE THEY GO IN THE RIGHT WAY!!! Each stack of two go the same direction, orientation is on the bottom of the battery box)</li> <li>slide door into place</li> <li>Profit!</li> <li><h3>How I Designed This</h3> <h3>Bill Of Materials:</h3> </li> </ul> <p><strong>The parts below are required to finish the pack:</strong></p> <p>1x ryobi battery box<br/> 1x ryobi battery door<br/> 1x ryobi case bottom<br/> 1x ryobi case top<br/> 1x ryobi contact holder<br/> 2x ryobi release clip</p> <p>Also:<br/> 4x #6x3/4" screws (or M3 which is what I built it around)<br/> 1x "small" screw (I don't have a size, I printed a small hole and found a screw to fit)<br/> 2x springs - I stole these out of 2 Pentel ball point pens I had lying around.</p> <h3> Revisioning:</h3> <p>v1.0 - Initial upload</p>
With this file you will be able to print Ryobi Li-Ion Battery Pack with your 3D printer. Click on the button and save the file on your computer to work, edit or customize your design. You can also find more 3D designs for printers on Ryobi Li-Ion Battery Pack.