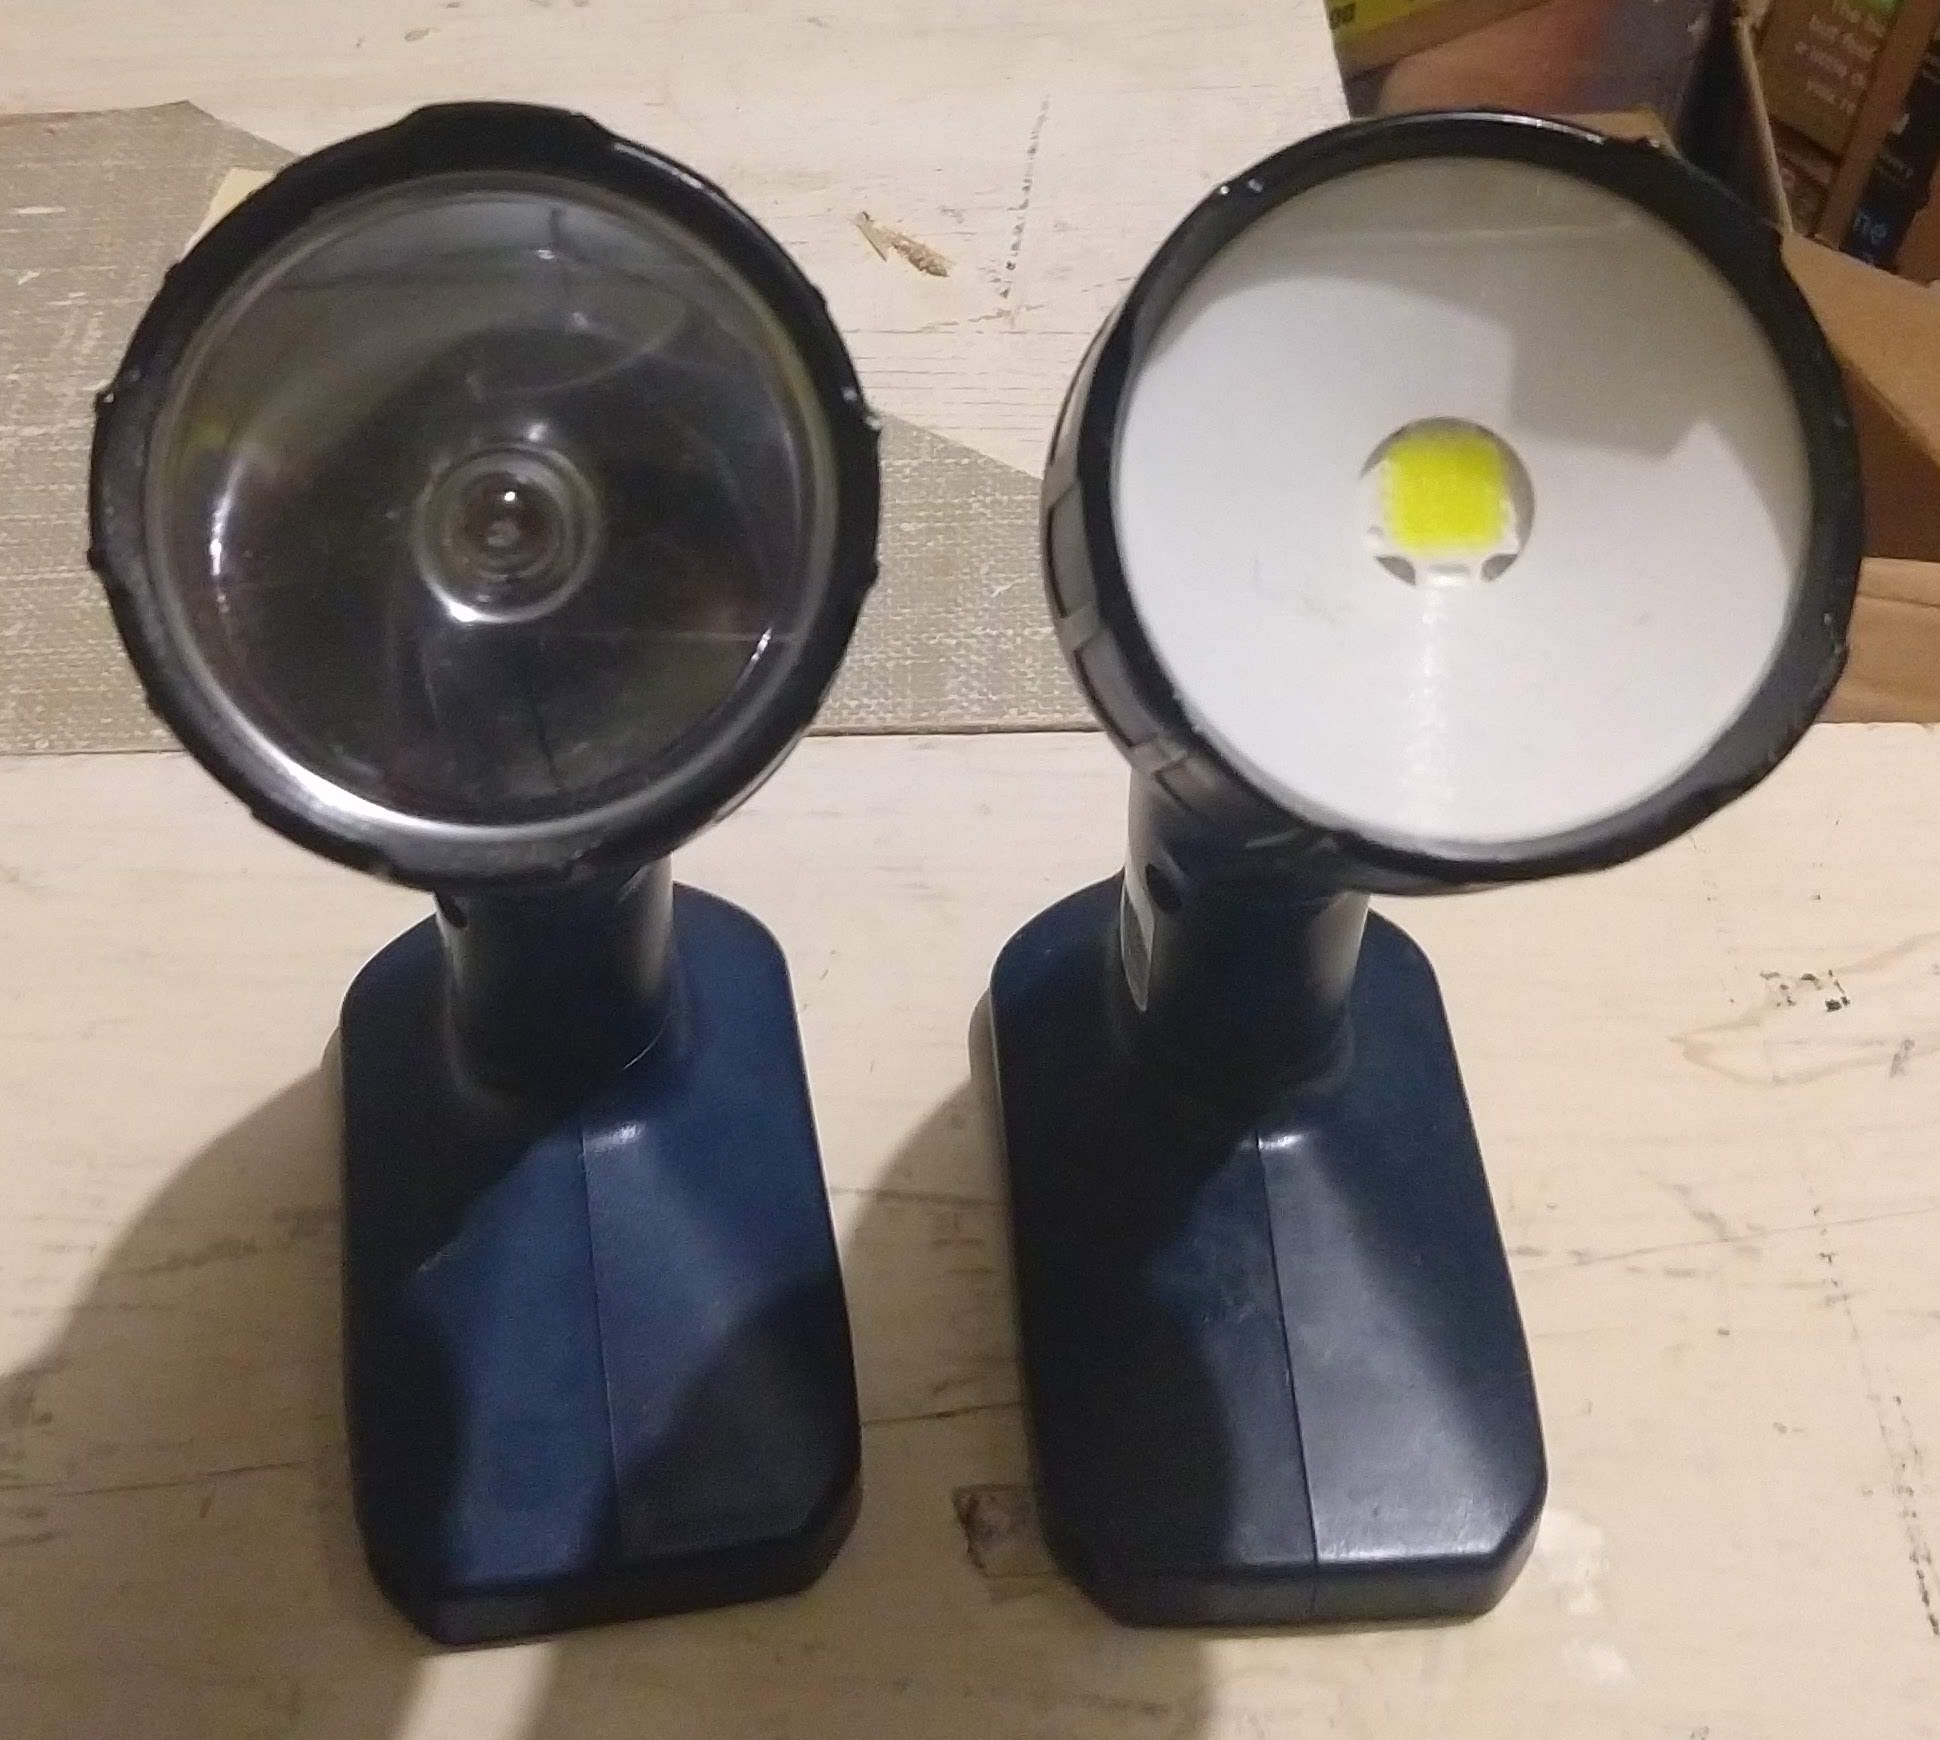
Ryobi Flashlight LED Retrofit
prusaprinters
<p>Another just because I could project. I converted an old 18v flashlight to an LED for lumen overkill with active cooling. The model used for the conversion was a FL1800 but it should be identical to the more common P700. </p><h4>Hardware Used:</h4><ul><li>10watt 9v-11v LED <a href="https://www.amazon.com/gp/product/B01DBZJY4S">package</a></li><li>Miniature 24v step-down <a href="https://www.amazon.com/gp/product/B0758ZTS61">converter</a></li><li>30x10mm 12v <a href="https://www.amazon.com/gp/product/B07K1ZLLH7">fan</a></li><li>38x10mm northbridge <a href="https://www.amazon.com/Unxuey-Aluminum-Computer-Radiator-Motherboard/dp/B07X848WQ2">heat sink</a> (remove mounting tabs)</li><li>9x9x4mm heat sink (for the converter)</li><li>M2.5 x 8mm screws</li></ul><p>The only component I actually bought for this project was LED and the rest was left over from other projects or salvaged.</p><h4>Assembly: </h4><p>Your mileage may vary but the rough assembly instructions are as follows. Measure twice and cut once are words to live by. Doing test fits before cutting, drilling or even gluing is recommended.</p><h5>Modify the shell:</h5><ul><li>removing webbing (red)</li><li>drilling air exhaust holes (yellow)</li><li>drilling air intake holes (green)</li><li>(optional) installing baffling (vinyl electrical tape) between halves (purple)<br><img class="image_resized" style="width:60.62%;" src="https://media.prusaprinters.org/media/prints/154730/rich_content/861d4a3c-4f48-4c5c-b567-721a8fc6b9e5/img_20220327_152354886_a.jpg#%7B%22uuid%22%3A%22d5287aee-5276-46cb-980f-2106328d425c%22%2C%22w%22%3A3432%2C%22h%22%3A1950%7D"><br><img class="image_resized" style="width:42.05%;" src="https://media.prusaprinters.org/media/prints/154730/rich_content/fc68ff47-05ca-4ac1-a02c-bc8c27d60416/img_20220327_152331593_a.jpg#%7B%22uuid%22%3A%229b6cacf5-8efd-4ae1-a579-56166bf25f78%22%2C%22w%22%3A2232%2C%22h%22%3A2028%7D"></li></ul><h5>Wire electronics (executive executive summary):</h5><ul><li>adjust converter to output 9v</li><li>use thermal adhesive mount LED and converter to respective heat sinks</li><li>snip the bulb wires from socket </li><li>connect existing negative to converter, fan and LED</li><li>connect existing positive to converter only</li><li>connect converter output to both fan and LED</li></ul><h5>Final assembly </h5><ul><li>drill holes in shell and LED heatsink for bracket mounting on both halves of shell</li><li>attach fan and duct to led heatsink<ul><li>will have to be rotated for screws to align</li></ul></li><li>mount LED assembly to one side of shell<br><img class="image_resized" style="width:42.4%;" src="https://media.prusaprinters.org/media/prints/154730/rich_content/0ead5500-c533-4a9f-83dd-a1d272d0edc3/img_20200906_155237199_a.jpg#%7B%22uuid%22%3A%22827f6eef-9967-4aba-9a5f-58453578cad6%22%2C%22w%22%3A2161%2C%22h%22%3A2057%7D"></li><li>tuck converter into rear portion of shell and route wires around<br><img class="image_resized" style="width:42.19%;" src="https://media.prusaprinters.org/media/prints/154730/rich_content/a26b2fe5-87c3-4a18-af33-5cafa845b054/img_20200906_155241461_a.jpg#%7B%22uuid%22%3A%228e444969-390c-41f1-8b78-0db1ae11cfa4%22%2C%22w%22%3A3024%2C%22h%22%3A2587%7D"></li><li>close shell with other half and mount other side of LED assembly</li><li>reassemble handle of flashlight</li><li>place cover over LED and thread flashlight outer cover onto it.</li></ul>
With this file you will be able to print Ryobi Flashlight LED Retrofit with your 3D printer. Click on the button and save the file on your computer to work, edit or customize your design. You can also find more 3D designs for printers on Ryobi Flashlight LED Retrofit.
