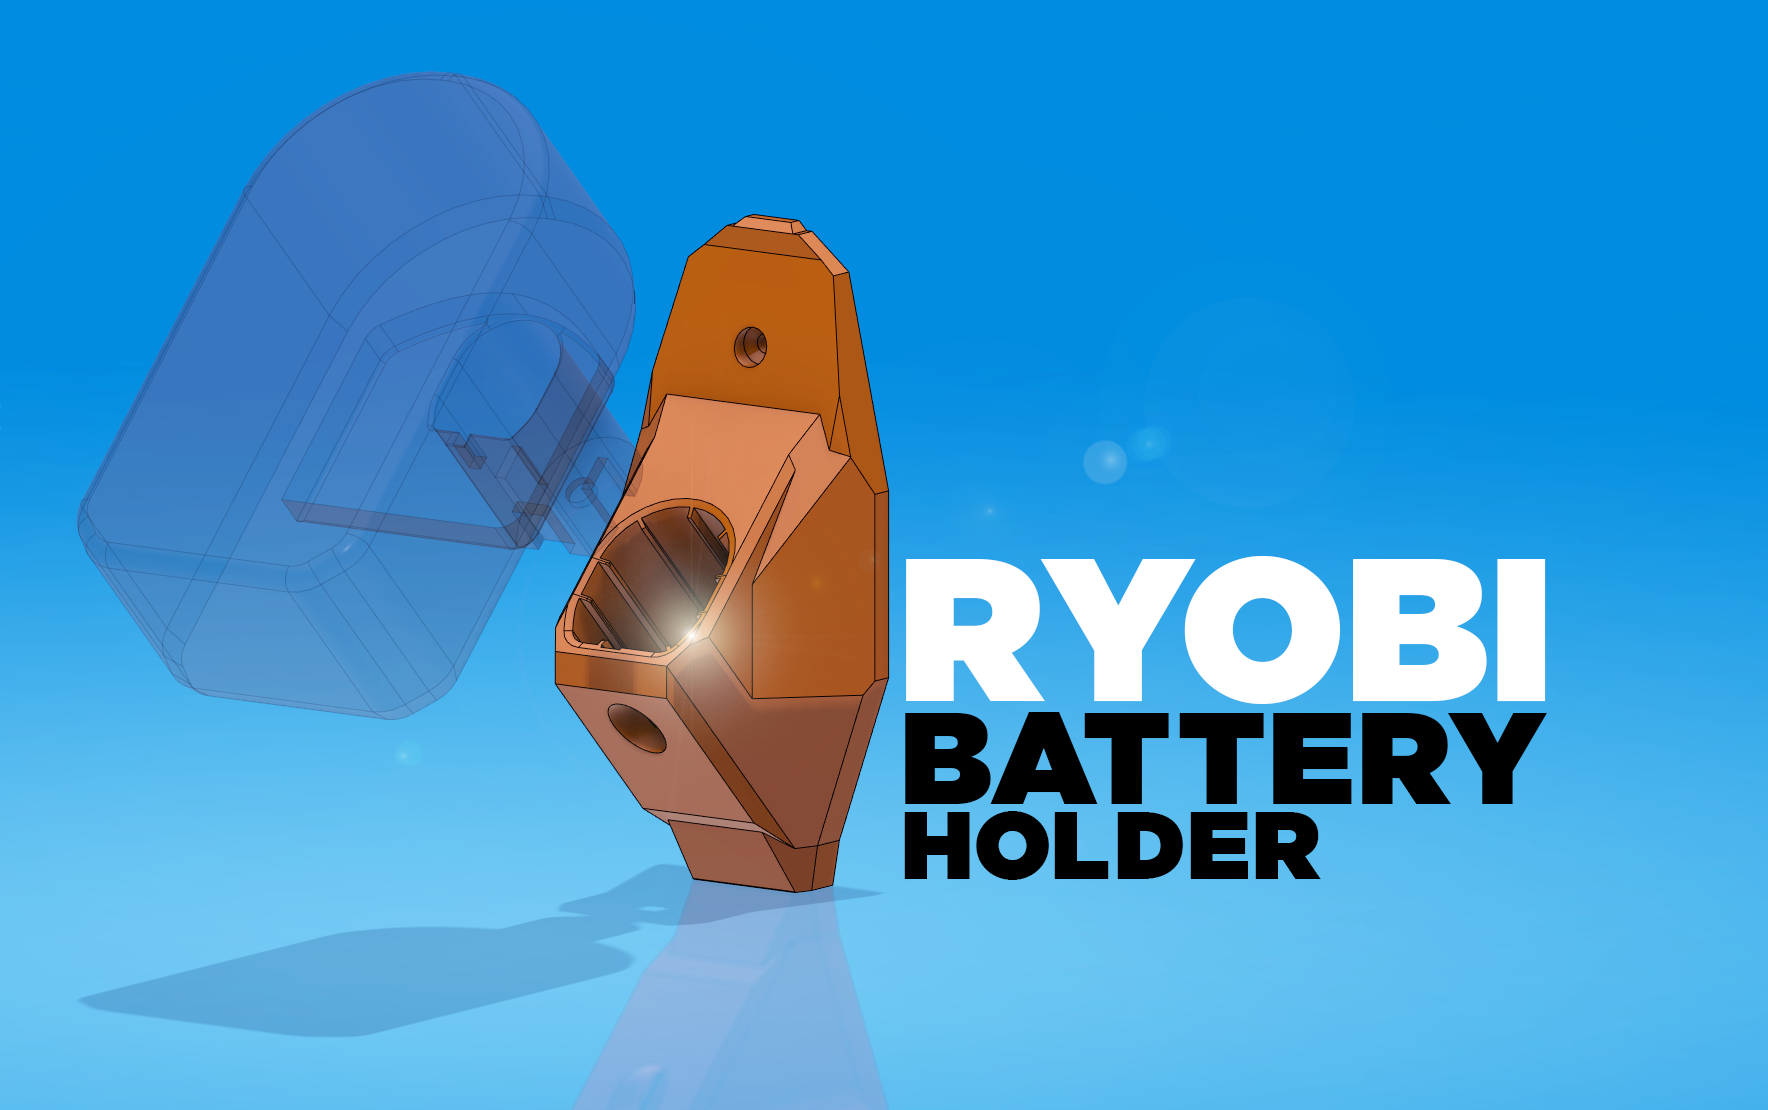
Ryobi Battery Holder
prusaprinters
<figure class="image image-style-align-right image_resized" style="width:24.73%;"><img src="https://media.printables.com/media/prints/209489/rich_content/ab1d8acc-4173-480f-be4a-116ba0419509/ryobi-battery-holder-hero-1.png#%7B%22uuid%22%3A%22957c440d-36de-4999-9582-d2ceaf85dc1a%22%2C%22w%22%3A804%2C%22h%22%3A1840%7D"></figure><h4><strong>Ryobi Power Tool Battery Holder</strong></h4><p>This holder is designed to hold Ryobi batteries while looking sharp when empty. It's beefed up structure holds the battery at a 45 degree angle, allowing the battery to easily slide into place to become one with the wall.</p><h3>Print instructions</h3><p><strong>HARDWARE</strong><br>• Screws: x2 wood self tapping countersunk screws<br>• Marker, pencil, or pointed tip<br>• Screw Driver</p><p> </p><p><br> </p><p> </p><p> </p><figure class="image image-style-align-left image_resized" style="width:38.33%;"><img src="https://media.printables.com/media/prints/209489/rich_content/8b722a6a-ae57-4eda-8093-3ee48e73c24b/pxl_20220512_010536142.jpg#%7B%22uuid%22%3A%2202eb2f5b-9692-4211-bdbd-f22852439660%22%2C%22w%22%3A3024%2C%22h%22%3A4032%7D"></figure><p> </p><p> </p><p><strong>INSTRUCTIONS</strong><br>• Position the battery holder on the wall. Mark the hole position using a pencil or pointed tip.<br>NOTE: The edges of the battery holder are are straight up and down which allows you to use a level if need (hopefully better than me lol)</p><p> </p><figure class="image image-style-align-left image_resized" style="width:34.84%;"><img src="https://media.printables.com/media/prints/209489/rich_content/cfe99c56-afbc-4414-92a4-fd8c64fbaa99/pxl_20220512_013841651.jpg#%7B%22uuid%22%3A%22abb4e078-69a2-4d91-bcb4-d84d68ff08a9%22%2C%22w%22%3A3024%2C%22h%22%3A4032%7D"></figure><p>• Using self tapping screws insert the 4 screws into each corner of the holder. Depending on the type of wall you are screwing into you might want to use wall anchors or screw directly into a stud.<br>(Optional) drill pilot holes for screws using a diameter smaller than the screw.</p><p>• If installing more than one battery holder please notice the notch on the top and bottom, these interlock slightly for easier alignment for placement. </p><p><i>If batteries larger than 4ah you might want to increase this gap to prevent batteries above from blocking the opening for the lower holder.</i></p><figure class="image image-style-align-right image_resized" style="width:50%;"><img src="https://media.printables.com/media/prints/209489/rich_content/def4fcdf-3247-4d63-952c-0f39f40faf8b/ryobi-battery-holder-animation.gif#%7B%22uuid%22%3A%22bb0af6da-eae0-4fc4-87e1-4204f79b022a%22%2C%22w%22%3A300%2C%22h%22%3A169%7D"></figure><p> </p><p> </p><p> </p><p> </p><p> </p><p> </p><p> </p><p><strong>PRINT SETTINGS</strong><br>Filament: PLA <i>(PETG or ABS for heavier duty storage)</i><br>Nozzle Size: 0.4mm<br>Print Height: 0.2-0.35mm<br>Infill: 10-20%</p><p> </p><p> </p><p><strong>RELATED PRINTS</strong></p><figure class="image image-style-align-left image_resized" style="width:50%;"><img src="https://media.printables.com/media/prints/209489/rich_content/0a5a13ee-1e02-4316-b6b9-30e1c00d712c/ryobi-tool-holder-v2-small.png#%7B%22uuid%22%3A%2234c1a075-2b4f-49e8-aeac-c5ead080e990%22%2C%22w%22%3A2000%2C%22h%22%3A1500%7D"></figure><h4> </h4><h4> </h4><h4>Ryobi Tool Holder</h4><p><strong>Available </strong><a href="https://www.printables.com/model/116526-tool-holders-ryobi"><strong>HERE</strong></a></p>
With this file you will be able to print Ryobi Battery Holder with your 3D printer. Click on the button and save the file on your computer to work, edit or customize your design. You can also find more 3D designs for printers on Ryobi Battery Holder.
