Ryobi 18V Powered Portable Radio
thingiverse
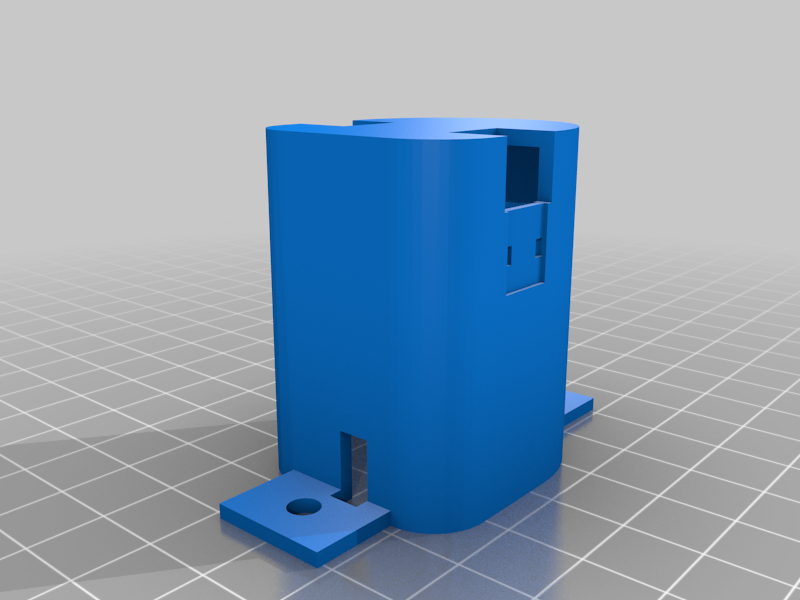
I grabbed the Ryobi Battery connector, stripped off its ears so it could be securely bonded into the opening in my Sony portable radio's side panel. The radio itself is essentially hollow towards the end, providing ample space for the battery and a DC-DC converter (set to operate at 18V to 6V). I also added a green switch to allow me to shut off the battery, preventing it from draining due to the DC-DC converter's operation. This way, I'm assured that in case of an emergency, I don't need to have D cells on hand - my garage is always stocked with charged Ryobi batteries. To create the hole, I applied masking tape over the area on the radio's side panel where I wanted the opening. Next, I positioned the battery connector face down where I had marked it and traced its outline with a pencil. Then, I drilled a few holes around the pencil line before using a Dremel tool equipped with a rotary rasp to carefully cut out the designated area. Once done, I smoothed the edges by filing them and then bonded the connector into place. Not all radios will have sufficient space to accommodate an 18V Ryobi Battery connector. However, you can also install the battery outside of the radio if necessary.
With this file you will be able to print Ryobi 18V Powered Portable Radio with your 3D printer. Click on the button and save the file on your computer to work, edit or customize your design. You can also find more 3D designs for printers on Ryobi 18V Powered Portable Radio.