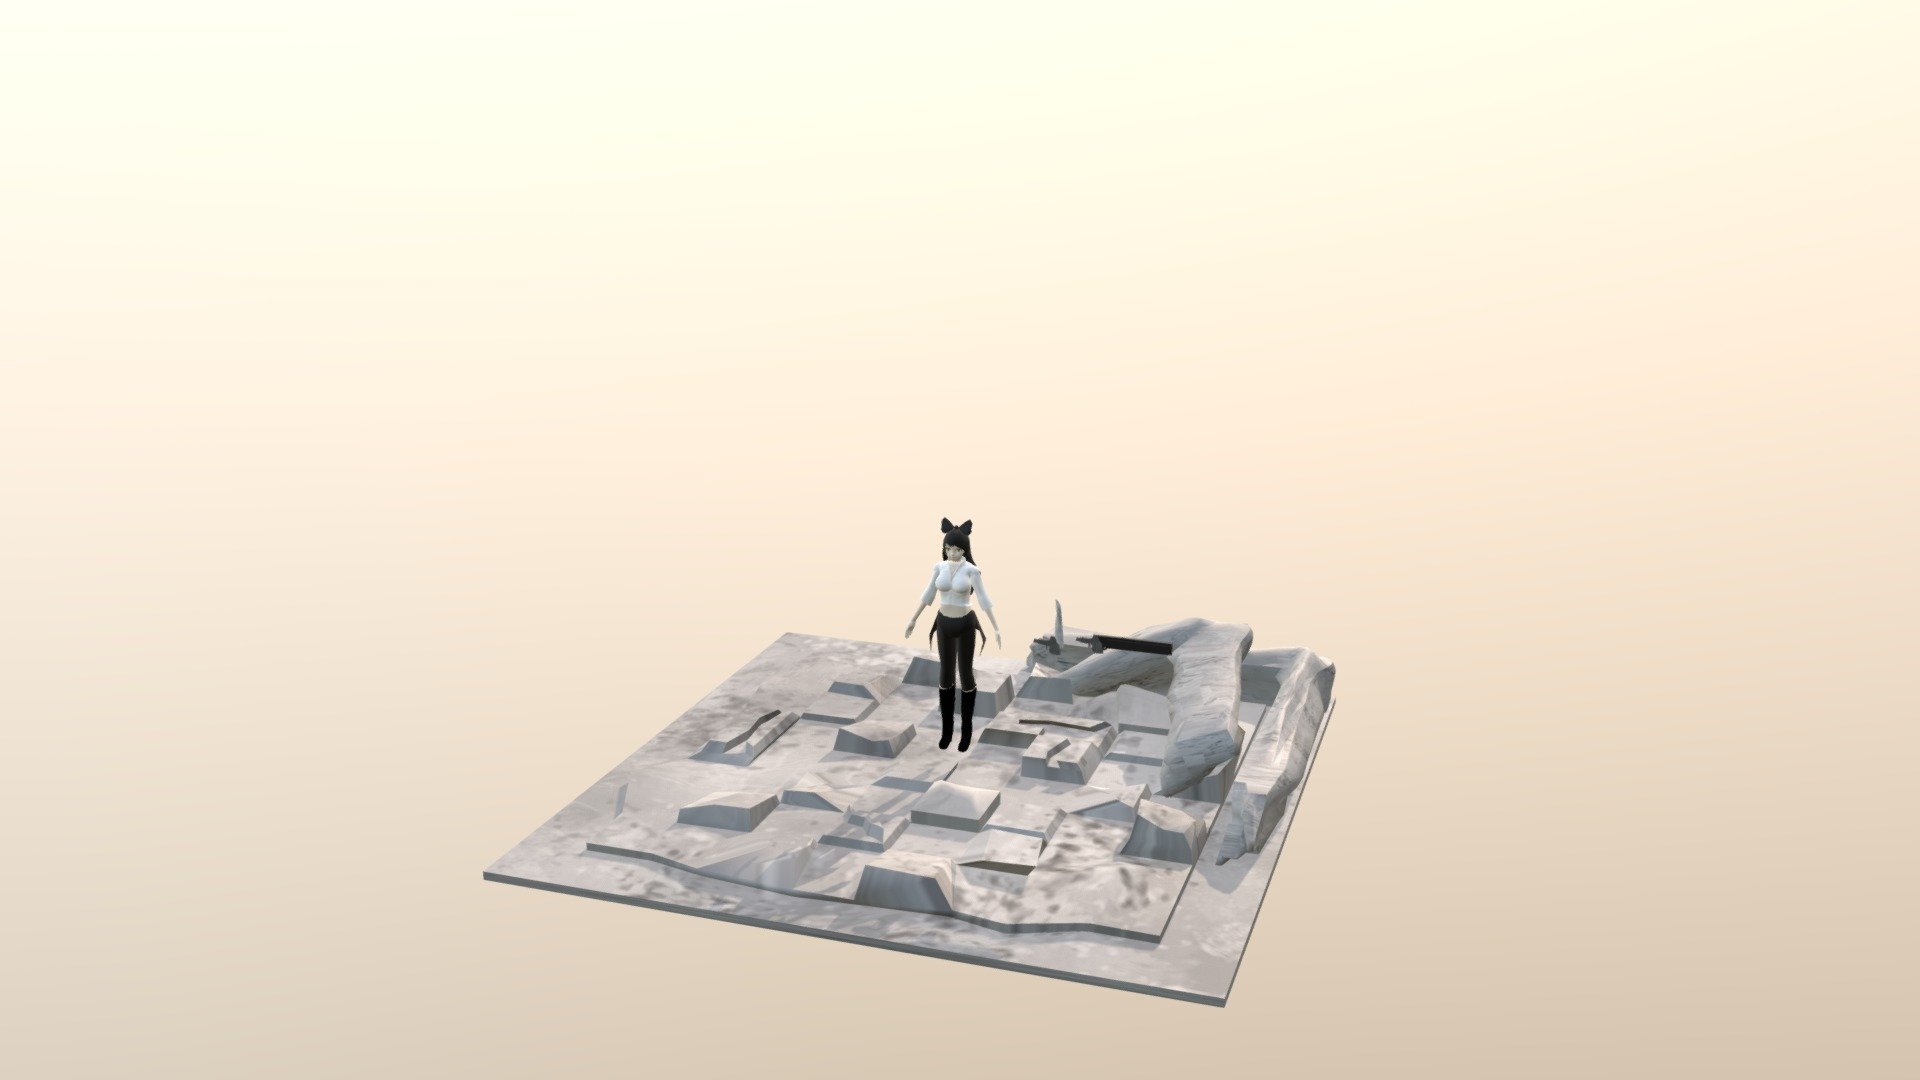
RWBY Blake
sketchfab
Creating a miniature project as an introduction to the world of coding is always exciting. It's the perfect opportunity to get hands-on experience and build confidence in your skills. This mini-project serves as a stepping stone, allowing you to develop problem-solving abilities while working with a real-world application. Let's begin by breaking down what we're trying to accomplish: creating a simple program that interacts with the user, demonstrates control flow, and showcases basic coding principles. We'll be using Python for this project, but the same concepts apply across various programming languages. To start off, open your preferred code editor or IDE (Integrated Development Environment). For beginners, I recommend sticking with an intuitive interface like PyCharm. If you're not already familiar with the basics of Python, take a moment to brush up on variables, data types, and control structures. Once you have everything set up, create a new project and name it something that resonates with your project's purpose – in this case, "Maya Mini Project." Now, let's begin writing our code! **Step 1: Setting Up the Environment** Before diving into coding, ensure that your environment is properly configured. This includes having Python installed on your computer, along with any necessary libraries or modules for the project. For the Maya Mini Project, we'll need to install two primary libraries: `tkinter` for creating the GUI and `pandas` for data manipulation. You can do this by running the following commands in your terminal: ``` pip install tkinter pip install pandas ``` After installing these dependencies, you should be ready to start coding!
With this file you will be able to print RWBY Blake with your 3D printer. Click on the button and save the file on your computer to work, edit or customize your design. You can also find more 3D designs for printers on RWBY Blake.
