Rusty (Battlebots)
thingiverse
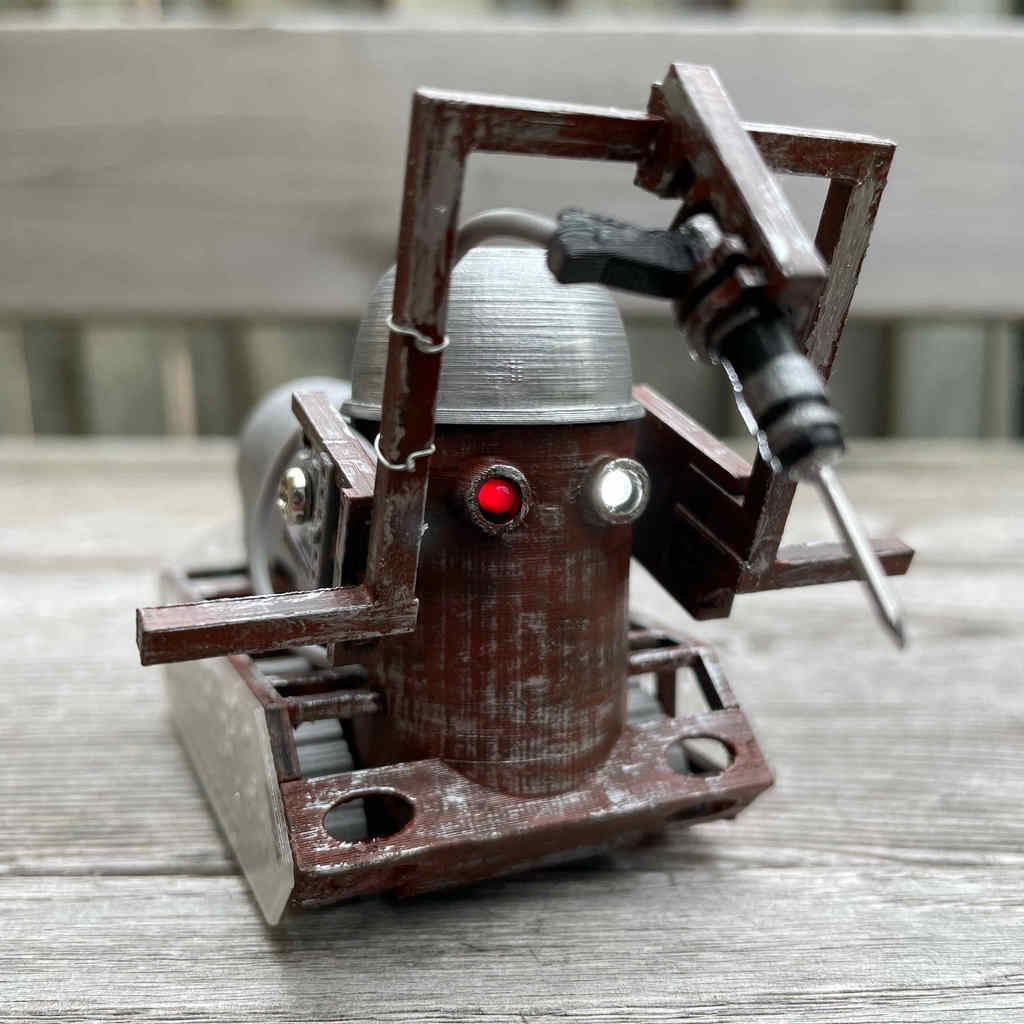
It's Rusty! From Battlebots! Yes! I made this by looking at a ton of different photos of Rusty from as many angles as possible, and this helped me get most of the proportions and details right, I think. Ideally I'd spend an afternoon with Rusty and a tape measure to get it *perfect*. I don't have time to really sort or organize this properly, so here's everything; the part files, the step files, and the stl files. This is more of a project than a ready-to-print model. - The holes for the switch, nails, and LEDs might not match what you have on hand, so you may need to modify them. - You will also probably need to do a bit of sanding on a lot of the parts to get them to fit right. - For paint, I used Testors metallic silver and flat rust. - The treads will need to be printed from a flexible filament like TPU. - The hole on the back of Rusty is for a countersunk M3 screw, this was to make the back panel removable to unlock the top cover to get inside, but removing the bowl instead proved easier. If you want to glue the bowl on, keep the back panel removable, otherwise you can glue it on instead of using a screw.
With this file you will be able to print Rusty (Battlebots) with your 3D printer. Click on the button and save the file on your computer to work, edit or customize your design. You can also find more 3D designs for printers on Rusty (Battlebots).
