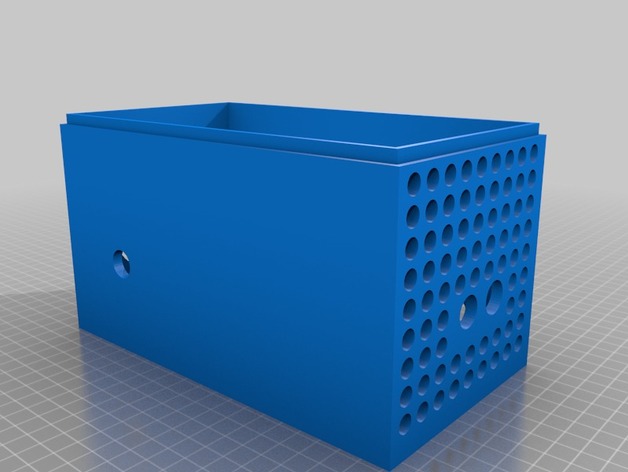
Rumba Case
thingiverse
The design intended for attaching the rumba board to a Makerfarm I3V frame originally came from there. The lower 4 holes are designated for connecting a heated bed relay; numerous other holes are strategically placed along the sides, providing secure attachment points for wire wrapping - roughly 15mm in length - sourced locally at the hardware store, which all connect into the enclosure itself. Furthermore, a considerable opening at the top accommodates the installation of an 80mm fan. To achieve perfection, this modified design continues to evolve and adapt; version number #2 demonstrates notable improvements over the initial design shown earlier. That earlier rendition can be observed mounted on another Makerfarm I3V in the profile picture uploaded by the designer. An update featuring additional pictures from both sides of the newly created mounting bracket will follow soon after it has been fully attached to a printer. Instructions: To start, print out this specific model and attach it firmly with M3 socket head screws. It's not necessary to create supports as the structure doesn't require any extra support. However, for added stability, a brim can be printed; this is primarily done to prevent corners from detaching.
With this file you will be able to print Rumba Case with your 3D printer. Click on the button and save the file on your computer to work, edit or customize your design. You can also find more 3D designs for printers on Rumba Case.
