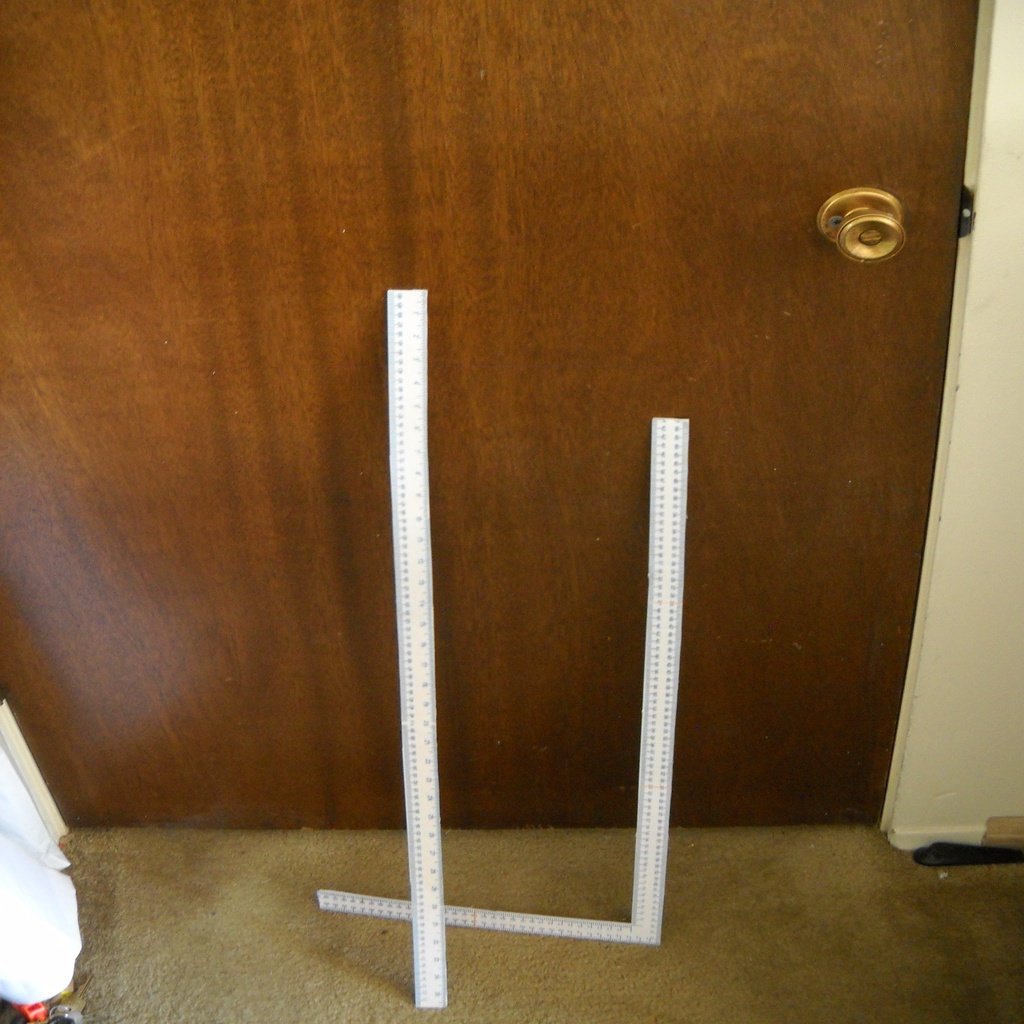
ruler yard stick and L square
thingiverse
I made these because I needed a large tailor's square. I searched for hours, but only found one with the length I needed. What I received was a ruler with one side standard and the other side completely useless. The person who made this tailor's square must have been on something when they created it. The first side is okay, marked in inches from 1 to 12, but the other side is a complete mess. It has multiple scales, each one going from 1 to 14, then starting again at 1 to 12, and so on. I have no idea what these markings are for or how they're supposed to be used. The only thing I can think of is that it might be used for scaling patterns up or down, but you'd need to know which scale is being used, and that's never mentioned anywhere. If anyone reading this understands the markings on this side, please leave a comment explaining it to me. The bottom length looks like it's in metric units, but it's not. I have no idea what kind of measurement system it uses or why it was included. This ruler was advertised as being in centimeters, and it doesn't even have inch markings. As someone who makes their own clothing, using metric units is much easier for me than inches. Unfortunately, I'm stuck with this ruler now because it would cost more to ship it back than what I paid for it. At least it's square, but that's about it. If you want to make these rulers yourself, here's how: When printing the labels, use a photo editing program like Photoshop. The markings will be accurate if printed with this software. If you're using Windows Photo Viewer, the markings will be way off. Print the labels and then coat them with your choice of protective coating. I used Pledge floor finish. Place the labels between two pieces of paper and iron them with a synthetic setting on flat. Cut out the labels and glue them to the yardstick or L square. The best method I've found for gluing is to use spray glue and apply it to the back of the label before cutting. Then, place a piece of wax paper over the spray glue side and cut carefully. The yardstick is straightforward: print the pieces and glue them together in order. For the L square, print the yardstick pieces and the L square piece, then glue one end piece to the bottom and all but one of the length pieces. Finally, add the last end piece. I've made both standard and metric labels for my rulers. The L square is a great project for making longer rulers, as you won't need all of the label pieces I created.
With this file you will be able to print ruler yard stick and L square with your 3D printer. Click on the button and save the file on your computer to work, edit or customize your design. You can also find more 3D designs for printers on ruler yard stick and L square.
