Ruko Key-Cap
thingiverse
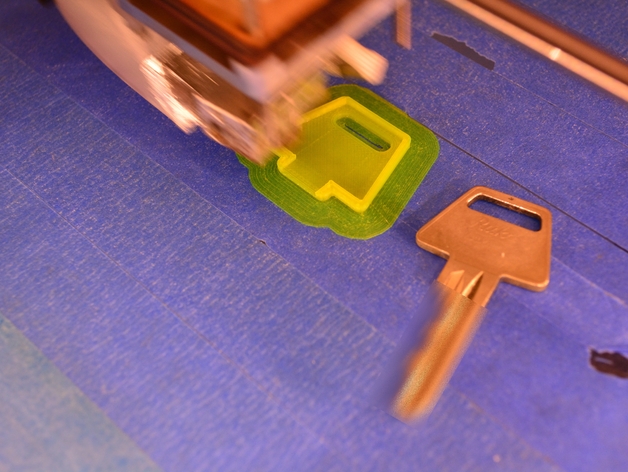
Key cap printed around a key becomes the ultimate way to make your keys stand out from the crowd. Different colors for each key are what it takes to make them truly recognizable. With transparent filament, you can take it up a notch by adding a label or text directly onto the key before printing around it. Here's how to do it: 1: Start by printing the first half of the key cap up to approximately 4mm high. If you're using Cura, pause the print at this point. 2: Gently place the key into the still-wet key cap material. 3: Restart the printer and continue printing across the key. Keep in mind that due to the overhang, I had to slow down my prints to 15% speed and increase the flow to 200% for the first two layers above the key. After that, I went back to normal settings. If you're working with the "Small Ruko" STL file, be aware that there's less space between the key cap and the nozzle. In this case, the nozzle can potentially hit the key itself. Also, since there's no overhang above the key, it prints directly on top of it. This can result in a gap in the side wall. I printed my "Small Ruko" with 0.1mm layers.
With this file you will be able to print Ruko Key-Cap with your 3D printer. Click on the button and save the file on your computer to work, edit or customize your design. You can also find more 3D designs for printers on Ruko Key-Cap.
