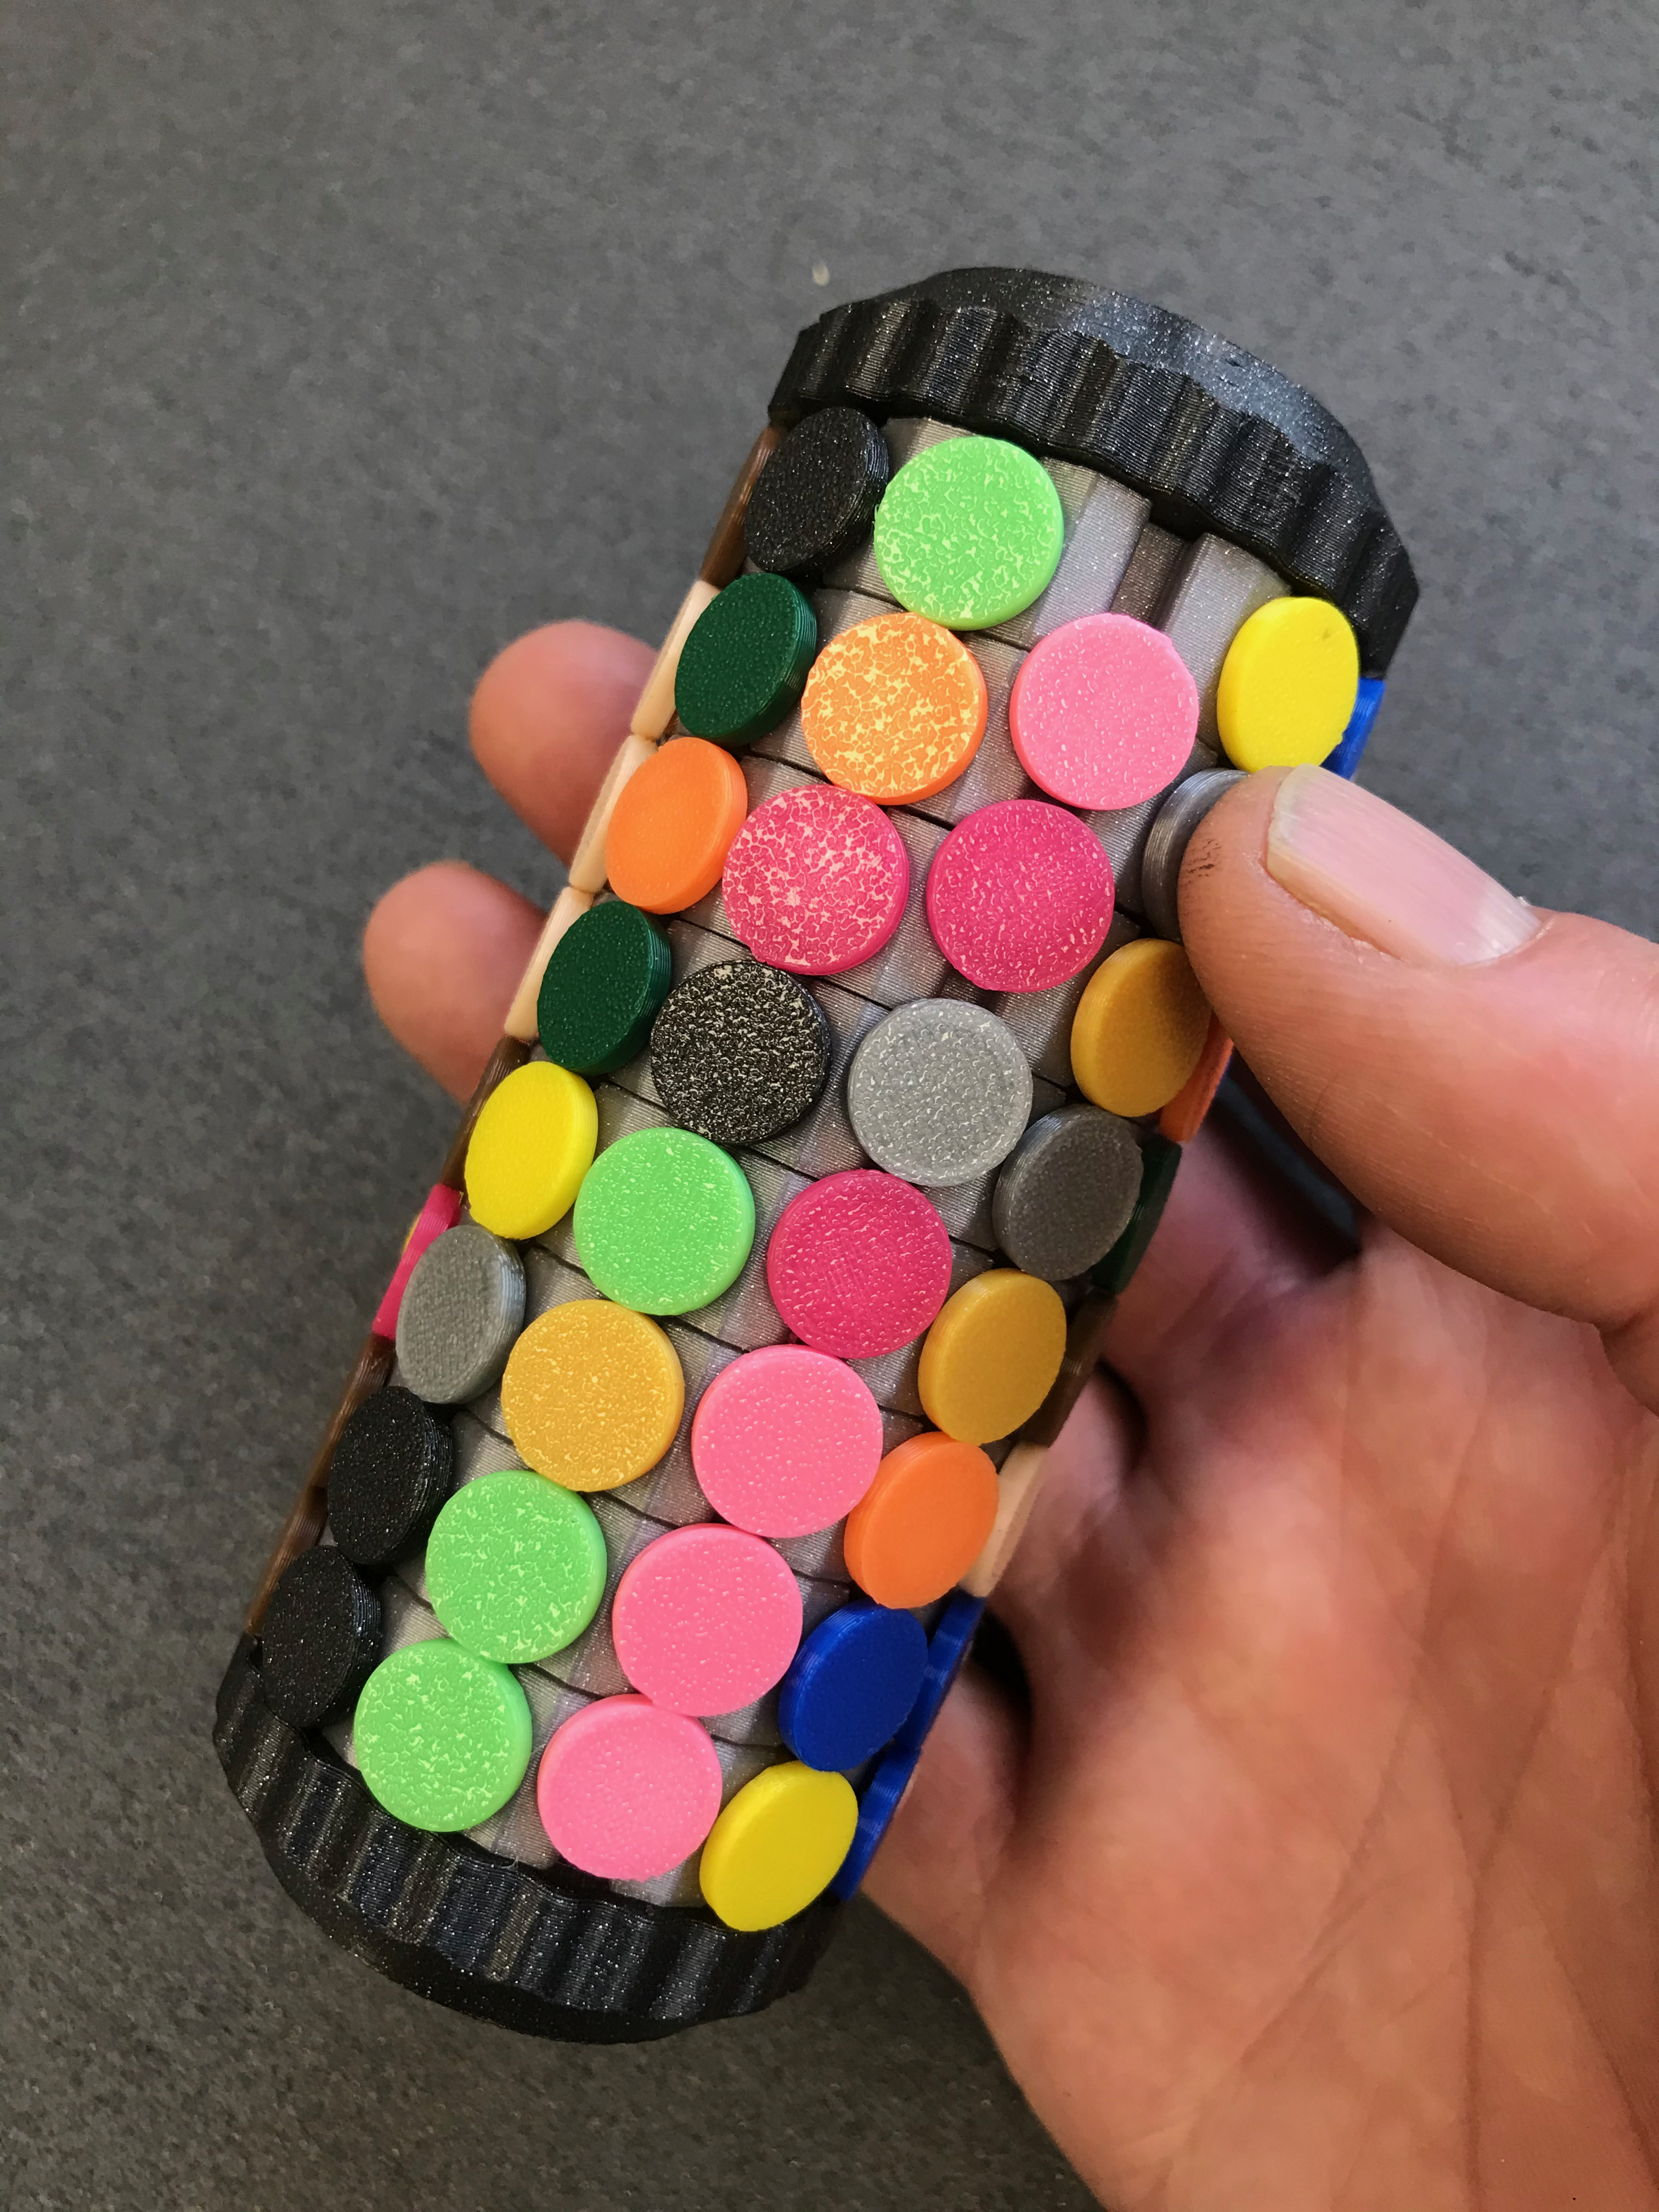
Rubik's Tube rotating puzzle
prusaprinters
<p>A multi-coloured rotating sliding puzzle!</p> <h3>Print instructions</h3><p>I remember many years ago our boys had a rotating puzzle that was a promotional toy from Smarties. I wanted to recreate it and this is the result.</p> <p>There are 12 columns of sliding buttons, 11 columns have 8 buttons and the 12th has 7 buttons. You twist the rings around and slide the buttons up and down using the 1 blank space to get all the colours aligned.</p> <p><b>Printing Instructions </b></p> <p>Print in PLA with your preferred profile in the following numbers:</p> <p>1x Rubik's Tube Spindle<br/> 1x Rubik's Tube Cap<br/> 8x Rubik's Tube Rings<br/> 8x Rubik's Tube Buttons in 11 different colours<br/> 7x Rubik's Tube Buttons in another different colour</p> <p><b>Assembly Instructions</b></p> <p>Fit the 8x Rings over the Spindle. Make sure the click tabs on the inside diameters are all aligned the same way.</p> <p>Fit all the buttons into the rings, all jumbled up. They need to slide easily so you will need to trim any imperfections off. Remember, 1 colour has only 7 Buttons!</p> <p>Screw the Cap on the Spindle. There is plenty of slack in the threads so they should screw together easily. Make sure the Cap does not bind on the top Ring or the top row of Buttons. If it does then you will need to print 1 or 2 of the 0.2mm thick spacer.stl files and fit them over the thread on the Spindle to stand the Cap away from the Rings & Buttons. Every Ring should rotate freely and click into place around the Spindle.</p> <p>Your Rubik's Tube is now complete and ready too solve, have fun!</p>
With this file you will be able to print Rubik's Tube rotating puzzle with your 3D printer. Click on the button and save the file on your computer to work, edit or customize your design. You can also find more 3D designs for printers on Rubik's Tube rotating puzzle.
