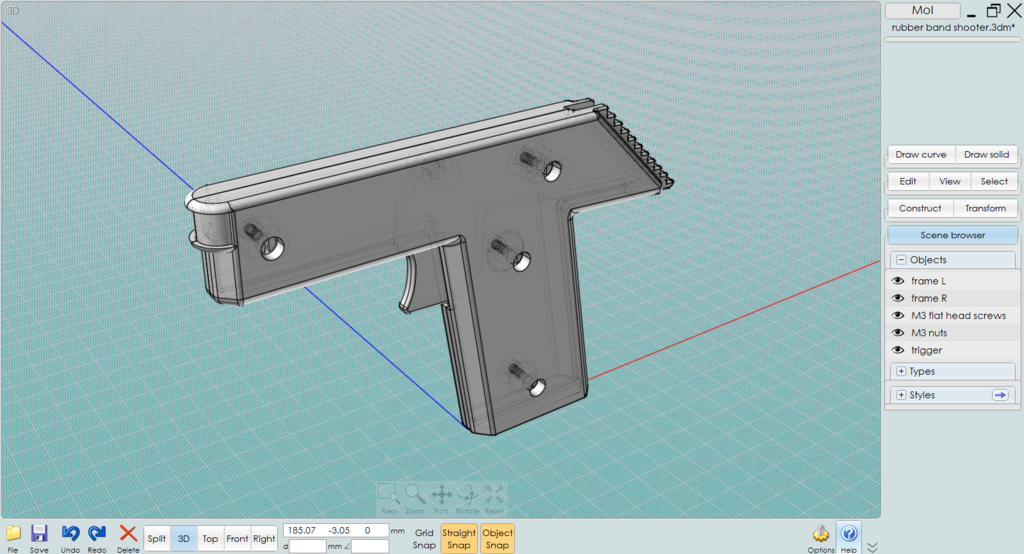
Rubber-Band Shooter
thingiverse
Making a simple rubber band shooter is an enjoyable project that requires minimal tools and expertise. Begin by gathering materials such as a cardboard tube, scissors, glue, and rubber bands. Cut the cardboard tube into two equal pieces. Each piece will serve as the main component of your rubber band launcher. Cut a small notch at one end of each tube, about 1 inch from the top. This notch is crucial for loading the rubber bands securely. Next, cut a second notch on the opposite side of each tube, approximately 2 inches from the bottom. These notches will guide the rubber bands as they are loaded into the launcher. Glue the two pieces together, forming an 'X' shape with the notches facing each other. Be cautious to align the notches perfectly to ensure smooth operation. Now, thread a rubber band through one of the top notches and pull it tight until it reaches the second notch on the opposite side. Repeat this process for the second tube. Your simple rubber band shooter is now ready to use. To load a new rubber band, simply thread it through both notches and pull it tight.
With this file you will be able to print Rubber-Band Shooter with your 3D printer. Click on the button and save the file on your computer to work, edit or customize your design. You can also find more 3D designs for printers on Rubber-Band Shooter.
