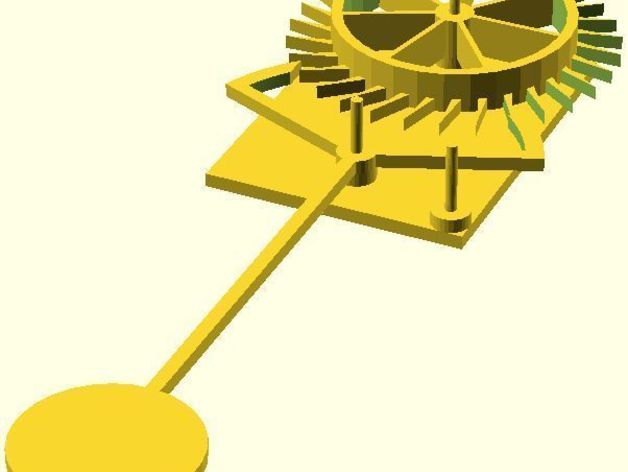
Rubber-Band Powered Escapement w/Pendulum
thingiverse
Rewrite the given text as follows: This test jig is based on the parametric escapement mechanism posted yesterday (http://www.thingiverse.com/thing:7785). It aims to power the escapement using a rubber band and observe if the pendulum regulates the elastic unwinding, and whether the escapement maintains pendulum movement despite friction. Adjustments may be needed, including adding extra weight to the pendulum. The plastic print's suitability is uncertain due to fine tips of the escapement wheel. The code needs better comments which will be updated later. An improved version of the code can be found as a separate thing (http://www.thingiverse.com/thing:7822). To set up, print the drum, pendulum and support. Attach the support to a vertical surface and place the drum and pendulum on their respective pegs (refer to attached image for guidance). Fasten one end of a rubber band to the drum side, wind it around a few times, and attach the other end to the remaining peg. Push everything against the stops so that the pendulum's escapement pallets mesh with the drum teeth, then release and gently nudge the pendulum to start it moving. If it doesn't work as expected, please let us know! ;-)
With this file you will be able to print Rubber-Band Powered Escapement w/Pendulum with your 3D printer. Click on the button and save the file on your computer to work, edit or customize your design. You can also find more 3D designs for printers on Rubber-Band Powered Escapement w/Pendulum.
