Rubber Band Gun remix
thingiverse
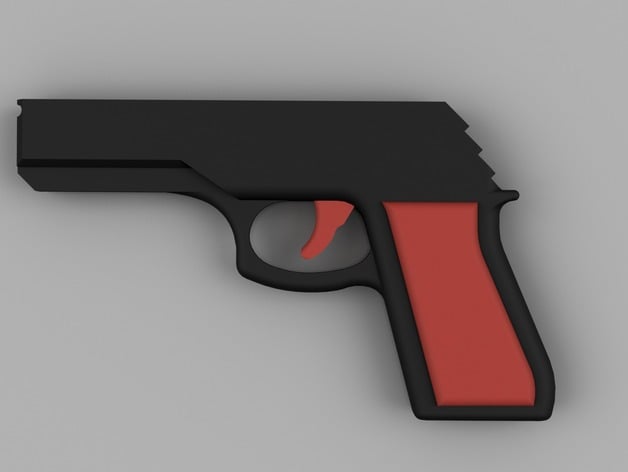
Bigger and better version coming soon! More stretch and greater ammo capacity - Remixed rubber band gun. This is the most reliable and simplest to print rubber band gun available, outdoing other designs that use rotating wheels and sears which are often unreliable and only capable of loading 3-4 rubber bands before firing. A few performance tweaks and visual styling have been added. Grip panels and a beaver tail stop the trigger mechanism from hitting the webbing of your thumb. Snap together design with studs pressing into matching holes, no glue necessary. Printed and tested - https://www.youtube.com/watch?v=mx-LsuR2RqU Print Settings: Rafts: No Supports: No Resolution: 0.1-0.2 Infill: 20-30% Notes: Printing on Kapton tape with some water-based glue stick is a good way to get maximum build platform adhesion and prevent warping. Post-Printing Step 1: Clean up parts as necessary. Step 2: Place the bottom part down on a firm surface with the studs sticking up. Step 3: Take the middle part and place it over the bottom part, lining up the holes with the studs and press down firmly. A small craft hammer can help press down the parts. Step 4: Place the trigger in the recess of the parts you have assembled using a small rubber band to secure it in the cut-out formed by the middle and trigger parts. Tip: A larger rubber band can be twisted and folded to form a smaller loop. Step 5: Take the top part and line up the stud with the hole, then press down onto the assembly. Step 6: Place the bottom grip panel under the assembly, lining up the studs with the holes in the grip. Then take the top grip panel and press it down firmly over the studs and down onto the assembly. Tip: The grip panels should have a very tight fit and may need a small craft hammer to completely seat, holding the gun together. Ready to fire Take three rubber bands (the small kind used for bundling money work best) and load them one at a time, looping them over the cut-out on the end of the barrel and then secure them over the tangs on the back of the gun near the grip. One on top of the other. Point and shoot. Each pull of the trigger will shoot a rubber band and move the rubber bands below up ready to fire. How I Designed This Designed in Fusion360 I imported the original design into fusion 360, then made new drawings from the imported STLs. I was able to rebuild the gun making the changes I wanted. The gun is small enough to fit on a 150x150mm build table but not too small to be held by a large hand. If you have a larger printer, you could scale the X and Y axes to print a large gun.
With this file you will be able to print Rubber Band Gun remix with your 3D printer. Click on the button and save the file on your computer to work, edit or customize your design. You can also find more 3D designs for printers on Rubber Band Gun remix.