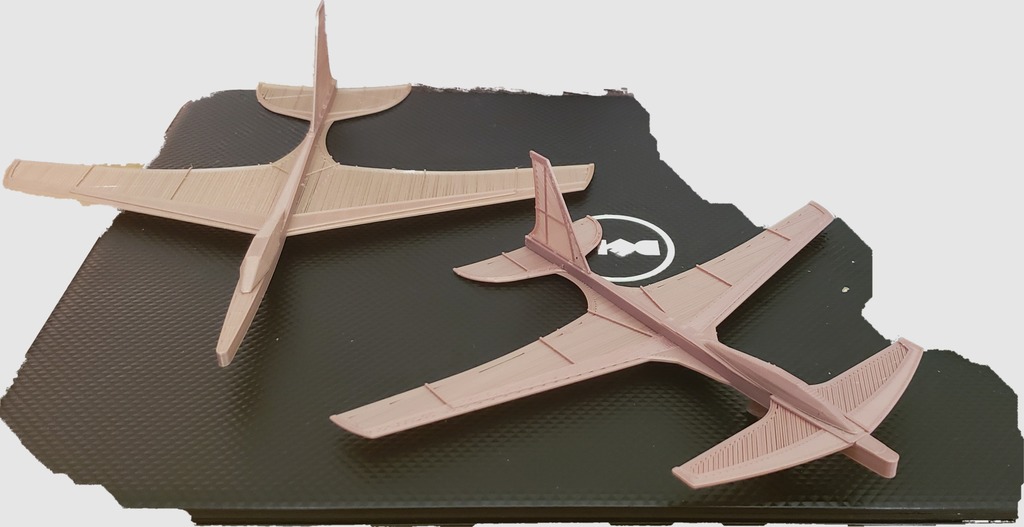
RUBBER BAND GLIDERS
thingiverse
Crafting a Flying Machine with Rubber Bands Building a rubber band glider is an exhilarating and easy-to-learn project that can be accomplished by anyone. With some basic materials, you'll be soaring your creation through the air in no time. To begin building, start by selecting the right type of rubber bands. You'll need one long, thin rubber band for the wings and two shorter ones for the tail. Make sure they are all made from the same material to ensure a smooth flight. Next, take the long rubber band and stretch it out between your hands, forming an "X" shape. This will be the foundation of your glider's wings. Take another long rubber band and wrap it around the center of the first one, securing it in place with a small knot. Repeat this process on the other side to create the second wing. Now, take the two shorter rubber bands and tie them together at one end, creating a small loop. This will serve as the tail of your glider. Attach the tail to the back of the wings by tying the loop around the center of the wings. To launch your glider, hold it by the wings and gently toss it forward, releasing your grip when you feel it start to glide through the air. As it soars, watch as it dances on the breeze, its rubber bands flexing with each gentle movement. With a little patience and practice, you'll be creating flying machines like a pro in no time!
With this file you will be able to print RUBBER BAND GLIDERS with your 3D printer. Click on the button and save the file on your computer to work, edit or customize your design. You can also find more 3D designs for printers on RUBBER BAND GLIDERS .
