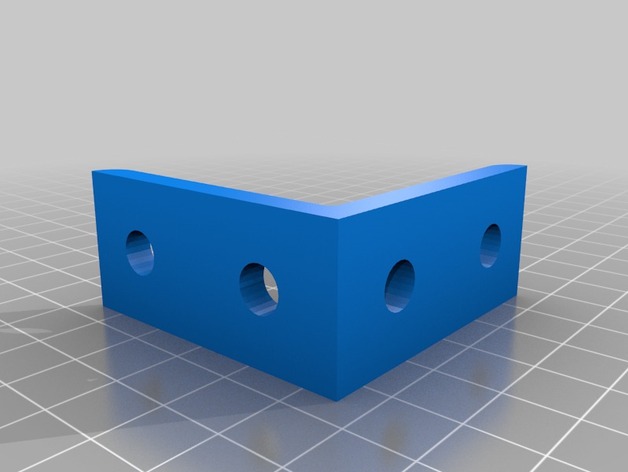
Rt angle 4 hole bracket 8020
thingiverse
When merging two 8x20 rods where structural integrity doesn't matter, follow these guidelines carefully. Instructions below provide more details. To assemble an 80-degree right-angle bracket with a pair of holes, start by laying out your components correctly. Take note that precise alignment will guarantee smooth construction. Proceed as follows: First, grasp the rod sections firmly and ensure they are flush at both ends. If necessary, lightly apply pressure to achieve this state. Next, place the 80-degree right-angle bracket securely against the end of one rod section. Line up the hole closest to you with one end of the other rod, then press it into position carefully but firmly. Make sure the second rod aligns properly through the second hole. This step ensures structural stability and keeps everything aligned correctly. Now you're almost done; double-check your setup is correct by visually confirming alignment at both holes before giving a gentle tug to secure both rods tightly together. Finally, to ensure long-term structural integrity, perform this entire process one more time with identical results to guarantee flawless assembly of the 2 hole rt angle bracket.
With this file you will be able to print Rt angle 4 hole bracket 8020 with your 3D printer. Click on the button and save the file on your computer to work, edit or customize your design. You can also find more 3D designs for printers on Rt angle 4 hole bracket 8020.
