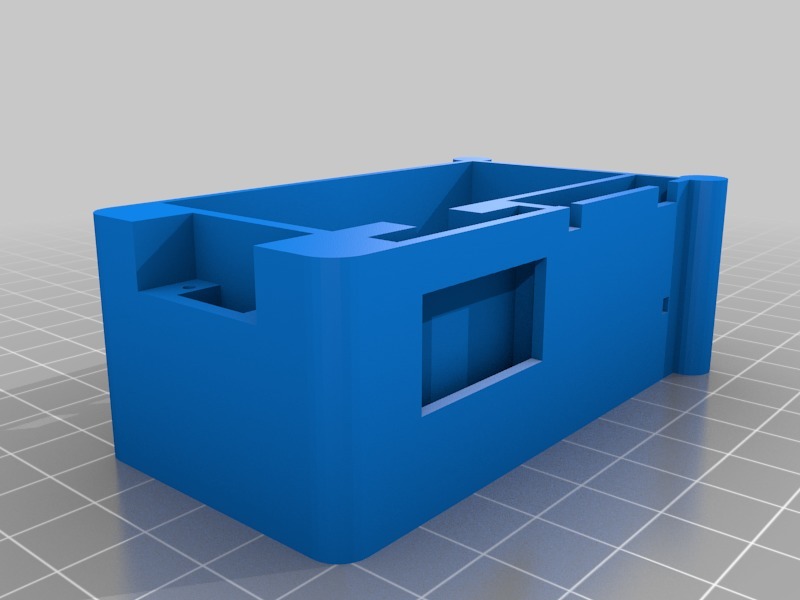
RPi_Zero_W_MMDVM_HS_HAT_Stand_Alone_Case
thingiverse
Setting up a standalone Wi-Fi hotspot on your Raspberry Pi Zero W is a straightforward process that doesn't require any additional hardware. First, you'll need to ensure your Raspberry Pi is updated and configured for booting from the SD card. This can be done using the raspi-config tool. To access this tool, simply type "sudo raspi-config" in the terminal. Next, navigate to the Interfacing Options menu and select the SSH option. Enable it by selecting Yes. You'll then need to save your changes and exit the tool. With that done, you can now create a new file named "ssh" without any extension within the boot partition of your SD card. This will allow remote access to your Raspberry Pi over Wi-Fi. Your Raspberry Pi Zero W is now configured as a standalone hotspot. Simply plug it in and wait for it to boot up. Once it has, you can connect to the network using the default password and IP address displayed on the device's screen. To configure your router to use this new network interface, navigate to its settings page and select the wireless network option. Choose the Raspberry Pi's SSID and enter the WPA2 key provided in the terminal output of your Raspberry Pi. That's it! Your Raspberry Pi Zero W is now a fully functional standalone Wi-Fi hotspot.
With this file you will be able to print RPi_Zero_W_MMDVM_HS_HAT_Stand_Alone_Case with your 3D printer. Click on the button and save the file on your computer to work, edit or customize your design. You can also find more 3D designs for printers on RPi_Zero_W_MMDVM_HS_HAT_Stand_Alone_Case.
