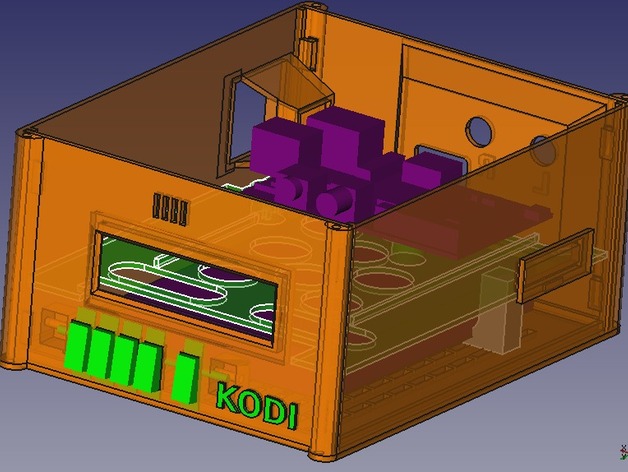
RPi Home theater case
thingiverse
A Simple DIY Project: Building a Compact Home Theater with a Raspberry Pi. Room for Improvement. The Case (Pi Box 1.19) Takes Shape: Printed in Hours. Each Face Prints Fast. Assemble the Buttons as Shown at http://www.thingiverse.com/thing:198205 **Components Needed** * Raspberry Pi B * WiFi TL-WN725N Adapter * HiFiBerry Board (https://www.hifiberry.com/dacplus) * USB Hard Disk 500GB * Mini USB Power Cable Left Angled * Hard Drive Cable, Right Angle to Mini USB * High-Speed USB Hub * Compact Design for Easy Storage This Project was Created with FreeCAD. Available Room Led to Unconventional Measurements. **Assembly Steps** Unsatisfied Yet, This Case is Still Good Enough to Assemble and Use Immediately. The Columns and Bottom Plate Come Together: Insert M2.5 Screws. Four HD Mount Parts Thread into Place using Slits on the Bottomplate. RPi Divider Mount Holes Require a 2.5mm Drill Bit and then Tread M3. Take Advantage of this Design File to Personalize Your Own Home Theater. **Important Updates** (2015-03-01) Made Adjustments to Audio/HDMI/Ethernet Hole Placement. (2015-03-23) Created Additional Room for USB Hub Connector by Cutting the Ethernet Cutout.
With this file you will be able to print RPi Home theater case with your 3D printer. Click on the button and save the file on your computer to work, edit or customize your design. You can also find more 3D designs for printers on RPi Home theater case.
