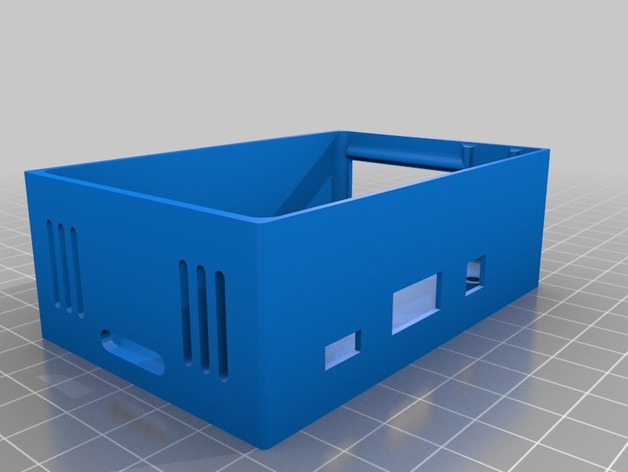
RPi 3 Media Player
thingiverse
I envisioned a way to view inside the housing, which led me to create a custom Raspberry Pi enclosure featuring a laser-cut acrylic lid. To assemble this design, you will need 4 x M3 bolts measuring 40mm in length as well as 4 x matching M3 nuts. The feet were fabricated using Ninjaflex material. Printer Settings Printer: Felix 3.1 Notes: It appears that the dxf file for the acrylic lid may be displaying incorrectly on Thingiverse, or possibly the platform is experiencing difficulties with this particular file. However, it's essential to note that the bolt holes should be positioned on the top of the acrylic cover. My Chinese laser cutter was able to accurately cut out the design using RDWorks software. To complete the enclosure, you will need to print four round Ninjaflex feet. Post-Assembly When sliding the RPi board into its designated slot, I found it to be a snug fit that requires some effort to maneuver. It's necessary to carefully insert the board while ensuring the side HDMI and audio sockets align with their respective housing holes.
With this file you will be able to print RPi 3 Media Player with your 3D printer. Click on the button and save the file on your computer to work, edit or customize your design. You can also find more 3D designs for printers on RPi 3 Media Player.
