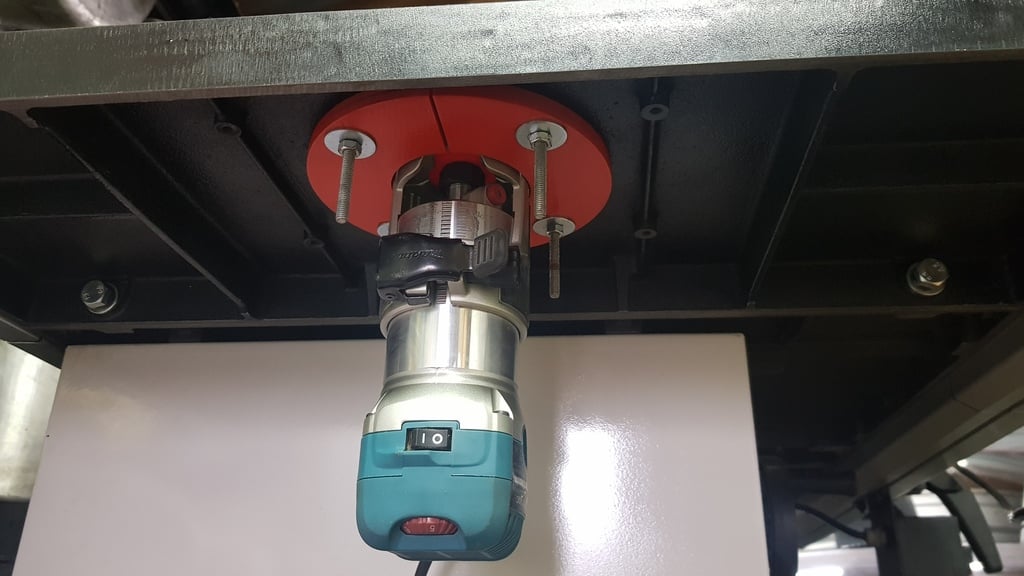
Router mounting (Makita RT0700C) insert for Martlet Tablesaw
thingiverse
Mounting an insert for a Makita router requires careful attention to detail, as well as some basic knowledge of tool attachment systems. First, locate the mounting bracket on your router table and identify the type of attachment point it uses. Most Makita routers use a 1/2-inch keyless chuck, which is easy to operate but can be prone to stripping if over-tightened. To attach an insert to your Makita router, follow these steps: 1. Position the insert on top of the router table, aligning its mounting holes with the corresponding attachment points on the bracket. 2. Secure the insert using a set screw or cam lock, depending on the type of attachment point used by your router. Mounting an insert for a Martel tablesaw is similar to attaching one to a Makita router. However, the process may vary slightly depending on the specific model of tablesaw you have. In general, follow these steps: 1. Locate the mounting bracket on your tablesaw and identify the type of attachment point it uses. 2. Position the insert on top of the tablesaw, aligning its mounting holes with the corresponding attachment points on the bracket. 3. Secure the insert using a set screw or cam lock, depending on the type of attachment point used by your tablesaw. By following these steps, you should be able to successfully mount an insert for your Makita router or Martel tablesaw. If you're unsure about any part of the process, consult your tool's user manual or contact the manufacturer for further assistance.
With this file you will be able to print Router mounting (Makita RT0700C) insert for Martlet Tablesaw with your 3D printer. Click on the button and save the file on your computer to work, edit or customize your design. You can also find more 3D designs for printers on Router mounting (Makita RT0700C) insert for Martlet Tablesaw.
