Router Hole Cutting Jig
prusaprinters
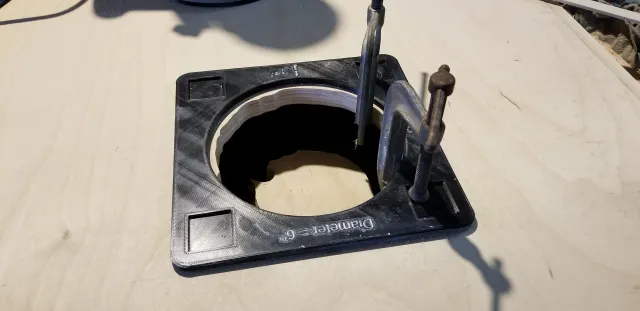
This is a hole cutting jig for use with a top-following router bit. It has an embossed indication of the size of the hole. I found that 1" in probably the smallest setting you'd want to use for hole_offset_in setting. Any smaller and you won't have much surface to run your router on. Also, it was necessary to use the template to trace the hole, freehand it, then clamp from inside the hole in order to actually be able to clamp. If you increased the hole_offset_in size, you'd have more room to clamp and more surface to run the router (at the expense of a lot more plastic usage).To clamp, I used two clamps, then when I cut as much as I could, I used a third clamp to hold the system steady, moved one of the main clamps, then removed the extra clamp. I used this technique to “walk” around the border until everything was cut. This was created with OpenSCAD and is designed with the customizer in mind so if one of the pre-rendered sizes doesn't suit your needs, you can customize it to suit.There's also an option in the OpenSCAD file to render as a sample. This cuts off the chamfer on the top and bottom, removed the embossing and clamp pockets, and slices the model down to 0.6mm. This is useful for quickly validating your print settings to make sure the model will come out with the necessary dimensional accuracy. A sample .stl has been provided for a 6in hole.If you're using the configurator, in order to render the arrows for the offset embossing, it is necessary to have the Wingdings3 font installed. The font is used for producing the 🠭 and 🠯 symbols.
With this file you will be able to print Router Hole Cutting Jig with your 3D printer. Click on the button and save the file on your computer to work, edit or customize your design. You can also find more 3D designs for printers on Router Hole Cutting Jig.
