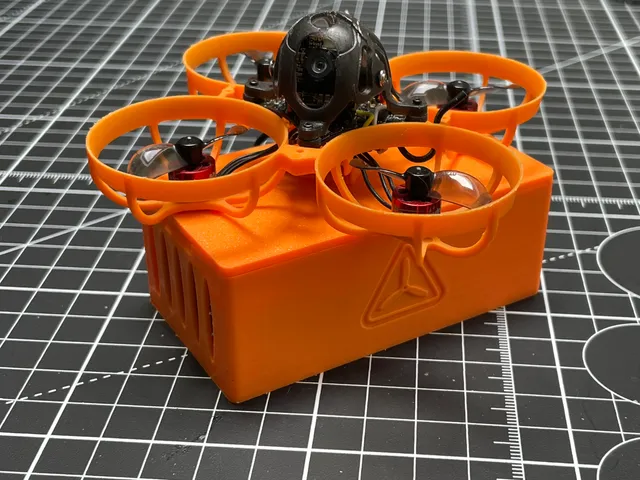
RotorHazard - Box for Individual FPV Timer
prusaprinters
SoloHazard FPV TimerThis is a box to house a relatively cheap home built FPV timer perfect for indoor use such as Whoop training or RaceGOW timing. It has three components: Raspberry Pi Zero, Arduino Nano, and RX5808 receiver (approximate total cost £25 to £30 ($30 to $37). Brief overview of steps:First make a Rotorhazard USB Node following these instructions (ensure you wire the rx to the opposite end to the USB with enough flex to install as per the images above)You will need to compile and upload the node code with the Arduino IDE as per these instructionsWire the Node to the Raspberry pi (use 4 ~60mm lengths of wire) : pin 4 to 5V pin 6 to GNDpin 3 (SDA) to A4pin 5 (SCL) to A5 Install the pi OS onto an SD card using the Raspberry Pi Imager - chose the lite version and set up ssh and your home WiFi details in the extra settings.Power the device using the Micro USB PWR port on the Raspberry Pi, a portable USB Power bank is perfect to make it mobile.SSH onto the pi and Install Rotorhazard using the RH Install-Manager - During process select Arduino based and 1 node, all other settings can be default. Lots of resources are available on the above pages and the wider internet for more detail on each of the steps.Usage - there's a Bardwell for that: BOMRaspberry Pi Zero 2W (Header optional)Arduino Nano (Without headers installed)RX5808WireSolohazard 3D print PrintingPrint requires no supports or brim, 100% infill and fine settings, it should be orientated so lid and base of the box are on the print bed. No post processing required. I printed in PLA+.
With this file you will be able to print RotorHazard - Box for Individual FPV Timer with your 3D printer. Click on the button and save the file on your computer to work, edit or customize your design. You can also find more 3D designs for printers on RotorHazard - Box for Individual FPV Timer.
