Rotating Brackets
thingiverse
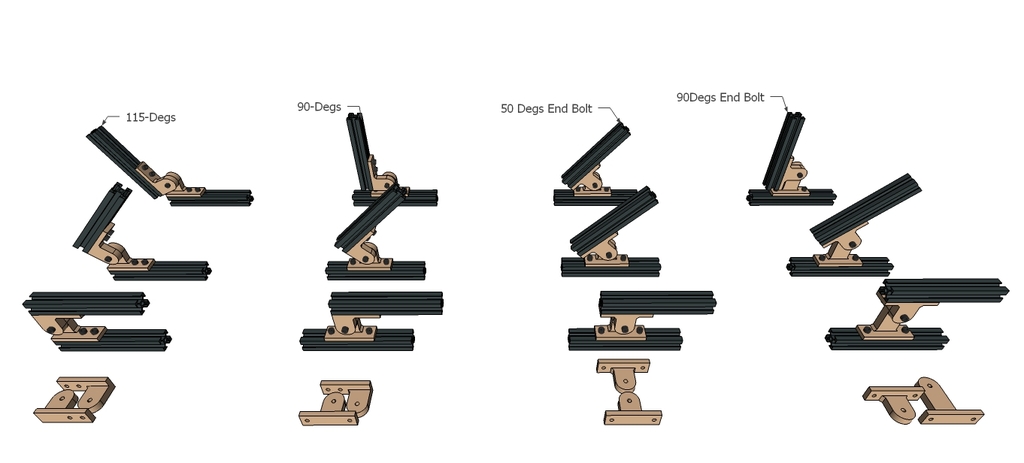
Rotating Brackets- Here are four different rotating brackets in their printing positions: 50-Degree - Rear-end Bolt 90-Degree 90-Degree - Rear-end Bolt 115-Degree Each bracket has about three-degree overshoot, more if using low-profile bolt heads. There are slight changes to each bracket to suit different situations. All use five millimeter holes for M5 bolts. Use twenty-five millimeter or one-inch bolts to join them together and ten millimeter or twelve millimeter bolts for connecting to the T-Slot. They're designed to be as strong as possible in their current printing position, so don't reorientate them (I've paired them together so you don't make that mistake like I did). There is a very slight amount of flex with the brackets that don't have a rear-end bolt. This isn't really a problem, but it's worth mentioning. It can be removed by glue or epoxy. For a permanent fix in rotation degrees, add glue to the rotation arms' faces and set them in the required position, or you can drill small holes through both rotation faces and bolt together. It really just depends on what you're using them for. You might not need to glue or bolt at all. Using locking teeth in five-degree increments at this scale was a pain in the butt for the 3D printer, so this was a more viable solution. A Sketchup file is included for mod work.
With this file you will be able to print Rotating Brackets with your 3D printer. Click on the button and save the file on your computer to work, edit or customize your design. You can also find more 3D designs for printers on Rotating Brackets.
