Rotary Table
thingiverse
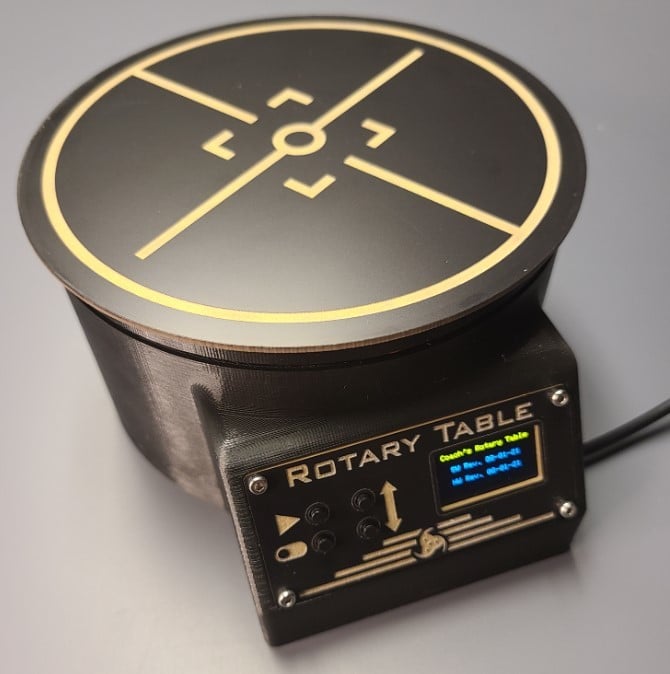
Rotary Table for photography / photogrammetry powered by Arduino Nano. Print all pieces w/out support, with exception of a portion of the stationary base under the control panel. Do not use supports on the bearing grooves around the stationary base / ring gear. Recommend fine layer height (e.g. 0.1mm) for bearing grooves. Front plate / table top can be laser cut as seen in the photo. To assemble the ring gear / stationary base (slewing bearing) - Align the grooves of each part, and load ball bearings through the access panel hole in the stationary base. Capacity is 54 1/4" bearings. Use grease to quiet movement. Access panel is installed in stationary base to prevent bearing escape via M2 FHSCS. Other materials required: Electrical: * (1x) Arduino Nano * (1x) EasyDriver * (1x) Nema 17 Stepper Motor * (4x) Mini pushbutton (6x6x16mm) * (4x) 10kohm resistors (used as pulldown resistors for each button) * (1x) 0.96" 128x64 I2C LCD screen * (1x) Generic protoboard for buttons / resistors (cut to size as needed) * (1x) Generic jumper wires * (1x) Generic power supply (6-30V 2A recommended) - Works fine w/12V 0.6A Hardware: * (12x) M2 hex nut * (10x) M2x10mm SHCS * (2x) M2x10mm FHSCS * (6x) M3 square nut * (6x) M3 hex nut * (12x) M3x15mm SHCS * (1x) Pololu Universal Aluminum Mounting Hub for 5mm Shaft w/M3 mounting holes * (4x) M3x12 SHCS or M3X12 FHSCS for mounting drive gear to Pololu hub * (53x) 1/4" (6.35mm) ball bearings for bearing track * (1x) Generic grease for bearing track (pet. jelly works fine) - Reduces noise * (1x) Generic zip ties - Secures electronics to stationary base bottom
With this file you will be able to print Rotary Table with your 3D printer. Click on the button and save the file on your computer to work, edit or customize your design. You can also find more 3D designs for printers on Rotary Table .
