Rostock Maxx Fan Shroud-------------USE AT OWN RISK
thingiverse
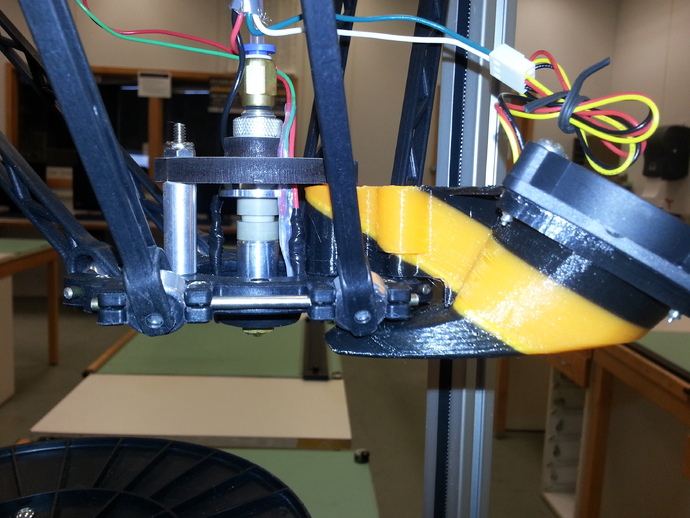
The fan shroud, designed for Rostock Max by SeeMeCNC, is currently a work in progress. It requires final sanding to allow clearance for the U-joints; however, this adjustment would increase heavy overhangs. This design should be compatible with new nozzle designs with minimal modifications. An update has been made, now providing clearance for u-joints without alterations and shortening it for easier assembly. Additionally, the fan angle has been rotated to 45* for improved airflow and simpler printing. The CAD file is old, but a new design for 40mm setup is being developed, to be uploaded upon completion. However, experimenting with this fan setup is causing back pressure issues due to current fans. The shroud prints well on an Ultimaker; orient the fan shroud at a 30* angle for easy printing. For those without proper cooling systems, print it as in the .stl file with support and clean up the bores later. After printing, attach a 50mm fan to the rear flange, insert the 1" spacer from the hotend into the larger bore, reassemble the hotend, and connect the fan wires to two remaining wires from SeeMeCNC's 4-wire cable. Two of these fans on opposite corners work best for cooling without affecting nozzle temperature. The AutoCAD 2010 drawing file is provided for editing by collaborators, with proper crediting required upon resharing contributions.
With this file you will be able to print Rostock Maxx Fan Shroud-------------USE AT OWN RISK with your 3D printer. Click on the button and save the file on your computer to work, edit or customize your design. You can also find more 3D designs for printers on Rostock Maxx Fan Shroud-------------USE AT OWN RISK.