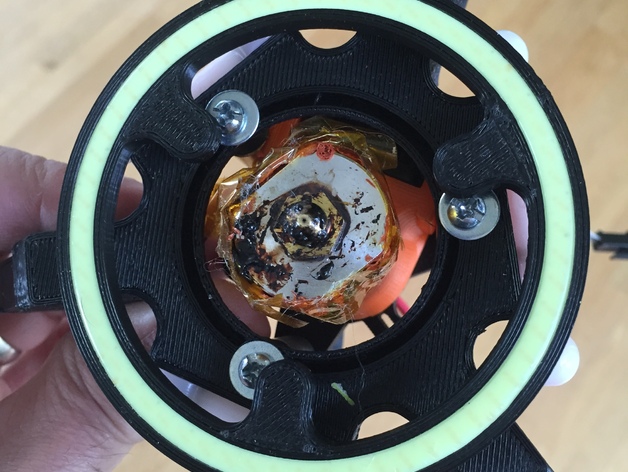
Rostock Halo Light V1
thingiverse
I Used Eight 6x6 Magnets, Which Fit Perfectly in Place. You'll Need to Secure Them with Glue to Ensure They Don't Move Around. The 80mm Light Ring Also Fits Tight, but Be Prepared to File Down the Edges for a Smooth Finish. Take Note of Where the Magnets Sit Next to the Screws on the Washers. Caution: Apply Glue Carefully to the Magnets, as I Experienced a Failed Print Due to Loose Magnets. Print Settings: Printer Brand: SeeMeCNC Printer: Rostock MAX Rafts: No Rafts Were Used Supports: Yes, Supports Were Needed Resolution: High-Definition Printing at 2.0 Infill: Infill Density Was Set to 50% Notes: Top Solid Layers: Three Layers for a Strong Foundation Bottom Solid Layers: Three Layers for Added Stability Outline/Perimeter Shells: Three Shells for a Smooth Edge Design Process: I Utilized the 123design Software to Create This Project.
With this file you will be able to print Rostock Halo Light V1 with your 3D printer. Click on the button and save the file on your computer to work, edit or customize your design. You can also find more 3D designs for printers on Rostock Halo Light V1.
