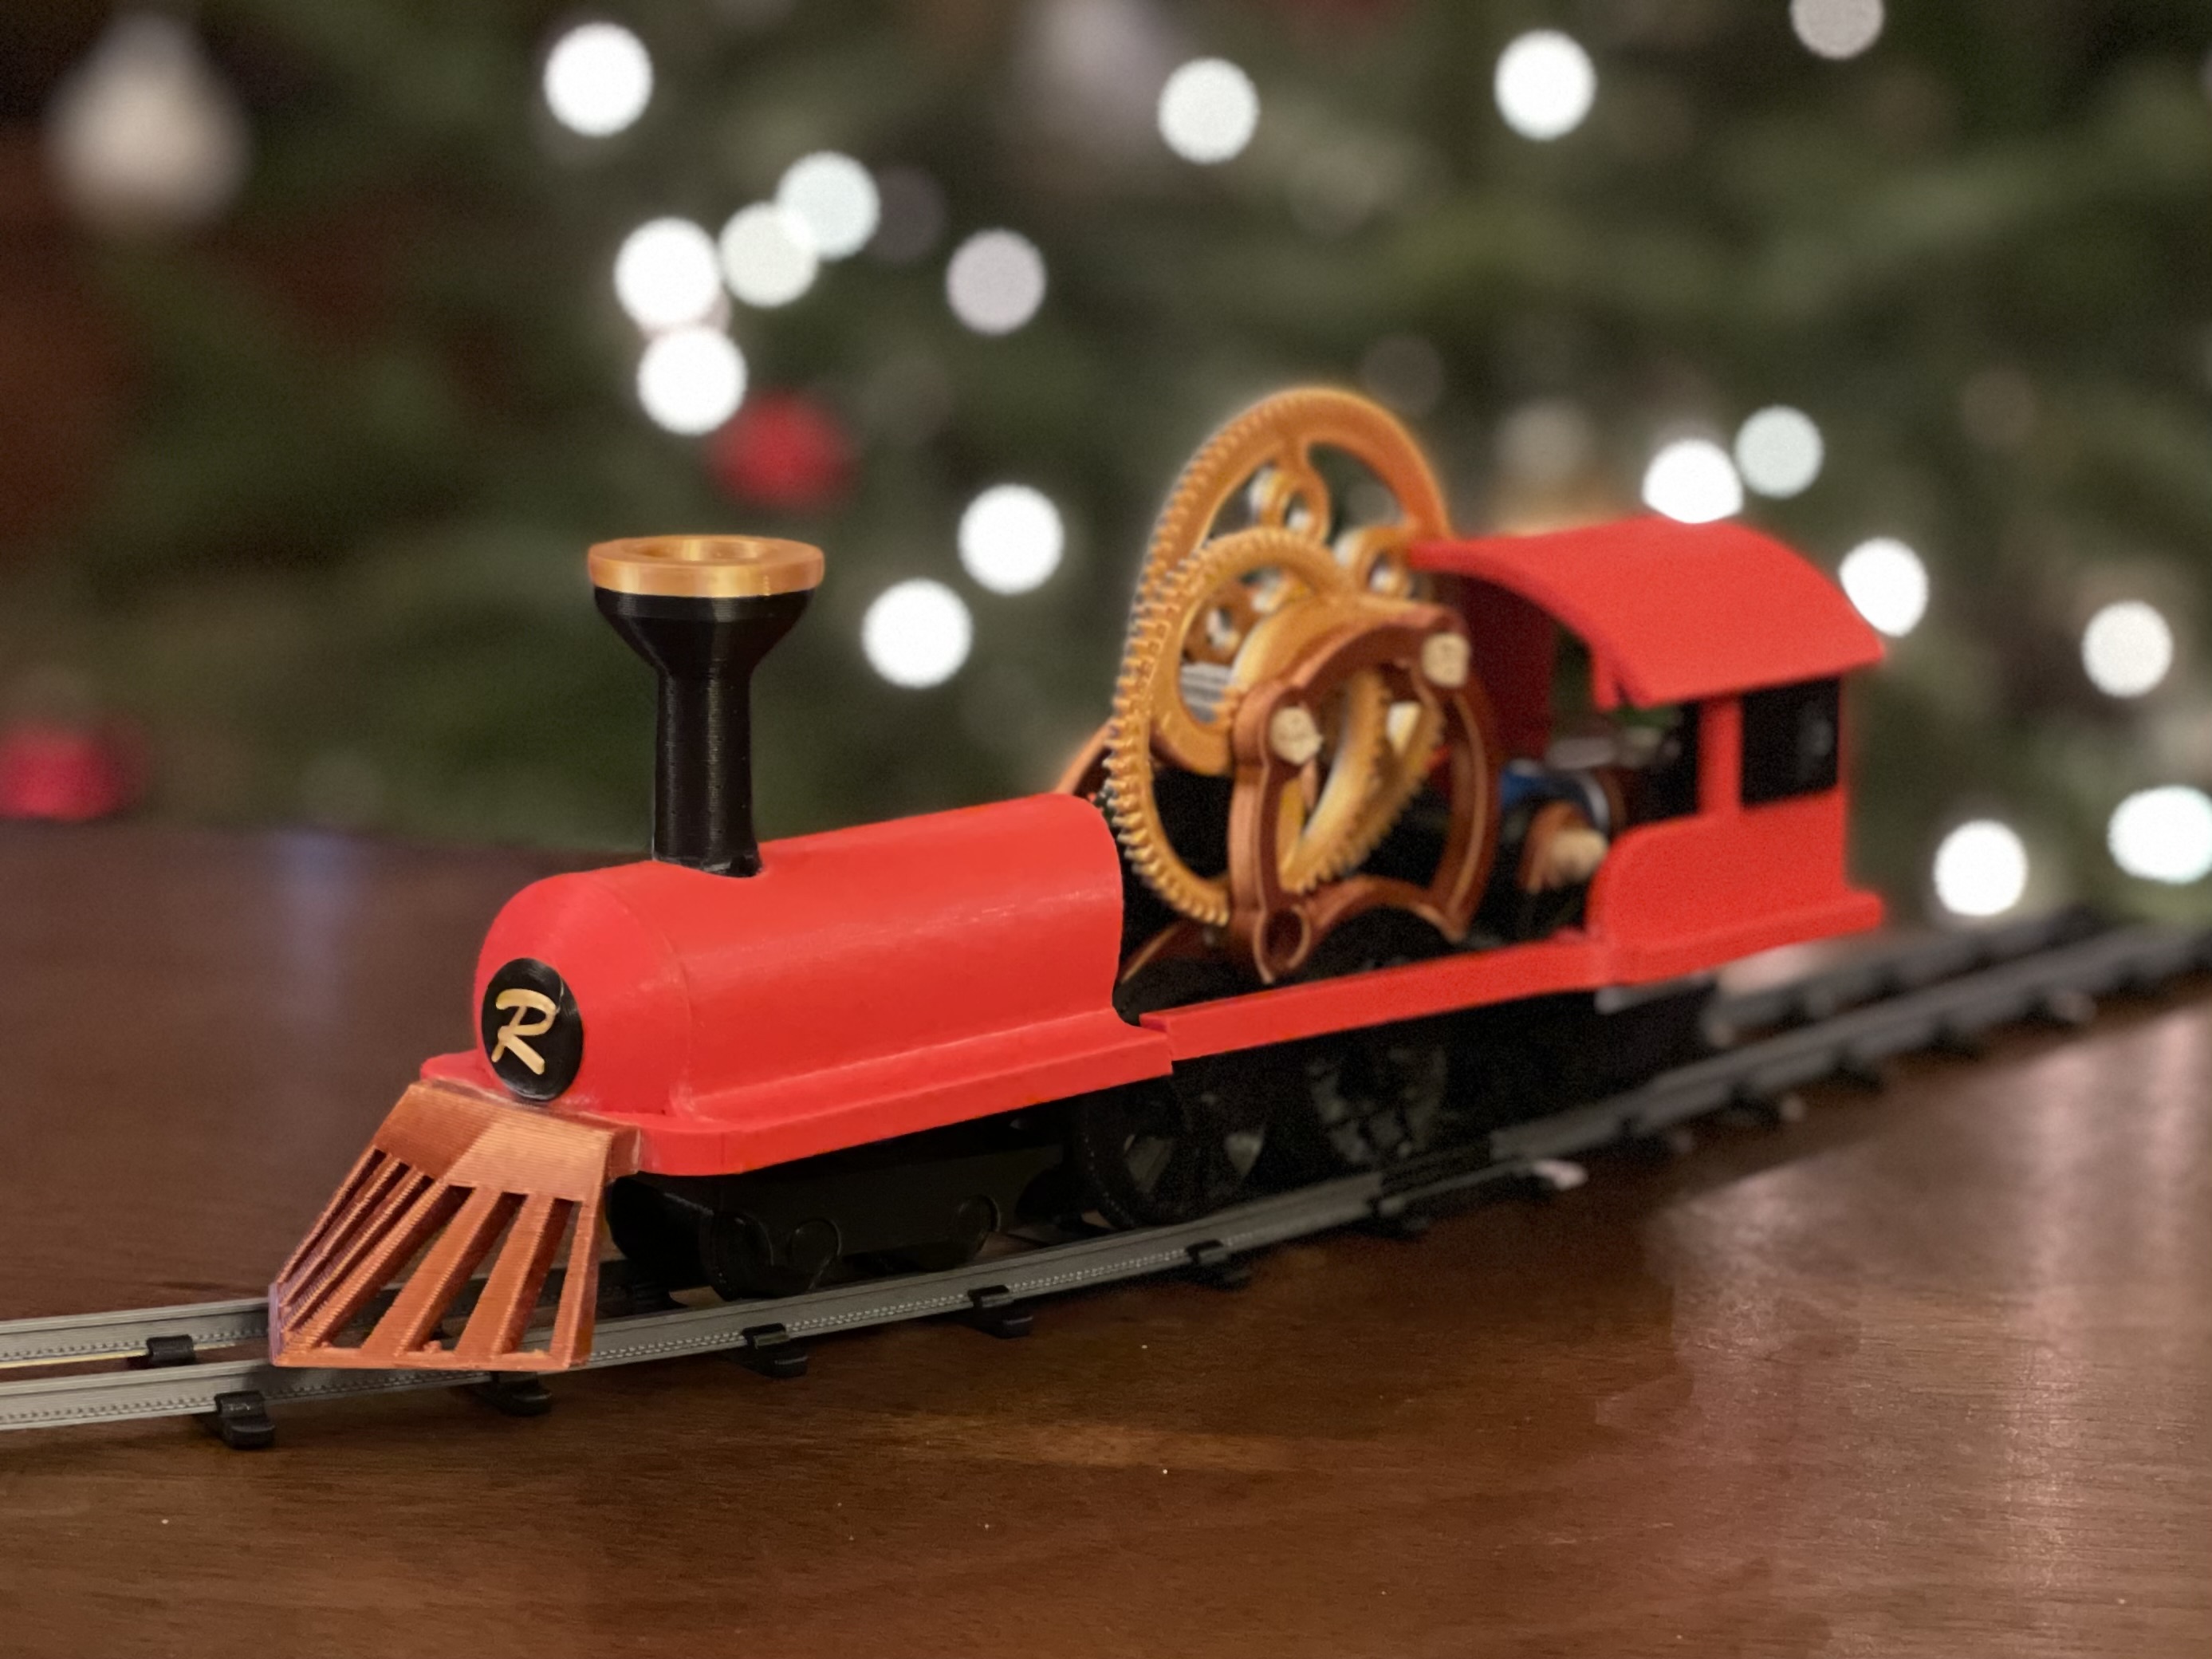
Roosevelt Express (functioning train set!)
prusaprinters
<p> </p><p>Hop aboard the Roosevelt Express! I designed this toy for my newborn son, Roosevelt. This is a functioning electric locomotive with a fully-printable modular railway system for your Christmas tree (or anywhere else you like).</p><p>Here's a video of the Roosevelt in action. It's quite loud due to the 21:1 gear ratio in the drivetrain!</p><figure class="media"><oembed url="https://youtu.be/VM3dENxlTxM"></oembed></figure><p>The track and locomotive are designed to S-gauge (1:64 scale). You can make any pattern or path you like: simply slide rail stock through the cross ties and adjust the curvature however you want. Also included is a STL file for a working 45º diamond intersection.</p><figure class="image"><img src="https://media.prusaprinters.org/media/prints/98616/rich_content/acf1e905-d3dd-4313-8e4b-e5e80d313e49/img_6051.jpg#%7B%22uuid%22%3A%22268c237c-9519-41e2-a2d9-350343096c27%22%2C%22w%22%3A3008%2C%22h%22%3A3136%7D"/></figure><p> </p><p>Individual track sections can easily be attached or detached using the provided rail joint connectors:</p><figure class="image"><img src="https://media.prusaprinters.org/media/prints/98616/rich_content/427518bd-4d3d-463e-af99-ebbacbee701c/img_6054.jpg#%7B%22uuid%22%3A%22fb28a39f-eac5-41fb-ba5c-5b9d735d8b73%22%2C%22w%22%3A2338%2C%22h%22%3A2094%7D"/></figure><p> </p><p> </p><h3>Required Parts</h3><p>This project is almost 100% 3d-printable. However, you will need some parts for the electric drive!</p><ul><li>1x Type 130 miniature DC electric motor (e.g. <a href="https://www.amazon.com/gp/product/B07SQXRSNR/ref=ppx_yo_dt_b_asin_title_o03_s00?ie=UTF8&psc=1">this one on amazon</a>)</li><li>1x AA battery</li><li>AA battery terminals (I scavenged them from the battery box of some old electronic junk!)</li><li>Wires and solder for connecting the battery to the terminals.</li><li>[<strong>optional] </strong>electric switch for power/on off (e.g. <a href="https://www.amazon.com/gp/product/B01N2U8PK0/ref=ppx_yo_dt_b_asin_title_o02_s00?ie=UTF8&psc=1">this one on amazon</a>). Alternatively you could just wire it up directly to the battery box.</li><li>[<strong>optional</strong>] 2x 16-20mm M3 screws. Alternatively you could just print a piece of plastic with the same profile; they are only used as alignment pins for the front and back wheelsets.</li><li>[<strong>optional</strong>] ¼ inch wooden dowel. This is for the gear axles. I happend to have wood dowels laying around, but you could alternatively print plastic cylinders with a slightly smaller radius.</li></ul><h3>Printing Instructions</h3><p>In order to layout track, you need only three different parts:</p><ul><li>First, print the rail stock (railstock_8inch.stl). 0.3mm layers. You can scale the length of these to whatever you want; longer rails will be more flexible and require fewer joints. On a MK3S+, you can print up to 12" rails, but I chose 8" rails since it's easy to fill the whole print bed.</li><li>Next, print a bunch of crossties (crosstie.stl). 0.3mm layers. They should be printed edge-on so the “clamps” are able to bend without breaking. I use about 5 crossties per 8" segment of track.</li><li>Finally, print pairs of the rail joints (rail_joint.stl). 0.3mm layers. These should be printed standing up on their edge (so the puzzle-pieces are at the top). I use supports for the bottom few layers.</li><li>[<strong>optional</strong>] If you want to have a criss-crossing or figure-8 track, also print the diamond intersection module (diamond_crossing_45deg.stl).</li></ul><p>In order to print the train, you will need to print all of the remaining parts. Unless otherwise specified, 0.3mm layers are fine. Some objects will require multiple copies:</p><ul><li>axle_pins: 12 copies; 0.1mm layer height.</li><li>wheels: 8 copies; 0.2mm layer height; use supports and print them with the square recess facing up</li><li>axles: 4 copies</li><li>driving_wheels: 4 copies, 0.2mm layer height; use supports and print them with the square recess facing up</li><li>driving_axle: 2 copies, 0.2mm layer height; use supports.</li><li>bogie_frames: 2 copies, 0.3mm layer height.</li><li>gear_mitre: 1 copy, 0.2mm layer height</li><li>gear_transmission: 1 copy; 0.2mm layer height</li></ul><h3>Assembly Instructions</h3><p>For the track, simply slide pairs of rail stock through the “clamps” in the cross ties. Adjust the spacing and angles of the crossties to achieve the desired track curvature. Trim the ends of the railstock to be flush with one another, and press them into the connector joint.</p><p> </p><p>For the train, the wheelsets are assembled by aligning the square axle with the square recess in the wheels. Holding the wheels and axles together, press an axle pin into each end (this may require some force!)</p><p>Once the axle pins are in place, the wheelsets should simply snap into place on either the bogie frames or the drivetrain undercarriage. The drivetrain undercarriage should be glued to the drivetrain carriage, taking care to align all the slots.</p><p>Next, take the gears starting from gear A, B, then C, and align them with the axle holes, bottom to top on the drivetrain carriage. You can hold them in place with either ¼" wooden dowels or printed plastic cylinders.</p><p>Next, glue the battery and motor carriages to the drivetrain as indicated in the CAD model. Drop a M3 screw (or plastic pin) into the slots, and insert the battery terminals and motor. Solder the motor to the battery terminals. If you are using the on/off switch linked above, it will snap right into the “window” on the locomotive cab.</p><p>The boiler tank cap and cattle guard can be glued to the front of the boiler tank cover.</p><p>Lastly, slide the cabin and the tank covers over the edges of the motor and battery carriages. Align the assembled front and rear bogies and wheelsets with the M3 pins below the locomotive; the 4-wheel trucks should be able to freely rotate as well as shift laterally a few mm. Throw the switch and you're ready to ride!</p>
With this file you will be able to print Roosevelt Express (functioning train set!) with your 3D printer. Click on the button and save the file on your computer to work, edit or customize your design. You can also find more 3D designs for printers on Roosevelt Express (functioning train set!).
