RomTaStick MK I
thingiverse
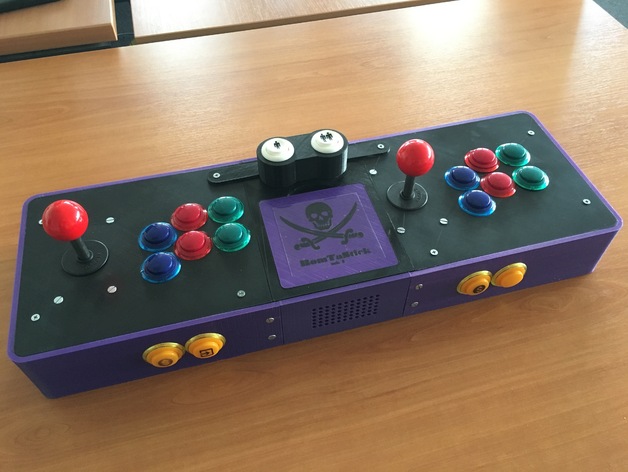
This is the RomTaStick MK I, an enclosure designed to build a classic arcade console. To learn how it was made, read this blog article carefully. The build instructions are readily available here. Note that the RomTaStick MKII is now available here, addressing some design flaws of the MK I. A bill of materials and assembly instructions can be found at https://romtastick.grousset.fr. Print Settings Printer Brand: Ultimaker Printer: Ultimaker 2 Rafts: No Supports: No Notes: Print bottom parts with a 20% infill, top parts with a 30% infill. The top-left, top-right, and lid parts must be printed upside-down for better rendering. The top-middle part requires supports to print successfully. Use a brim for every part; smaller ones are recommended for the bottom-left and bottom-right, and remember to disable skirt printing for those parts as well.
With this file you will be able to print RomTaStick MK I with your 3D printer. Click on the button and save the file on your computer to work, edit or customize your design. You can also find more 3D designs for printers on RomTaStick MK I.