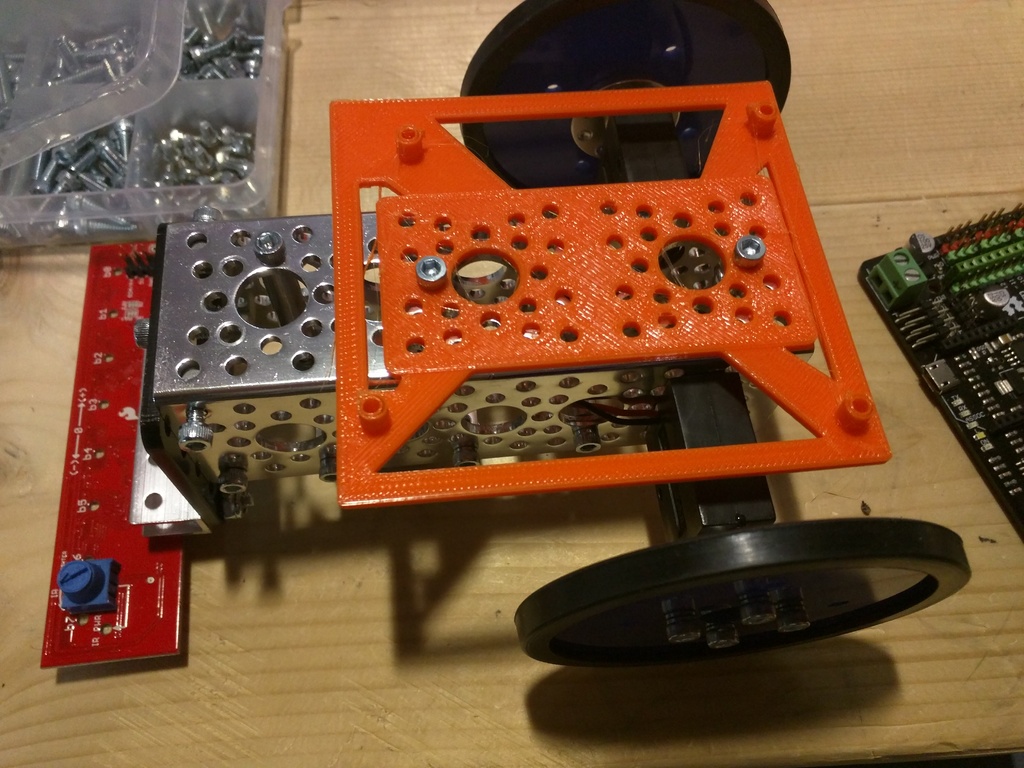
Romeo Actobotics Mount
prusaprinters
<p>Mount a DF Robot Romeo 2 board to Actobotics channel. Use M3 screws.</p> <h3> Print Settings</h3> <p><strong>Printer Brand:</strong></p> <p>MakerBot</p> <p><p class="detail-setting printer"><strong>Printer: </strong> <div><p>MakerBot Replicator 2</p></div><strong>Rafts:</strong></p> <p>No</p> <p><p class="detail-setting supports"><strong>Supports: </strong> <div><p>No</p></div></p> <p><strong>Notes:</strong></p> <p>default settings worked fine; printed in PLA</p> <h3> How I Designed This</h3> <p>Used previous mount for DF Robot Romeo 2; downloaded STEP file for dual bracket from Actobotics (<a href="https://www.servocity.com/html/flat_dual_channel_bracket__585.html#.VtMgUZMrIUE">https://www.servocity.com/html/flat\_dual\_channel\_bracket\_\_585.html#.VtMgUZMrIUE</a>) and merged the two (cut proper sized hole in previous model first). Made in Autodesk Fusion 360.</p> </p></p> Category: Robotics
With this file you will be able to print Romeo Actobotics Mount with your 3D printer. Click on the button and save the file on your computer to work, edit or customize your design. You can also find more 3D designs for printers on Romeo Actobotics Mount.
