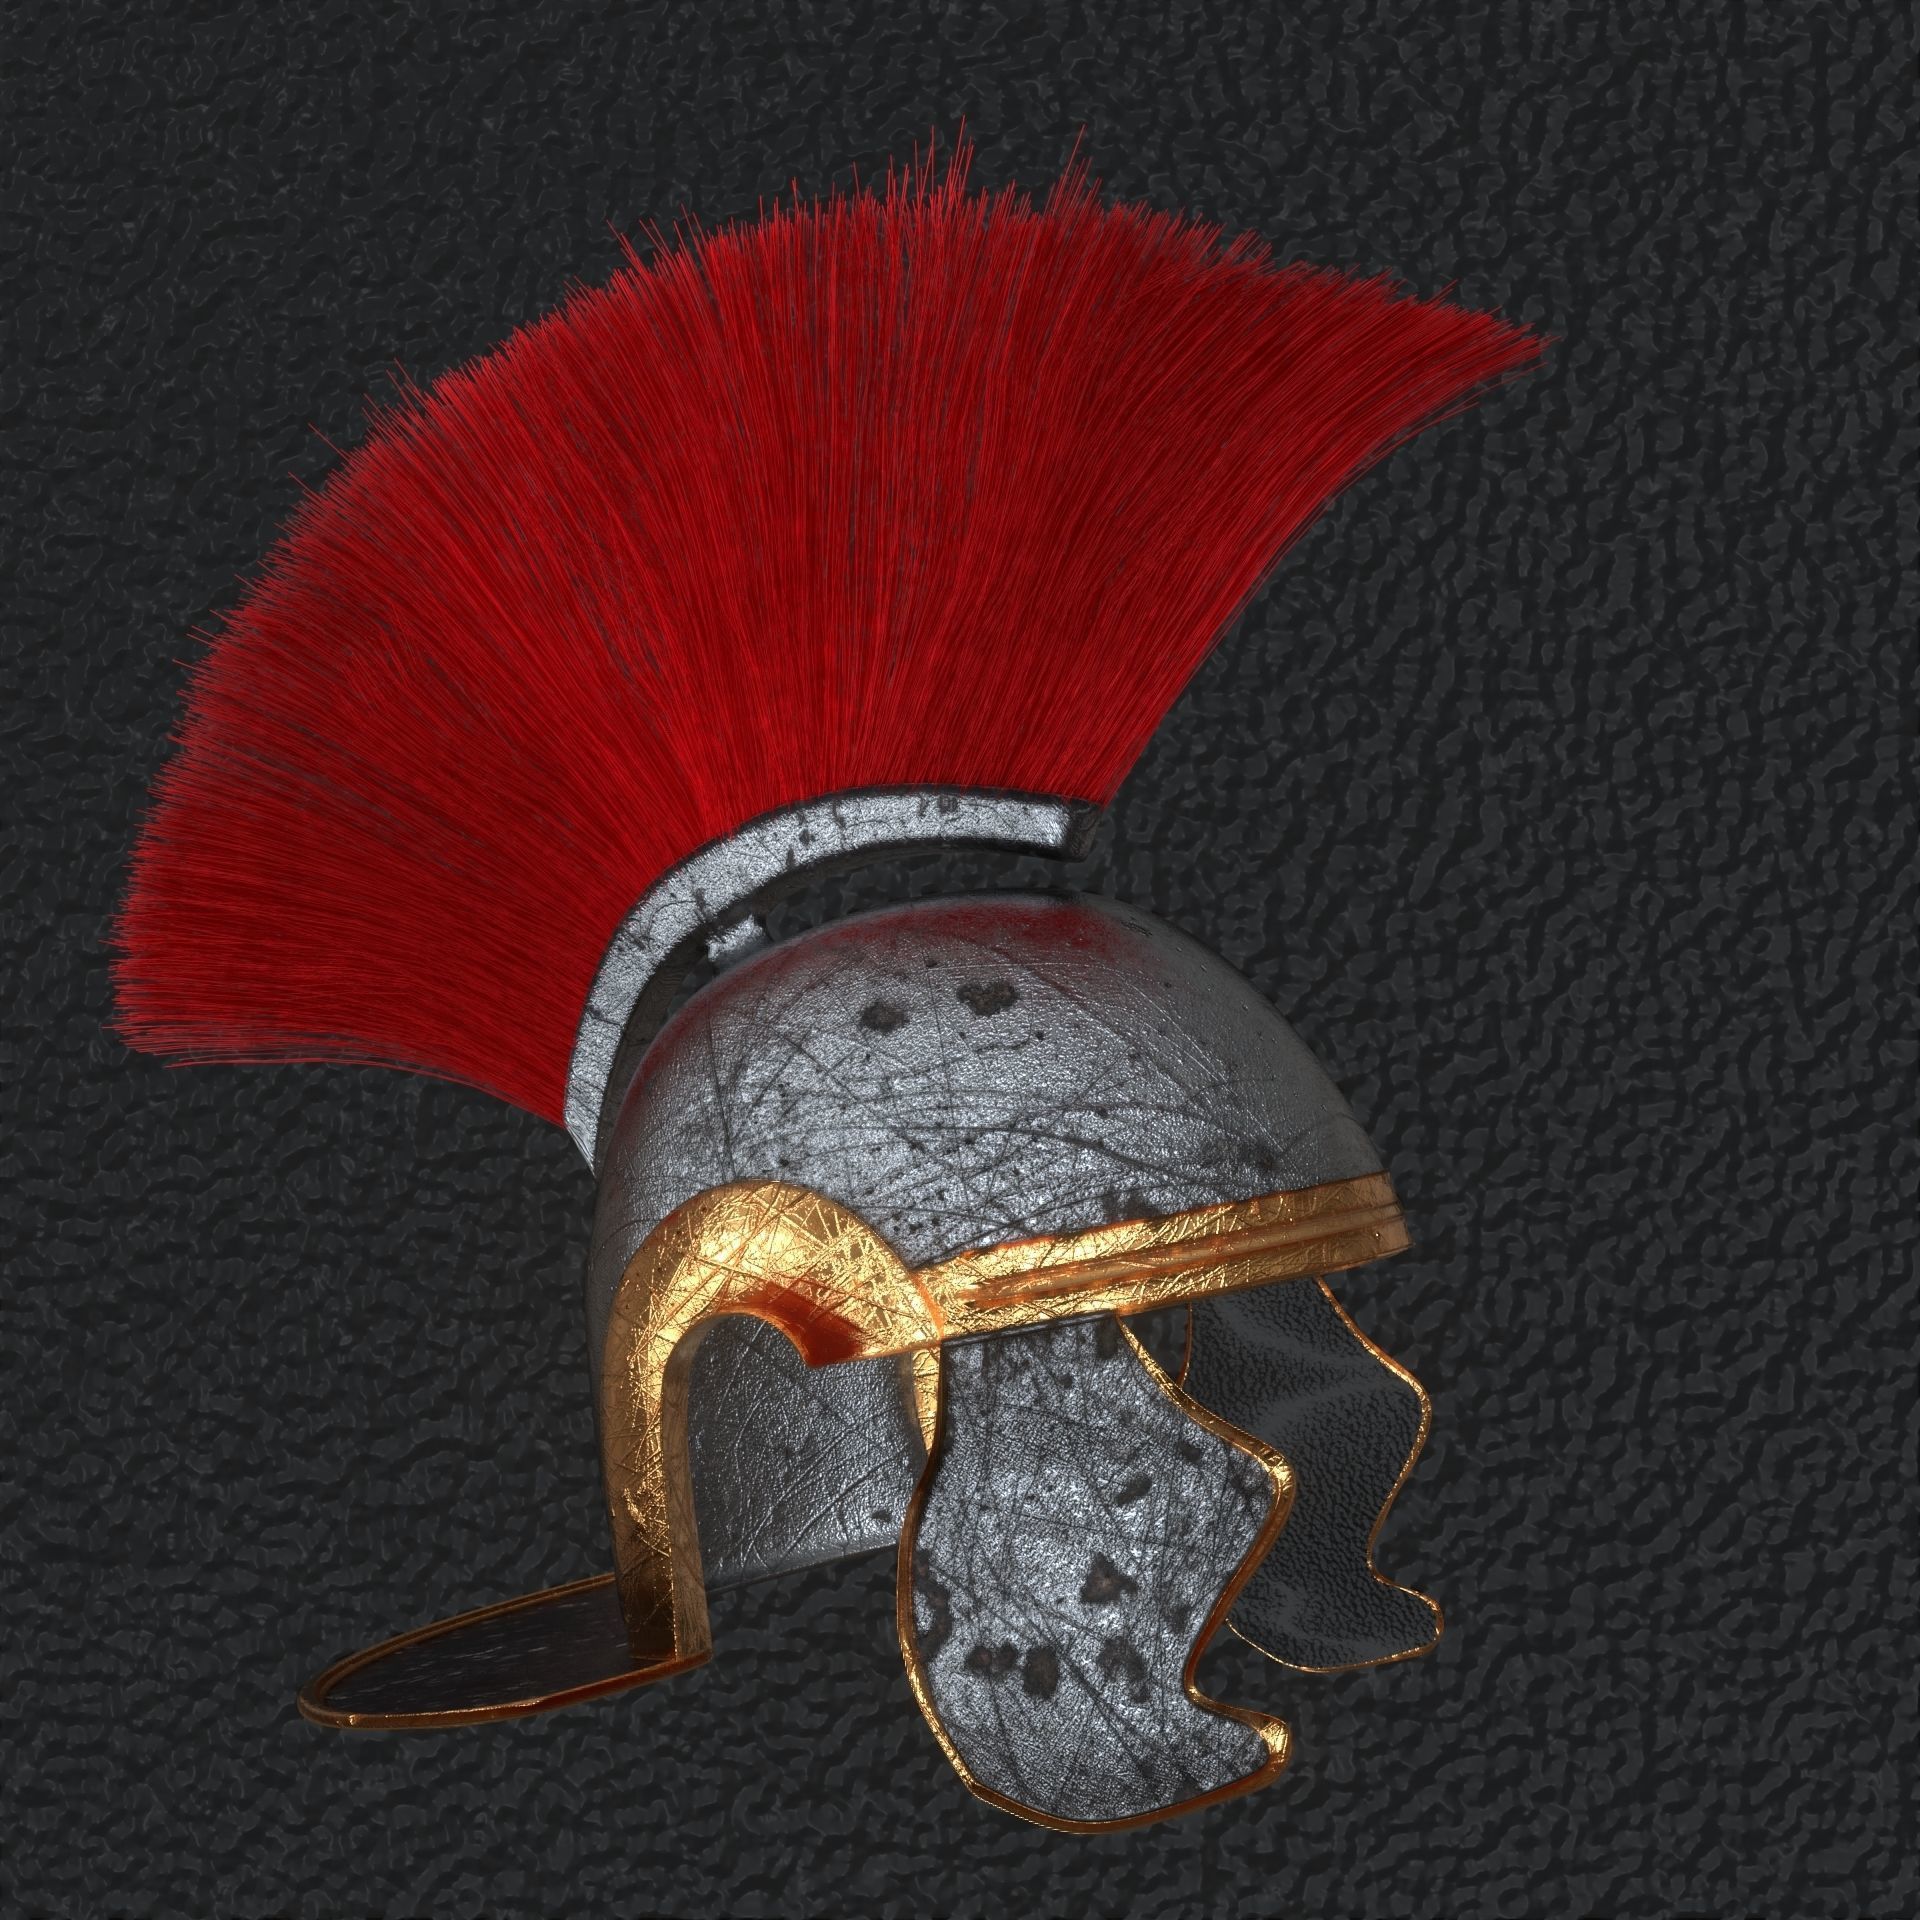
Roman Combat Helmet 3D model
cgtrader
High-quality, high-poly 3D model of a Roman combat helmet. This is the helmet worn by Centurions in the Roman Army, equivalent to First Lieutenant rank in modern times. This model is perfect for any project with a Roman or Antique theme. It's self-explanatory and doesn't require further explanation. Instructions: If you're using Blender: When opening the blend file, it will appear completely pink as all textures are zipped within the Texture File. Go to the Shading tab, select the metal texture, click the folder icon in one of those textures nodes, and choose the texture from the Texture File. Make sure the selected texture matches the previous one. Repeat this process for the gold texture. Change the shader type to World from Object in the Shader tab. Click the folders icon in the Environment texture node connected to the Background Node, and choose the HDR file from the Texture File to get the exact look shown above. If not missed a step, you'll successfully apply both textures and HDR. After applying the textures, don't forget to save the file. Now you can append this model to your Blend file that you're working on (if you don't know how, watch tutorials on YouTube). You can also import the 3D object file (.obj or .fbx) into your Blend file and texture it while it's there. The texturing process is the same, but I wouldn't recommend this method because subdivision surface modifier is applied in .obj and .fbx files, which might be hard for your computer to process. More details about the blend file: The Blend File includes an extra object named ParticleSystemUsedInHelmet. I've used a particle system to generate the helmet's crest. However, particle systems don't show up in .obj or .fbx files since they're not mesh, so I converted them into mesh to ensure everyone can use my model as it appears in the images. If you want to use hair dynamics, you'll need to convert it back into a particle system, which isn't possible. However, you can copy the particle system from the extra object (ParticleSettings.004) and paste it onto the helmet. Delete the mesh named Hair > Go to Particle Settings after copying the system > find vertex groups > click the density and choose Group. You'll generate hair by doing these steps, but it won't look like the previous crest because you need to edit that hair and give it a shape like a crest. Select the helmet > Change mode to Particle Edit from Object Mode. You can edit your crest from there, but if you're unsure how to use Particle Edit, there are dozens of tutorials on YouTube (if you still can't give it a proper shape, feel free to ask me). ATTENTION! You don't need to do any of these steps if you don't want to use hair dynamics. The crest comes with the blend file separated from the helmet as another object. You can use it without setup. If you're using a different software: I'm not familiar with other software, so I can't guide you through it. However, I've loaded .obj and .fbx files, which should be easy to download and use regardless of your software. (.fbx file has metal and crest texture included in it but somehow I couldn't put the gold texture, so you'll need to apply it yourself.) If you have any issues, please send a message or email me at blenderarcturus@gmail.com.
With this file you will be able to print Roman Combat Helmet 3D model with your 3D printer. Click on the button and save the file on your computer to work, edit or customize your design. You can also find more 3D designs for printers on Roman Combat Helmet 3D model.
