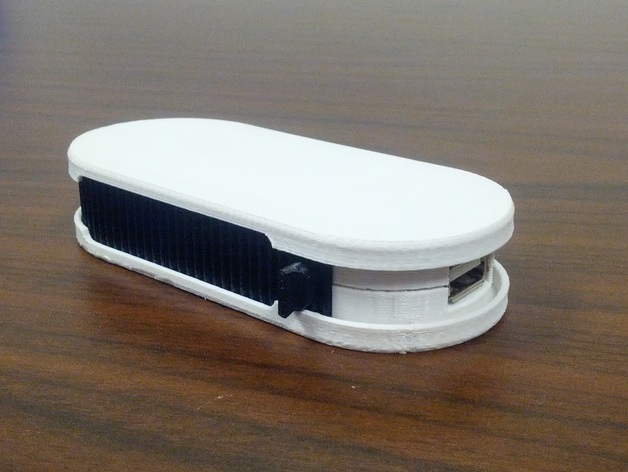
Rolling MintyBoost Enclosure V2
thingiverse
The latest version of the MintyBoost Enclosure revamp addresses the inconvenience of battery installation and removal. The battery holder was eliminated for easier battery extraction, while the cost reduced slightly. Additionally, the front pins were upgraded for enhanced security. To assemble this redesigned enclosure, print two base models symmetrically forming top and bottom case halves, and one cover. Select 1 shell, .27mm layer height, and 15-25% infill in Makerware for optimal results. Acquire Keystone battery contacts (part numbers 209 and 228) or scavenge from old holders, flattening barbs with pliers for ease of installation. Assemble a MintyBoost without their battery holder from Adafruit, insert into one enclosure half, place battery clips around bosses, solder positive and negative leads, and add a jumper wire. Attach the cover to the other half, ensuring a snug fit, and secure the PCB with included double-sided tape on the enclosure's bottom.
With this file you will be able to print Rolling MintyBoost Enclosure V2 with your 3D printer. Click on the button and save the file on your computer to work, edit or customize your design. You can also find more 3D designs for printers on Rolling MintyBoost Enclosure V2.
