Rolling Ball Clock
prusaprinters
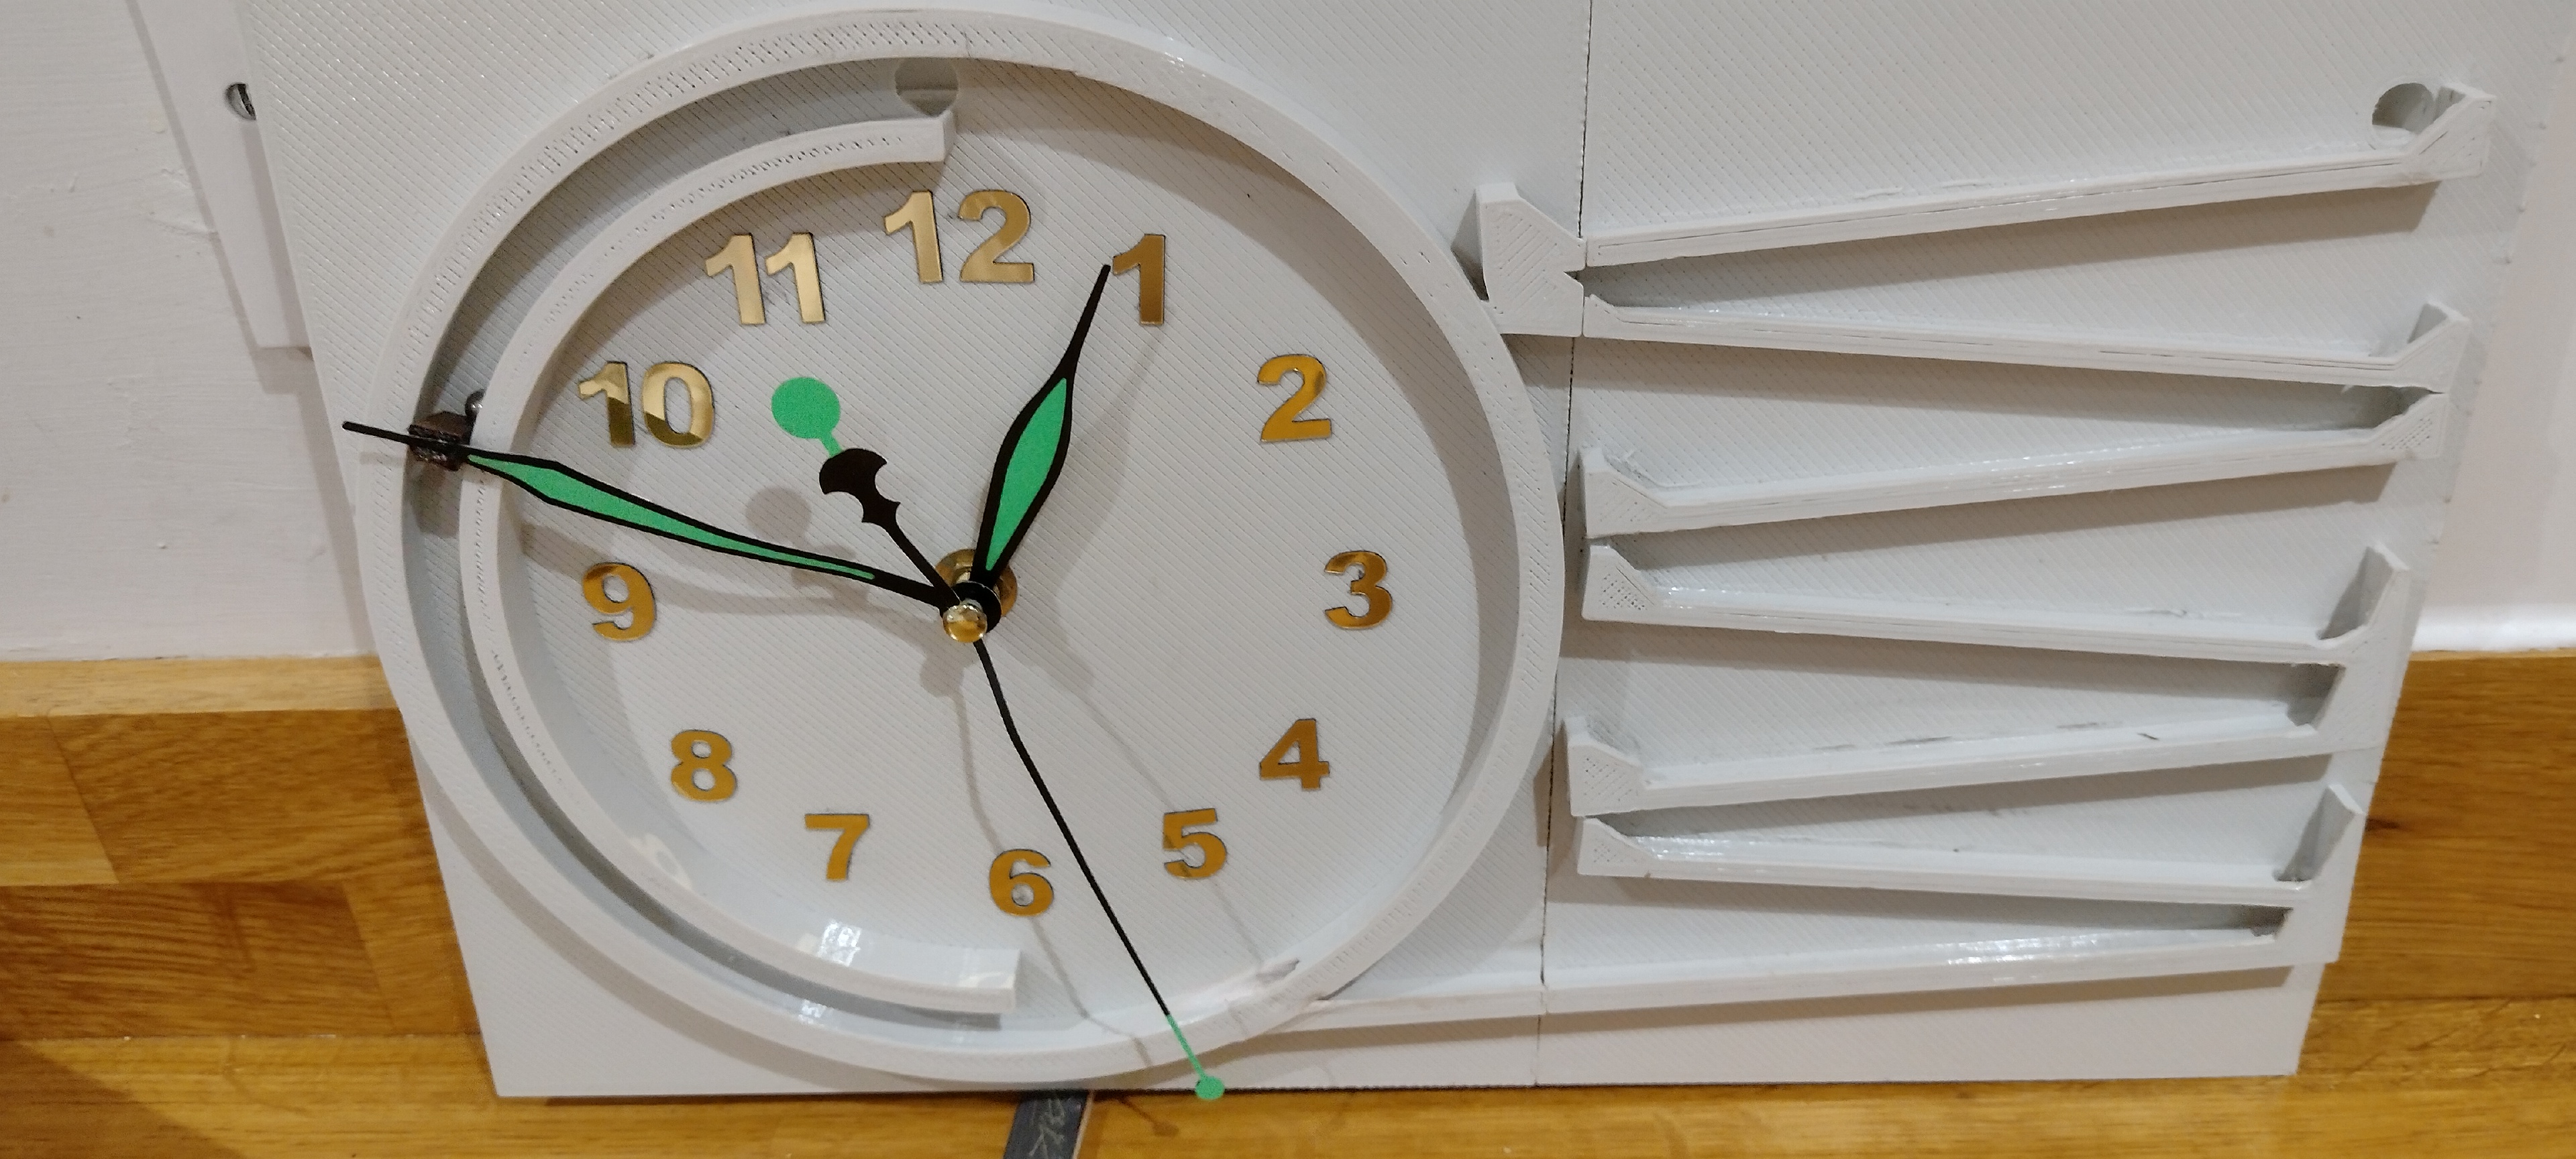
<p>I have included a complete STL of my clock but it is best printed in 4 parts and glued together. The two main parts are the clock face and the tracks. I printed all parts individually at 90% size and 0.2 layer height. That way it would fit my printer bed and enabled a std clock mechanism and 6mm dia steel ball bearing. You must ensure and print marks on the tracks and track walls are gently sanded to reduce friction. The sweeper was the most difficult part to get right so as to reduce friction and push the ball towards the hole, I actually settled for a piece of hardwood shaped and glued to the second hand after a number of attempts. The sweeper should glide just above the clock face and not touch the sides of the track. Likewise pay attention to the positioning of the rear track being smooth and friction free and positioned accurately before final gluing with superglue. My clock still needed a 1 or 2 degree tilt down to the right to work well and works best with a 1 degree tilt backwards at the top. I used a standard clock mechanism but high torque ones are available. I would suggest not using supports as they can be difficult to remove and are really not essential. Numbers for the clock face were cut on a laser from thin material. Alternatively find a picture of a clock face, print and glue on.</p><p> </p><figure class="media"><oembed url="https://www.youtube.com/watch?v=8NmqJEyuSbQ"></oembed></figure>
With this file you will be able to print Rolling Ball Clock with your 3D printer. Click on the button and save the file on your computer to work, edit or customize your design. You can also find more 3D designs for printers on Rolling Ball Clock.