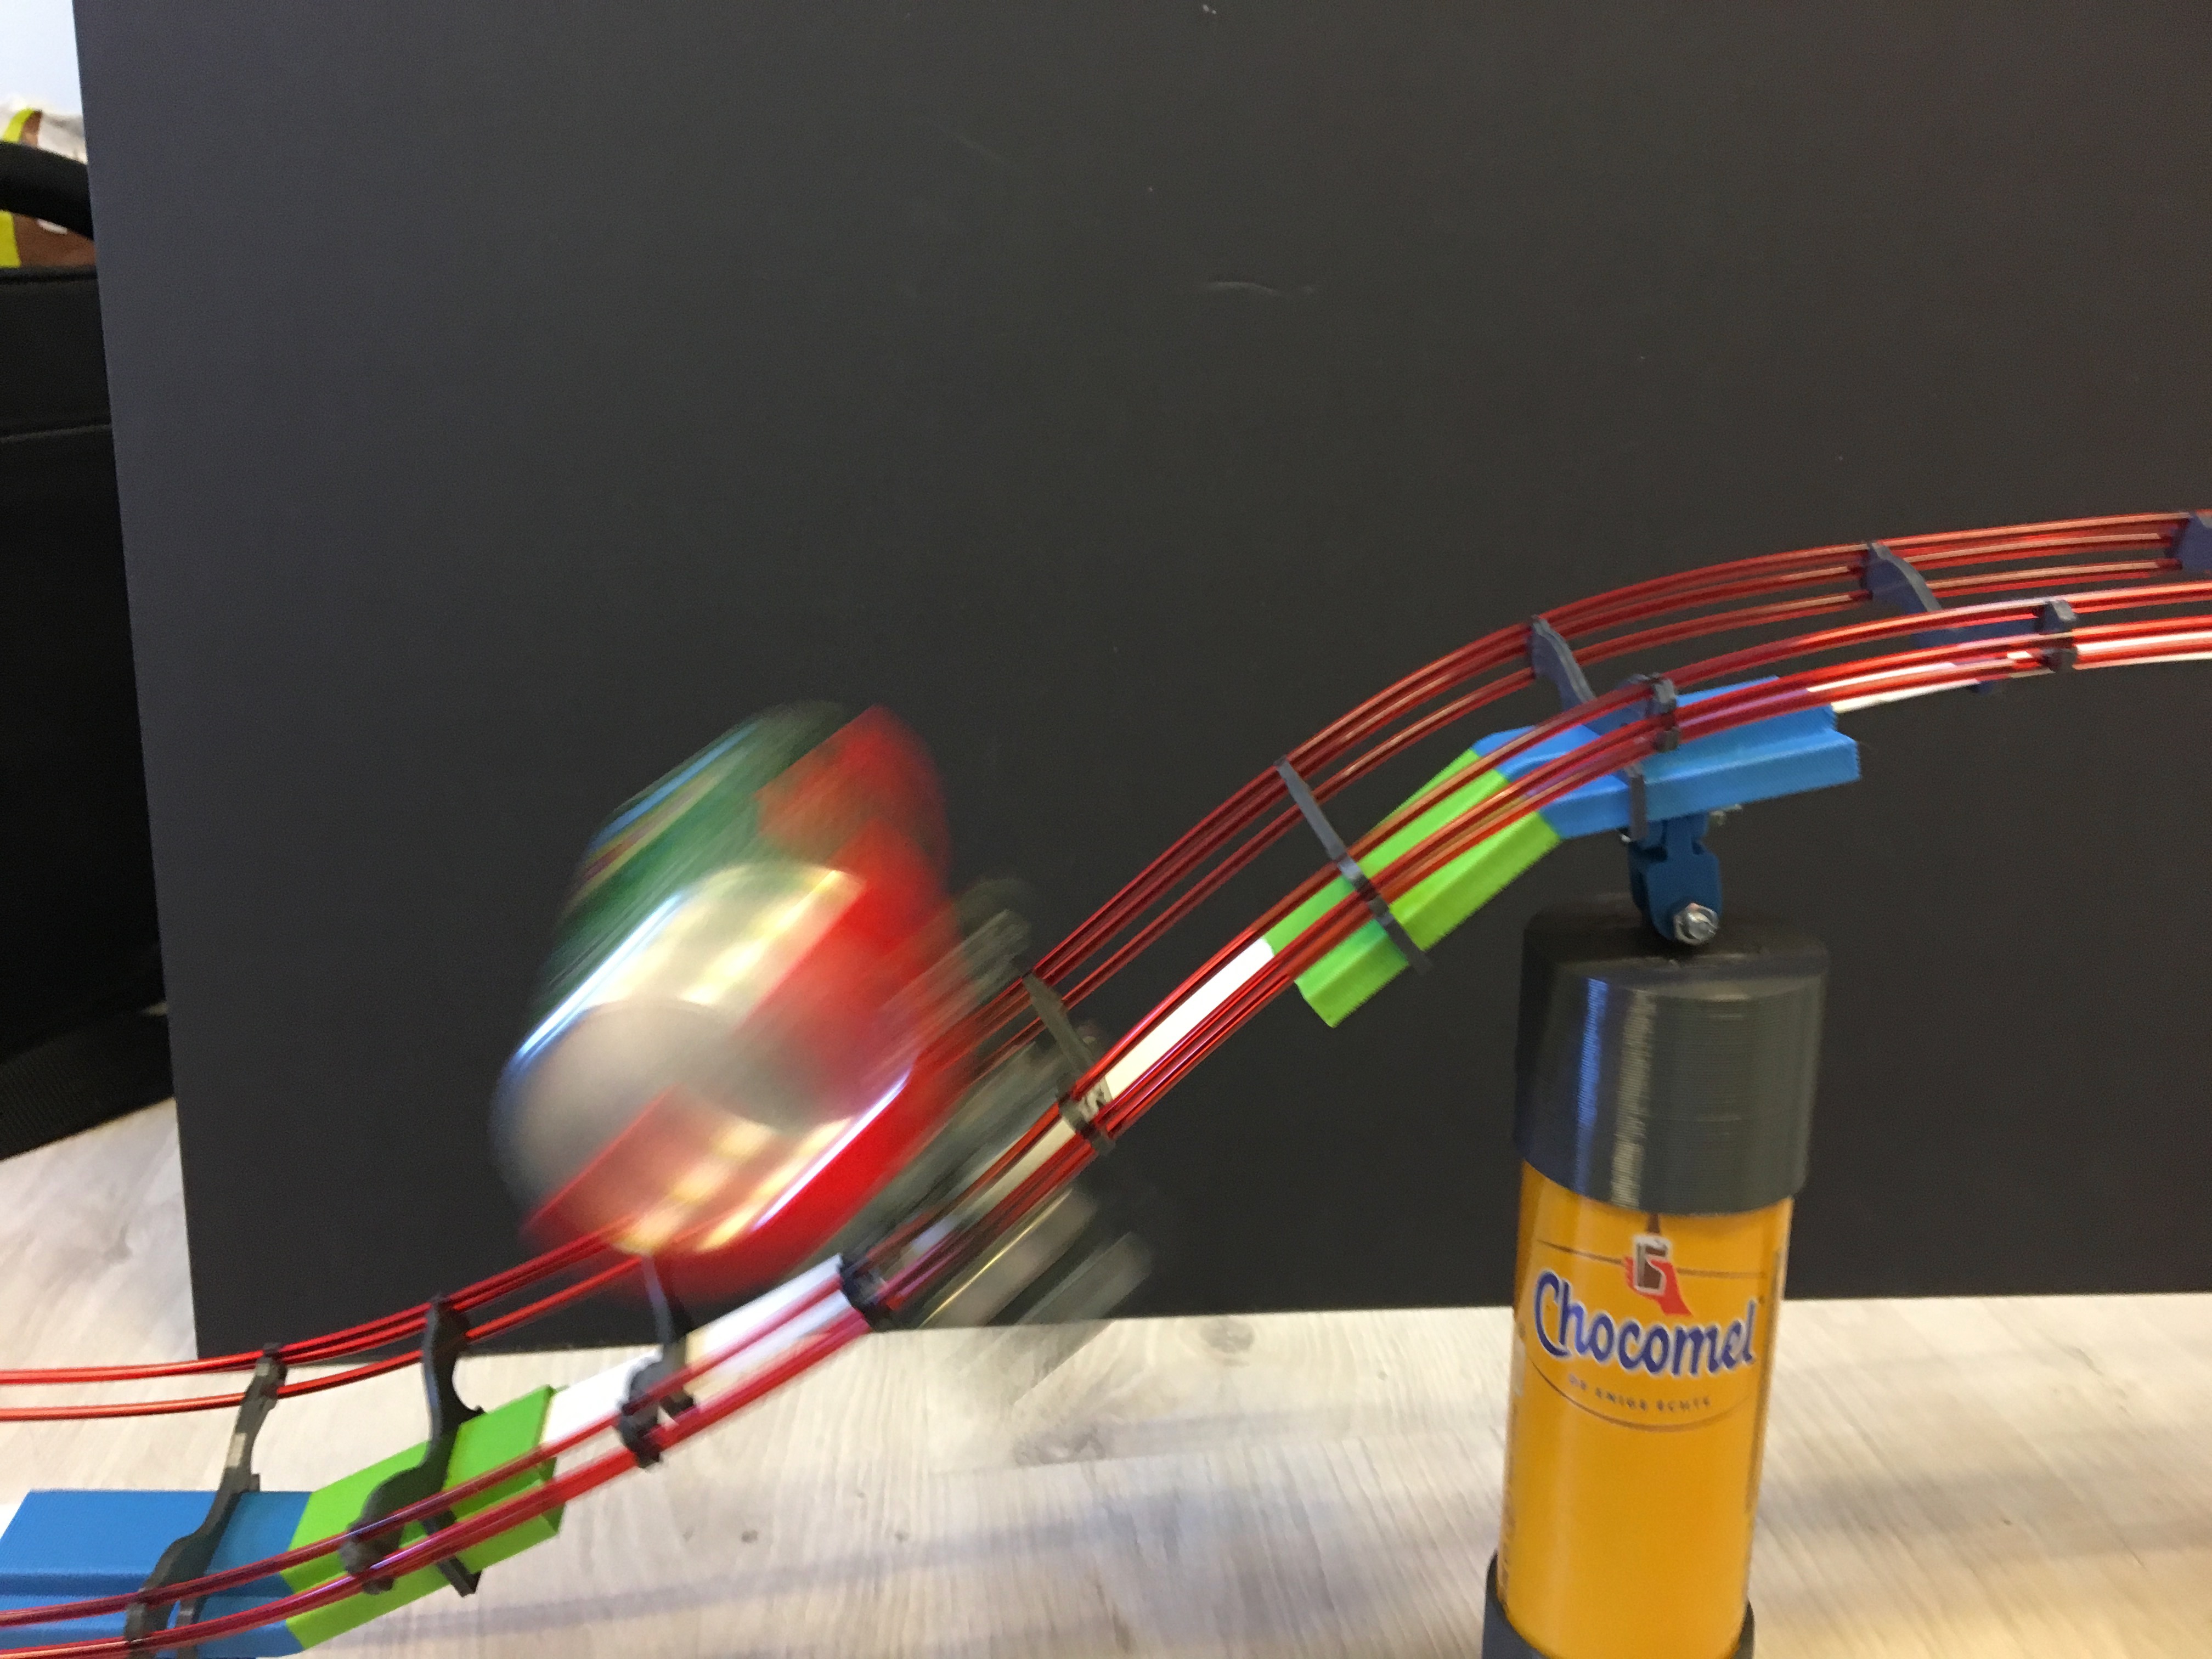
Rollercoaster
myminifactory
Here's a fun project: build a rollercoaster using 250ml drinking cans combined with 3D printing! Check out the YouTube link for a working view. Start by printing the track and can connectors. Then, assemble everything together and use a 3mm filament for the rail. It will click into place with the rail parts. The rail is connected to adjustable parts that ensure proper alignment. Cars can be joined together using car-to-car connectors. Place these connectors on top of the bearings, leaving some room for movement when the cars roll down the track. I used M5, M8, and spacer rings (M8) for most connections, with 608zz bearings requiring M8 and spacer rings. For best results, use a 0.35mm nozzle and 2-layer height during printing. The track comes in various lengths, including part 3, which is a flexible piece that allows twisting the track. This part can also be cut to size as needed. Track parts slide together with gentle pressure, but may require sanding for a snug fit. I've included pictures to help you visualize the assembly process. Have fun printing and building your own rollercoaster!
With this file you will be able to print Rollercoaster with your 3D printer. Click on the button and save the file on your computer to work, edit or customize your design. You can also find more 3D designs for printers on Rollercoaster.
