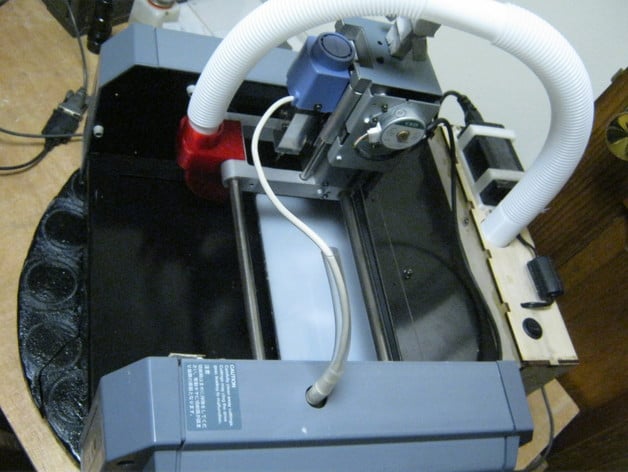
Roland MDX-20 dust collection system
thingiverse
The dust collector must be emptied after use. Remove the cuttings from the work surface by collecting them in the back of the device. This is done by both blowing out front and drawing air back, which sends cuttings down into a chamber and forces air upwards through a vent at the top of the system. This requires a simple filter for the blower to maintain efficiency and prolong its lifespan. The dust collector features a design that prevents excessive dust from accumulating in one area, as it is able to hold its own internal cleaning mechanism. In order to build your dust collection device, there are certain parts you will need: * Blower * 1.125 inch hose * Supply of 12 volts * A piece of birch plywood The 3D printer must be used for the construction of some critical parts such as the adapters for connecting to the main hose. Instructions can be followed using laser cut wood or cardboard to create all essential pieces required in building a box with cover. Assemble and secure box pieces into a working device, while maintaining that there are specific sections to screw together. Also attach flat head machine screws onto box which provides necessary counter sinks. It is essential that this must connect securely as if not you risk malfunction or the parts breakage. Attach filter assembly directly into a wood frame piece. Mount this assembly onto back side plate of Roland mill, ensuring it will stay properly aligned with two fasteners securing tightly
With this file you will be able to print Roland MDX-20 dust collection system with your 3D printer. Click on the button and save the file on your computer to work, edit or customize your design. You can also find more 3D designs for printers on Roland MDX-20 dust collection system.
