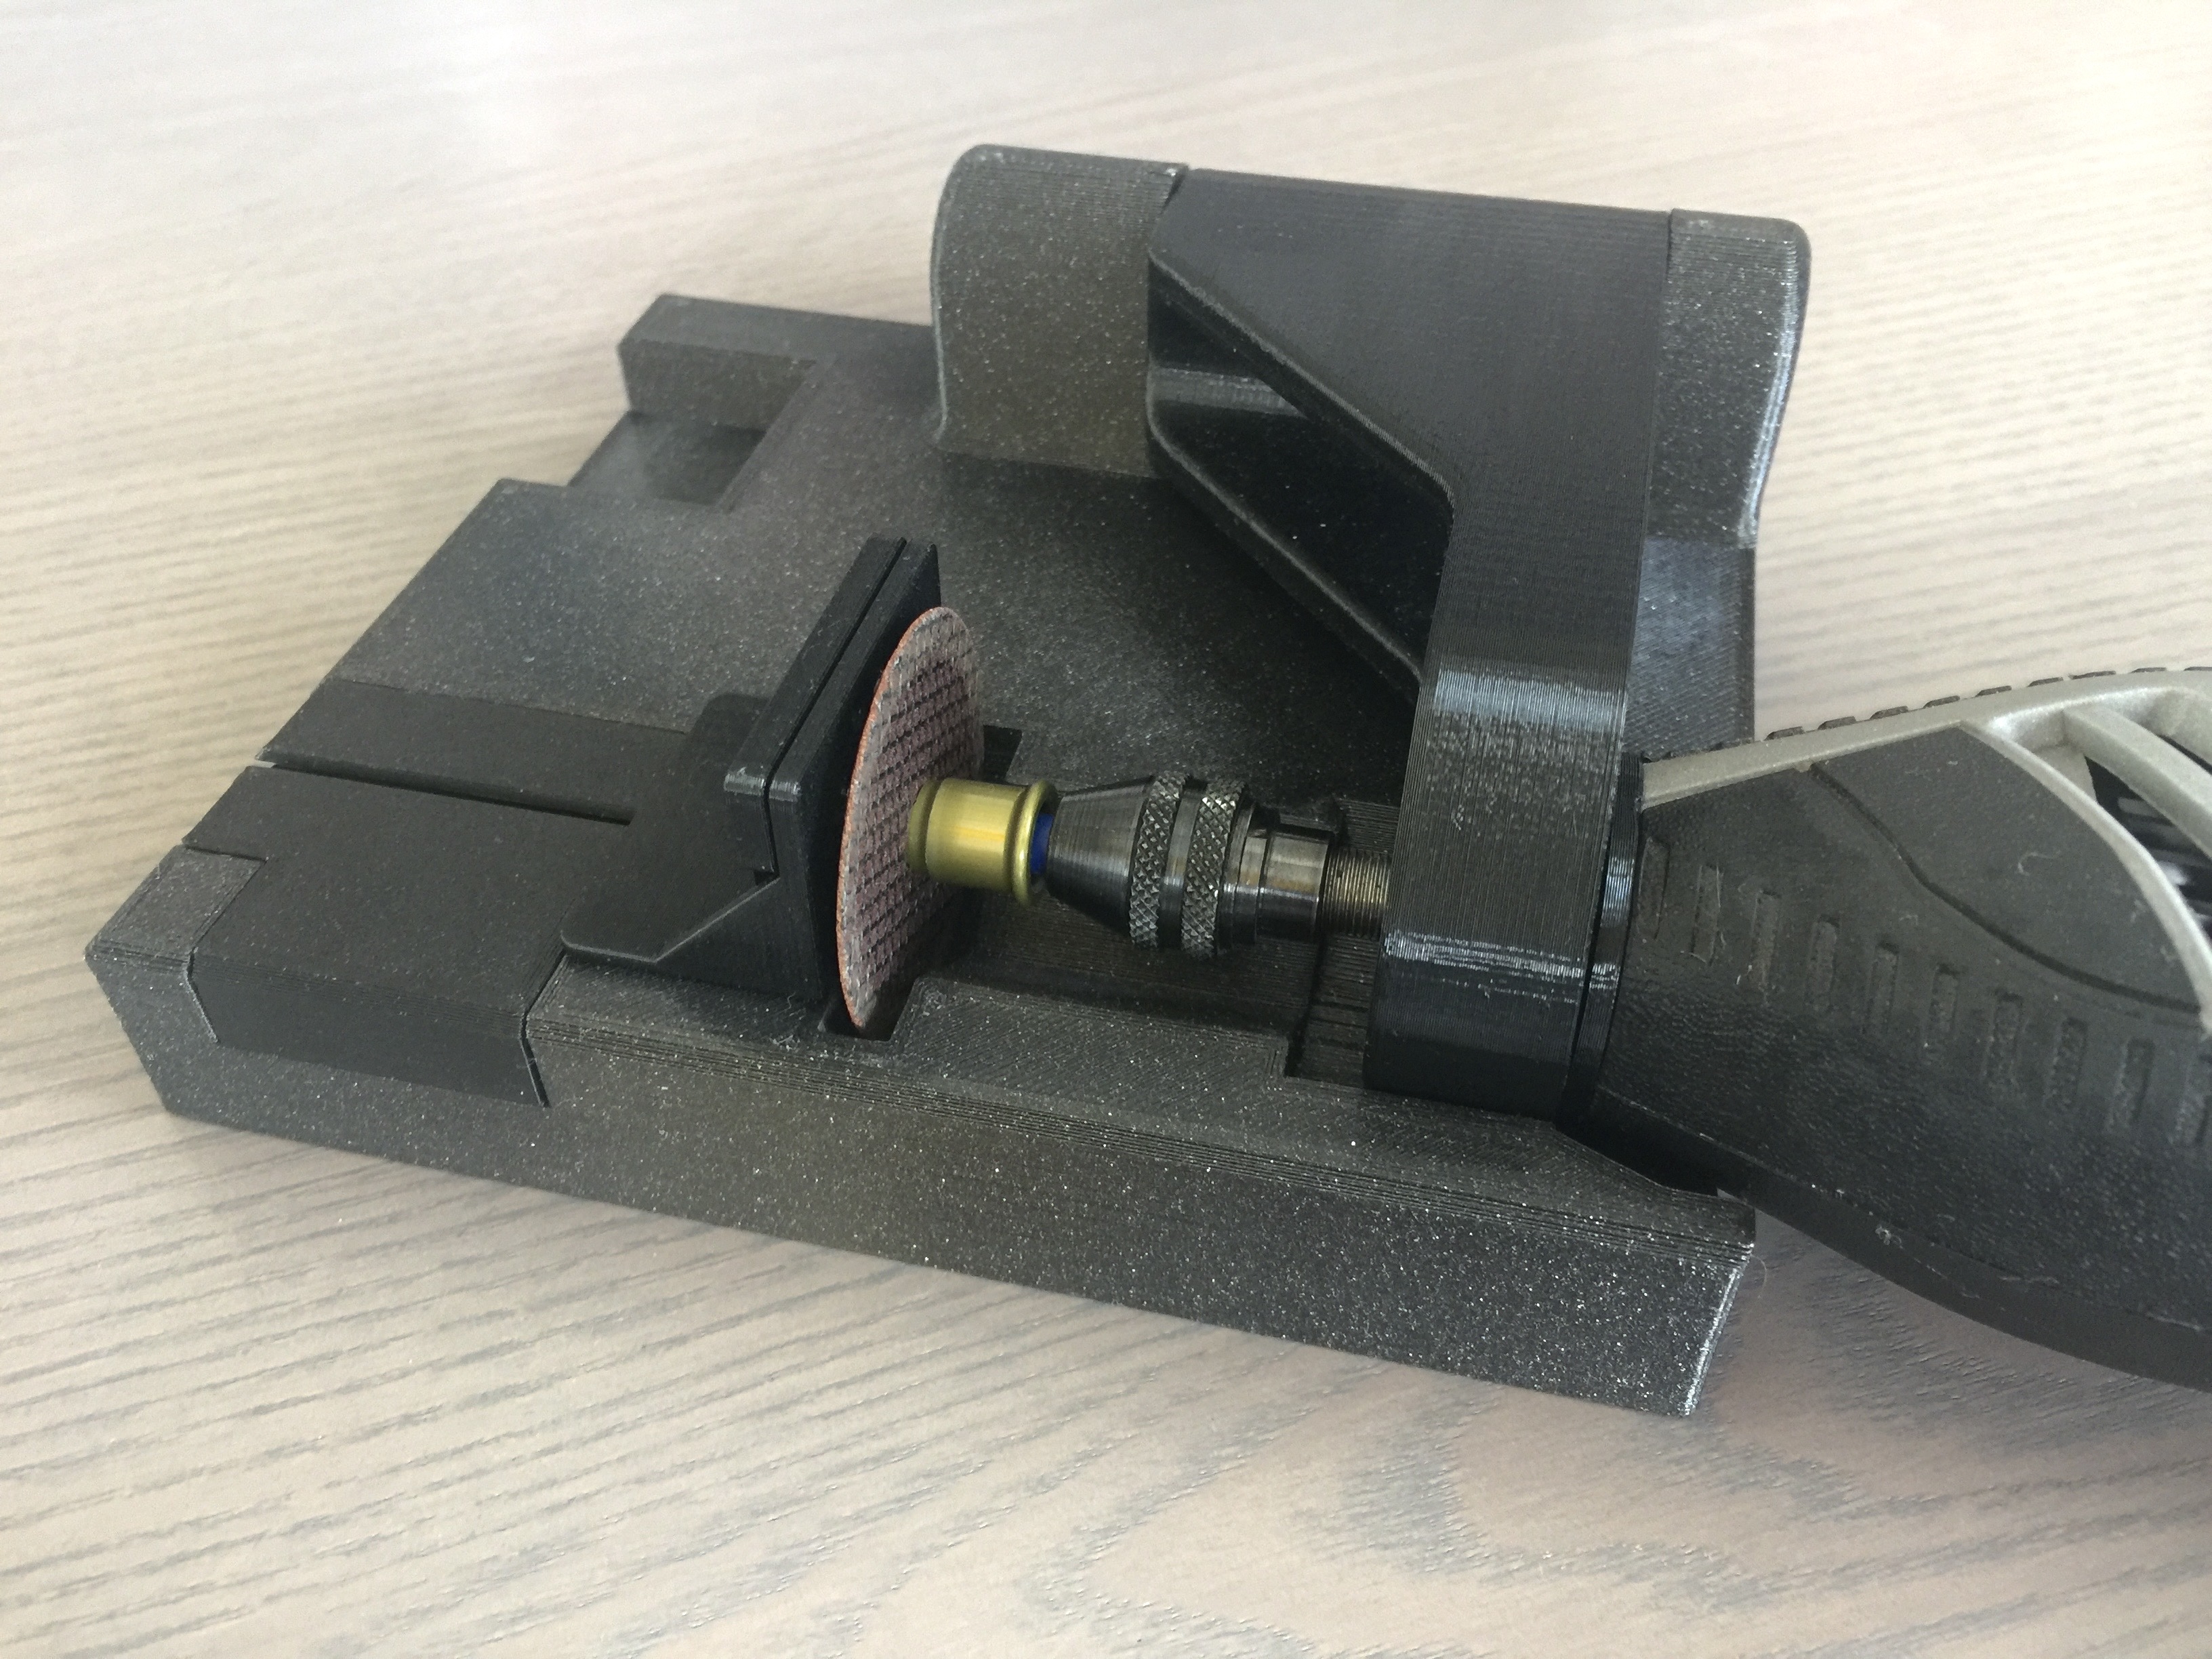
Rod, Tube and Screw Cutter for Dremel
prusaprinters
<p>This is a remix of the <i><strong>Rod and Tube Cutter for Dremel </strong></i>by GreaseMonkey88 on Thingiverse (<a href="https://www.thingiverse.com/thing:4241055">https://www.thingiverse.com/thing:4241055).</a> But after printing I realized that it does not fit my Dremel 4300 (and possibly other large Dremel models). Also I liked the idea of the <i><strong>Screw cutting support</strong></i> for this model(<a href="https://www.thingiverse.com/thing:4241055">https://www.thingiverse.com/thing:4241055</a>), but it seems files are not available anymore on Thingiverse. As I anyway wanted to play around with Tinkercad, I did a few modifications and added a kind of modular screw cutting guide.</p><p> </p><figure class="image"><img src="https://media.prusaprinters.org/media/prints/64586/rich_content/885c9059-99b6-4f1d-9e33-fff634d66c55/tinkercad-drawing.png#%7B%22uuid%22%3A%229ec1b3d1-52c6-4fd0-a565-3b674c5663f4%22%2C%22w%22%3A1305%2C%22h%22%3A880%7D"></figure><p><strong>Modifications on the base:</strong><br>I added a cut-out for the bigger dremel models as they otherwise interfere with the base.</p><p><strong>Modifications on guiding arm:</strong><br>The thread on the Dremel does not go all the way to the flat part of the Dremel housing, so after screwing the Dremel into the arm, there was still a gap and the Dremel was also quite loose. Additionally the tool mounting part of the Dremel seemed to be longer than on smaller models, an even with the cutting tool inserted all the way into the Dremel it did not fit well with the cutting cut-out on the base. I removed a bit of the thread in the arm and designed a small spacer that clips on the arm. With this 2mm spacer my Dremel 4300 fits perfectly now; also I am satisfied with the orientation of the Dremel after it is all the way screwed in. For other models, it should be easy to adjust this spacer to change the orientation / distance of the mounted tool. But keep in mind that you will probably not be able to remove the spacer after it is clipped in without breaking the little pins. They have a very tight fit for the spacer to hold without the need to glue it to the arm.</p><p><strong>The screw cutting guide:</strong><br>I needed some guide to cut screws, I also wanted it to be adoptable to cut the screws to different lengths. Last but not least, I wanted something that can be adjusted for cutting other things in future without needing to print the whole thing again. So I designed a T-slot in the base of this guide, and a first screw cutting guide that slides into the T-slot with spacers that can be stacked for different screw length. That should also help to keep print times small to replace guides which might melt during cutting without enough patience :-)</p><p><strong>Additionally required parts</strong><br>I took a 10mm Aluminium rod as axle. But it seems people also tried to print it and it seems to work. Never tried it but if you like, here is the printed axle for it (<a href="https://www.thingiverse.com/thing:4239151">https://www.thingiverse.com/thing:4239151</a>).</p><p><strong>Printing</strong><br>Some parts are designed with quite small tolerances so they don't wobble around. I printed everything on a Prusa MK3S+ in Prusament PETG and it turned out perfectly without any post processing. The T-slot had quite a tight fit, but after moving it a couple of times it worked smoothly and perfectly.</p><p>Everything prints without (almost) any support, orientation of the parts on the bed should be straight forward. Maybe you want to add a tiny bit of support under the T of the screw carriage (orientation: surface with screw cut-outs plane on the print bed). But I did one print even without and it turned out fine.</p><p>I printed all parts with 4 perimeters, 0.2 layer height, and 20% gyroid infill. For all areas that take mechanical load I added modifiers and set the infill to 70%. Maybe this wasn't required, but I just wanted to print it once and everything turned out sturdy.</p><p><strong>Files and Scaling</strong><br>The spacers for the screw guide plates are somewhat stackable, and therefore have either holes, pins or both in the upper part. The one with holes can be scaled in Z direction to any size you like when slicing. For the other be aware that you are also scaling the holes and pins what you might not want; I just printed two of the 5mm spacer blocks (without scaling) and with a couple of the hole-only spacers with different thickness that fits all my needs.</p>
With this file you will be able to print Rod, Tube and Screw Cutter for Dremel with your 3D printer. Click on the button and save the file on your computer to work, edit or customize your design. You can also find more 3D designs for printers on Rod, Tube and Screw Cutter for Dremel.
